Install and Activate the plugin.
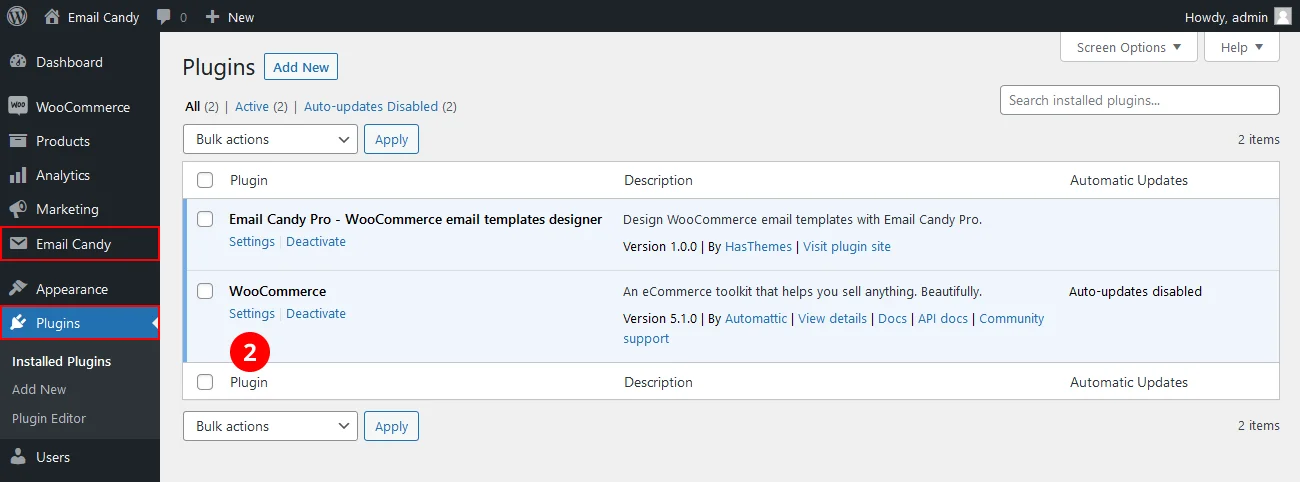
After activating the plugin you will get a new menu called "Email Candy" or click on the "Settings" quick link which is located beside the "Deactivate" plugin link.
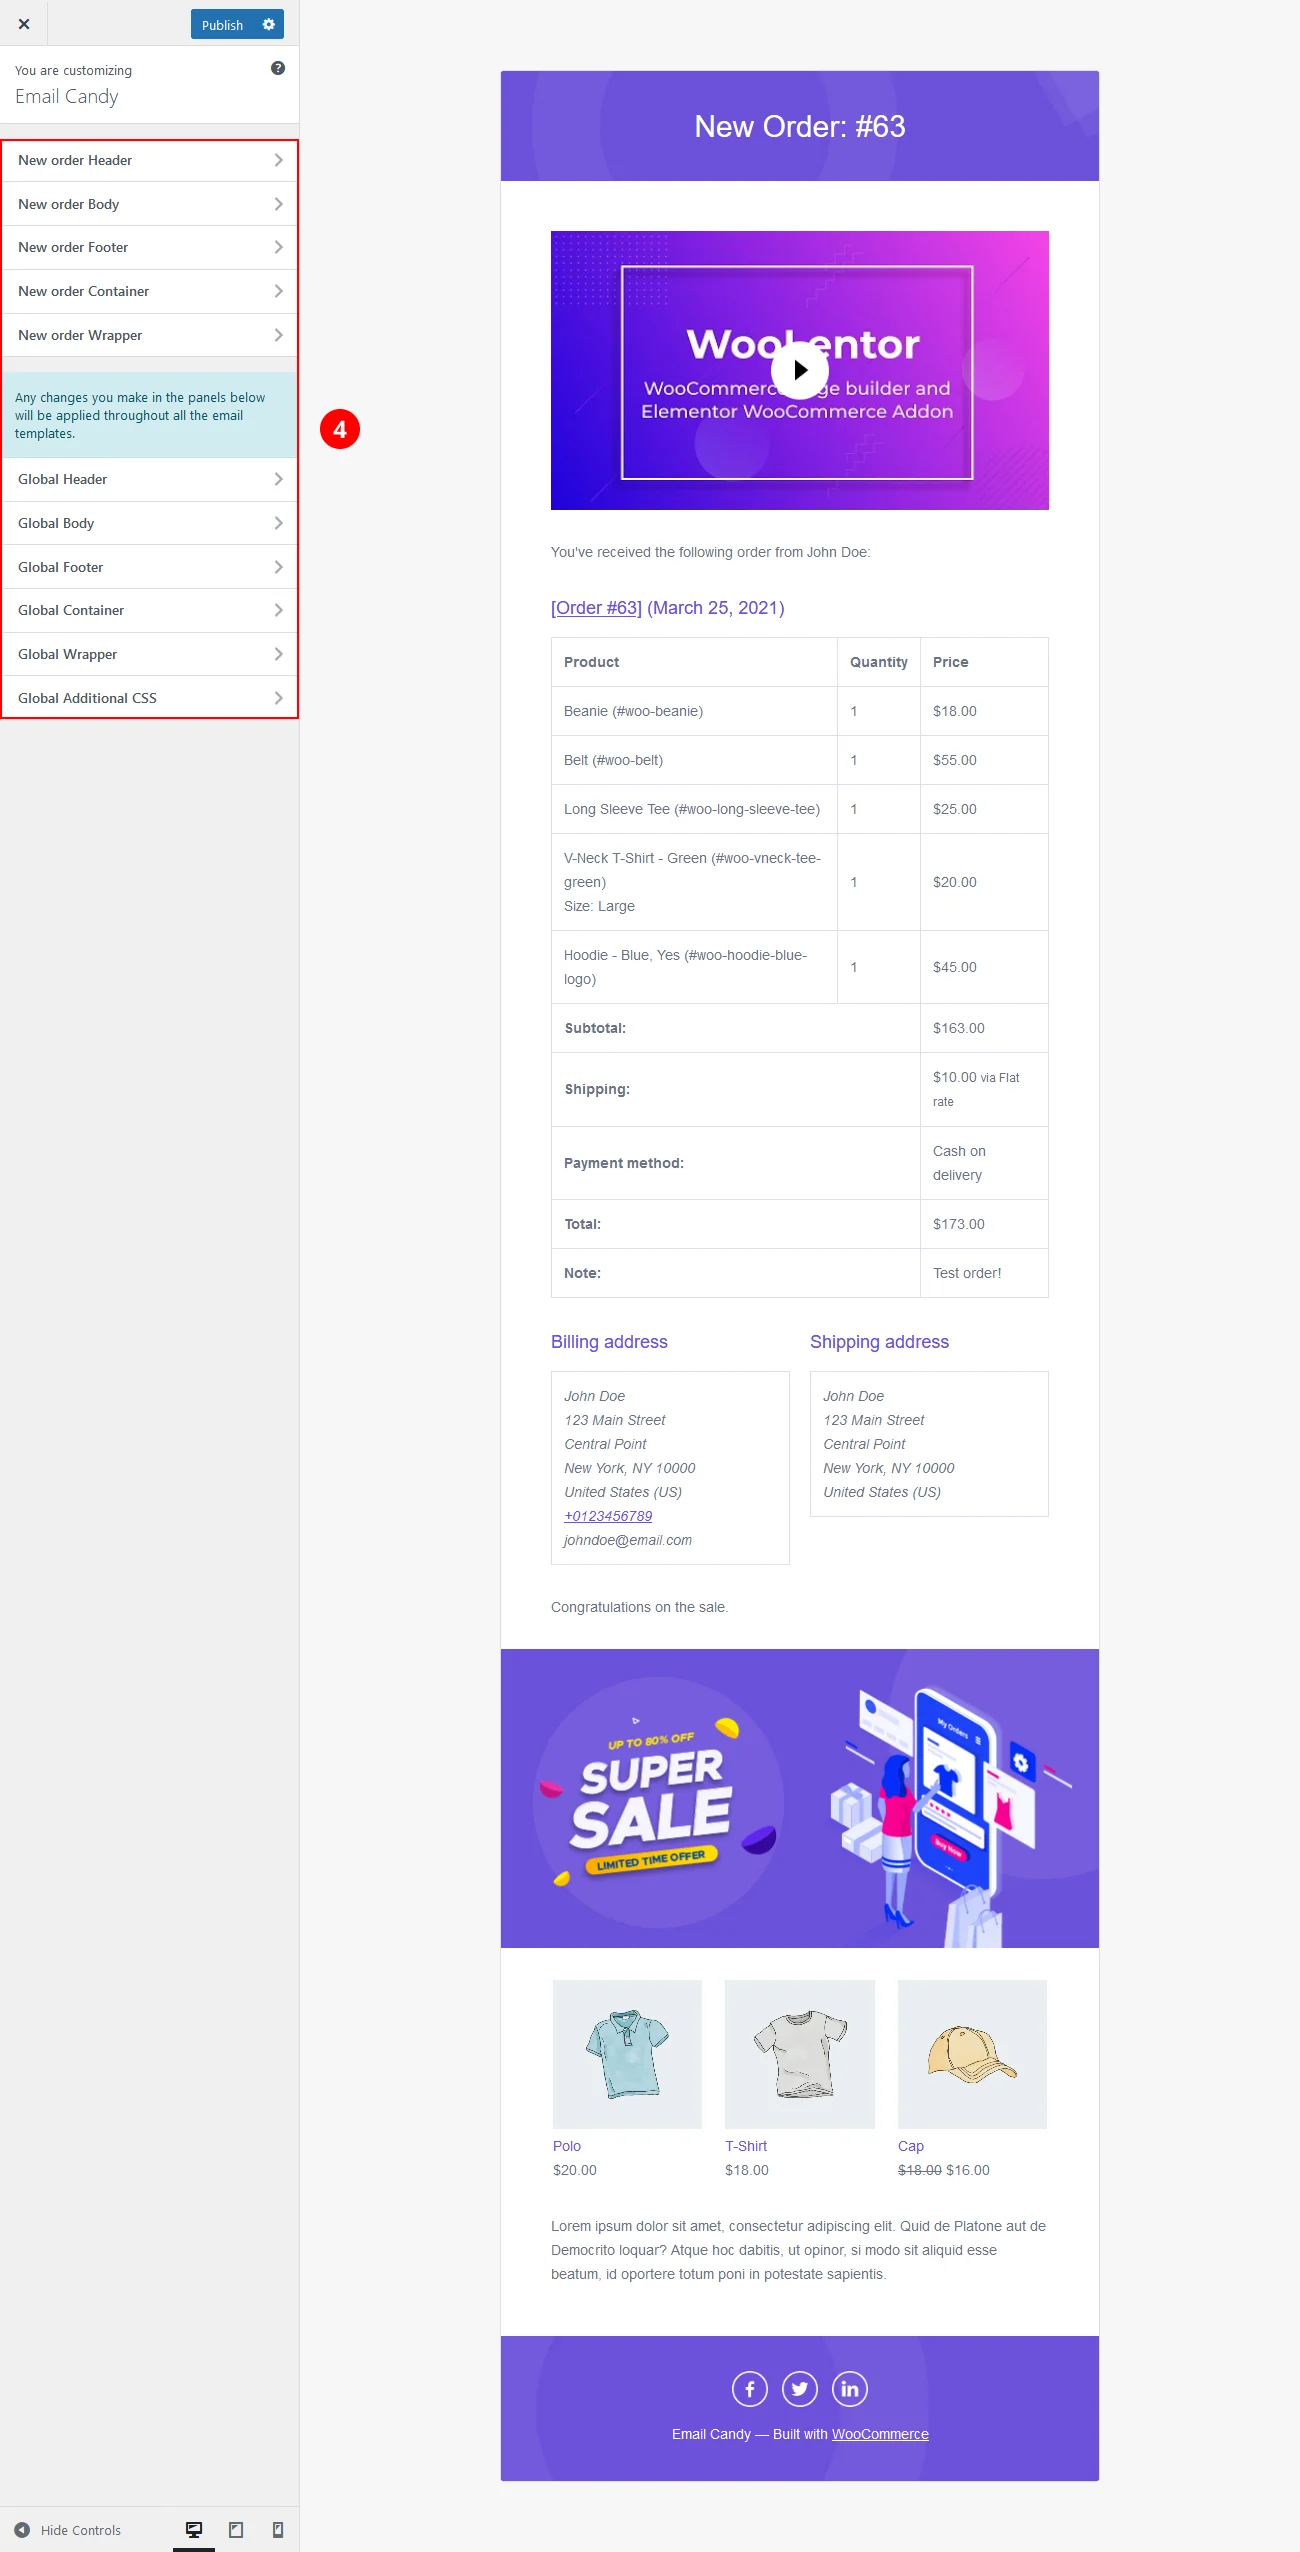
Now you will see a list of all default WooCommerce email templates. Click on any of that email template name or "Design" button to start designing that template. Also you will get global design options while designing any of these templates.

While designing an email template, you will get several option panels to design each part of the email template without any mess. Panels are following:
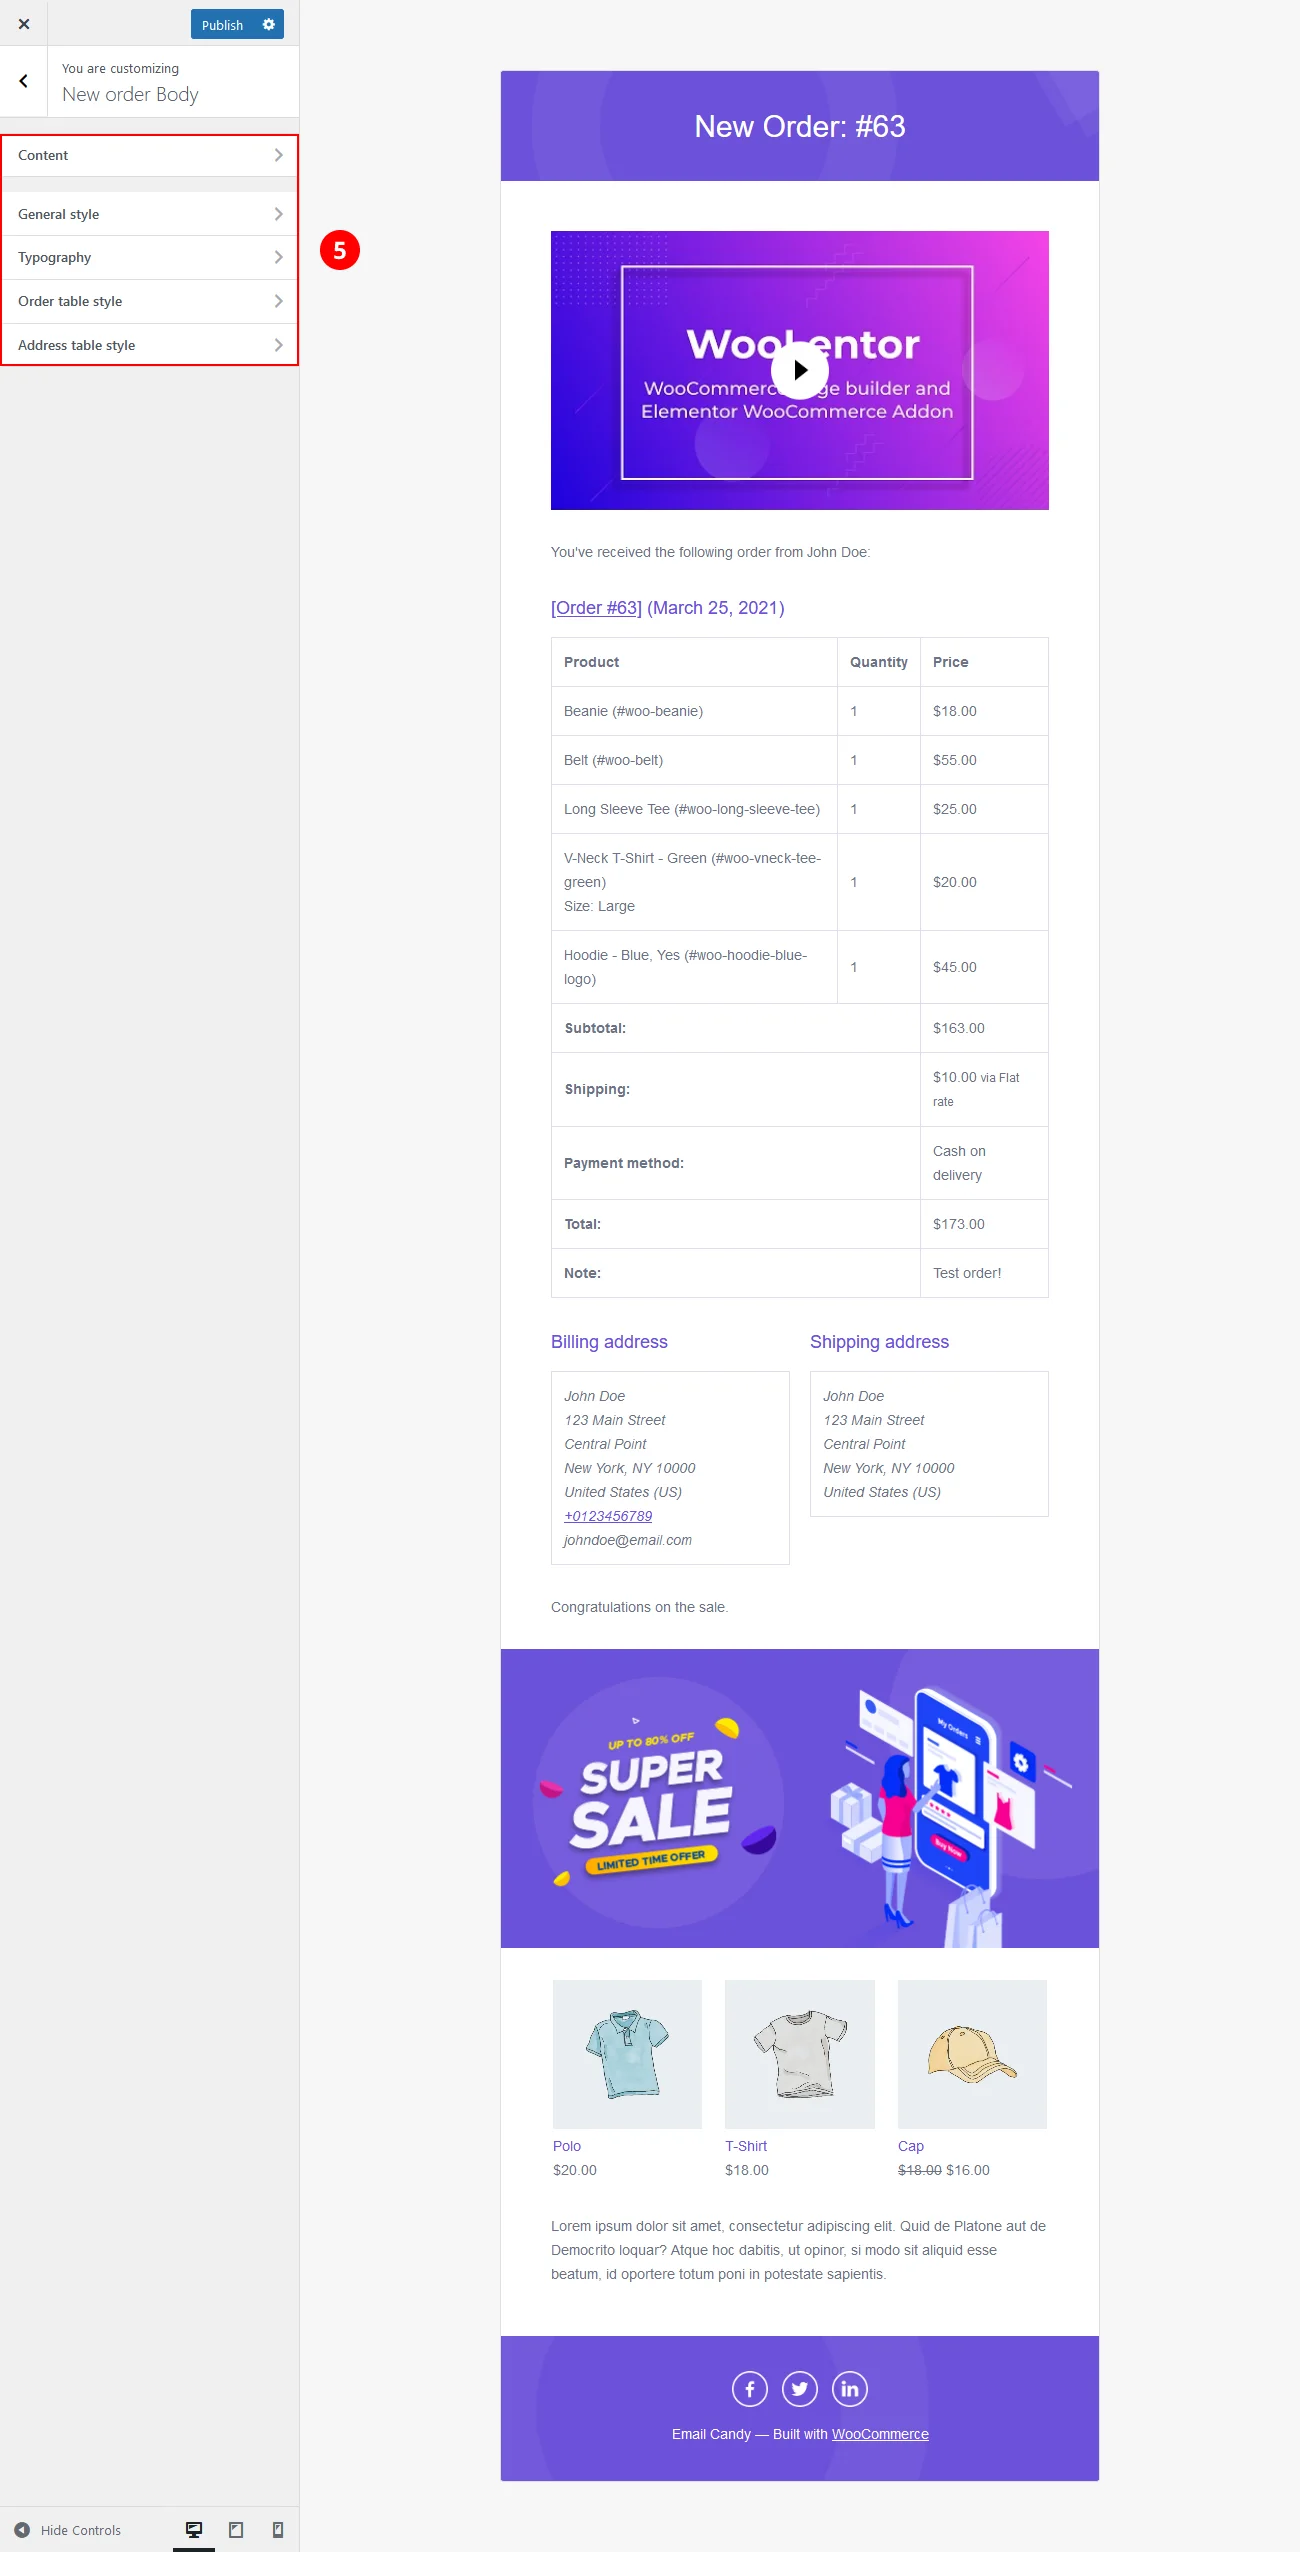
Inside each panel you will get several sections. Sections are following:
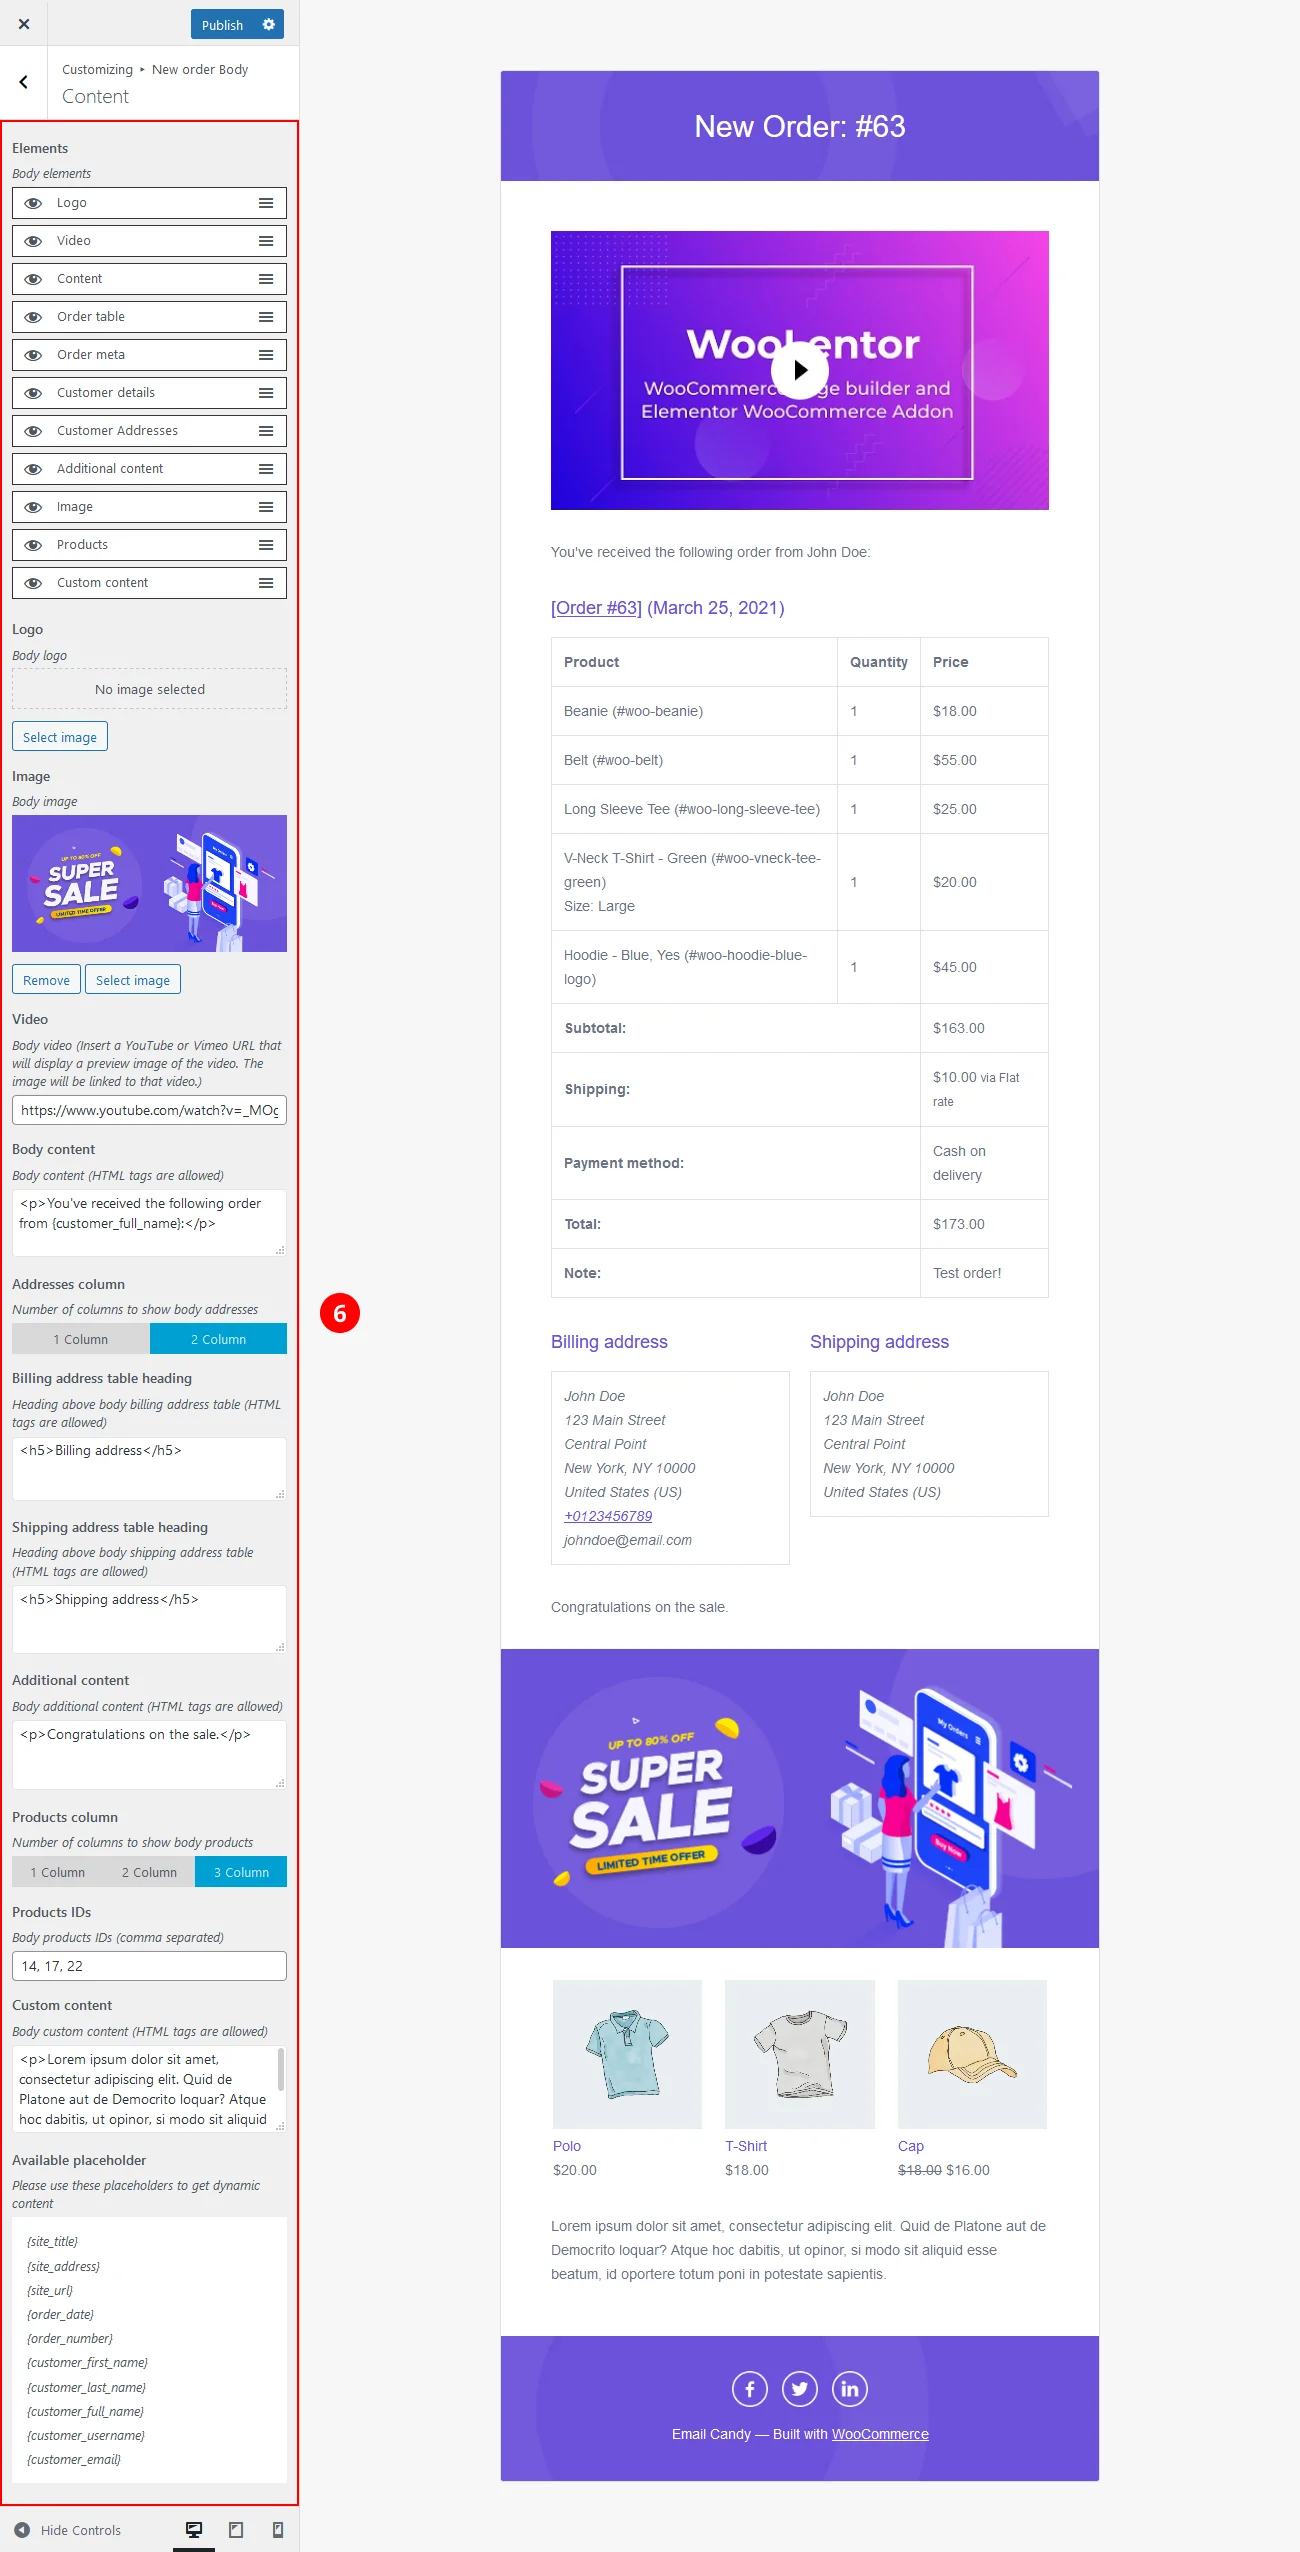
Under the "Content" section you will get the following option to add, edit and remove content.
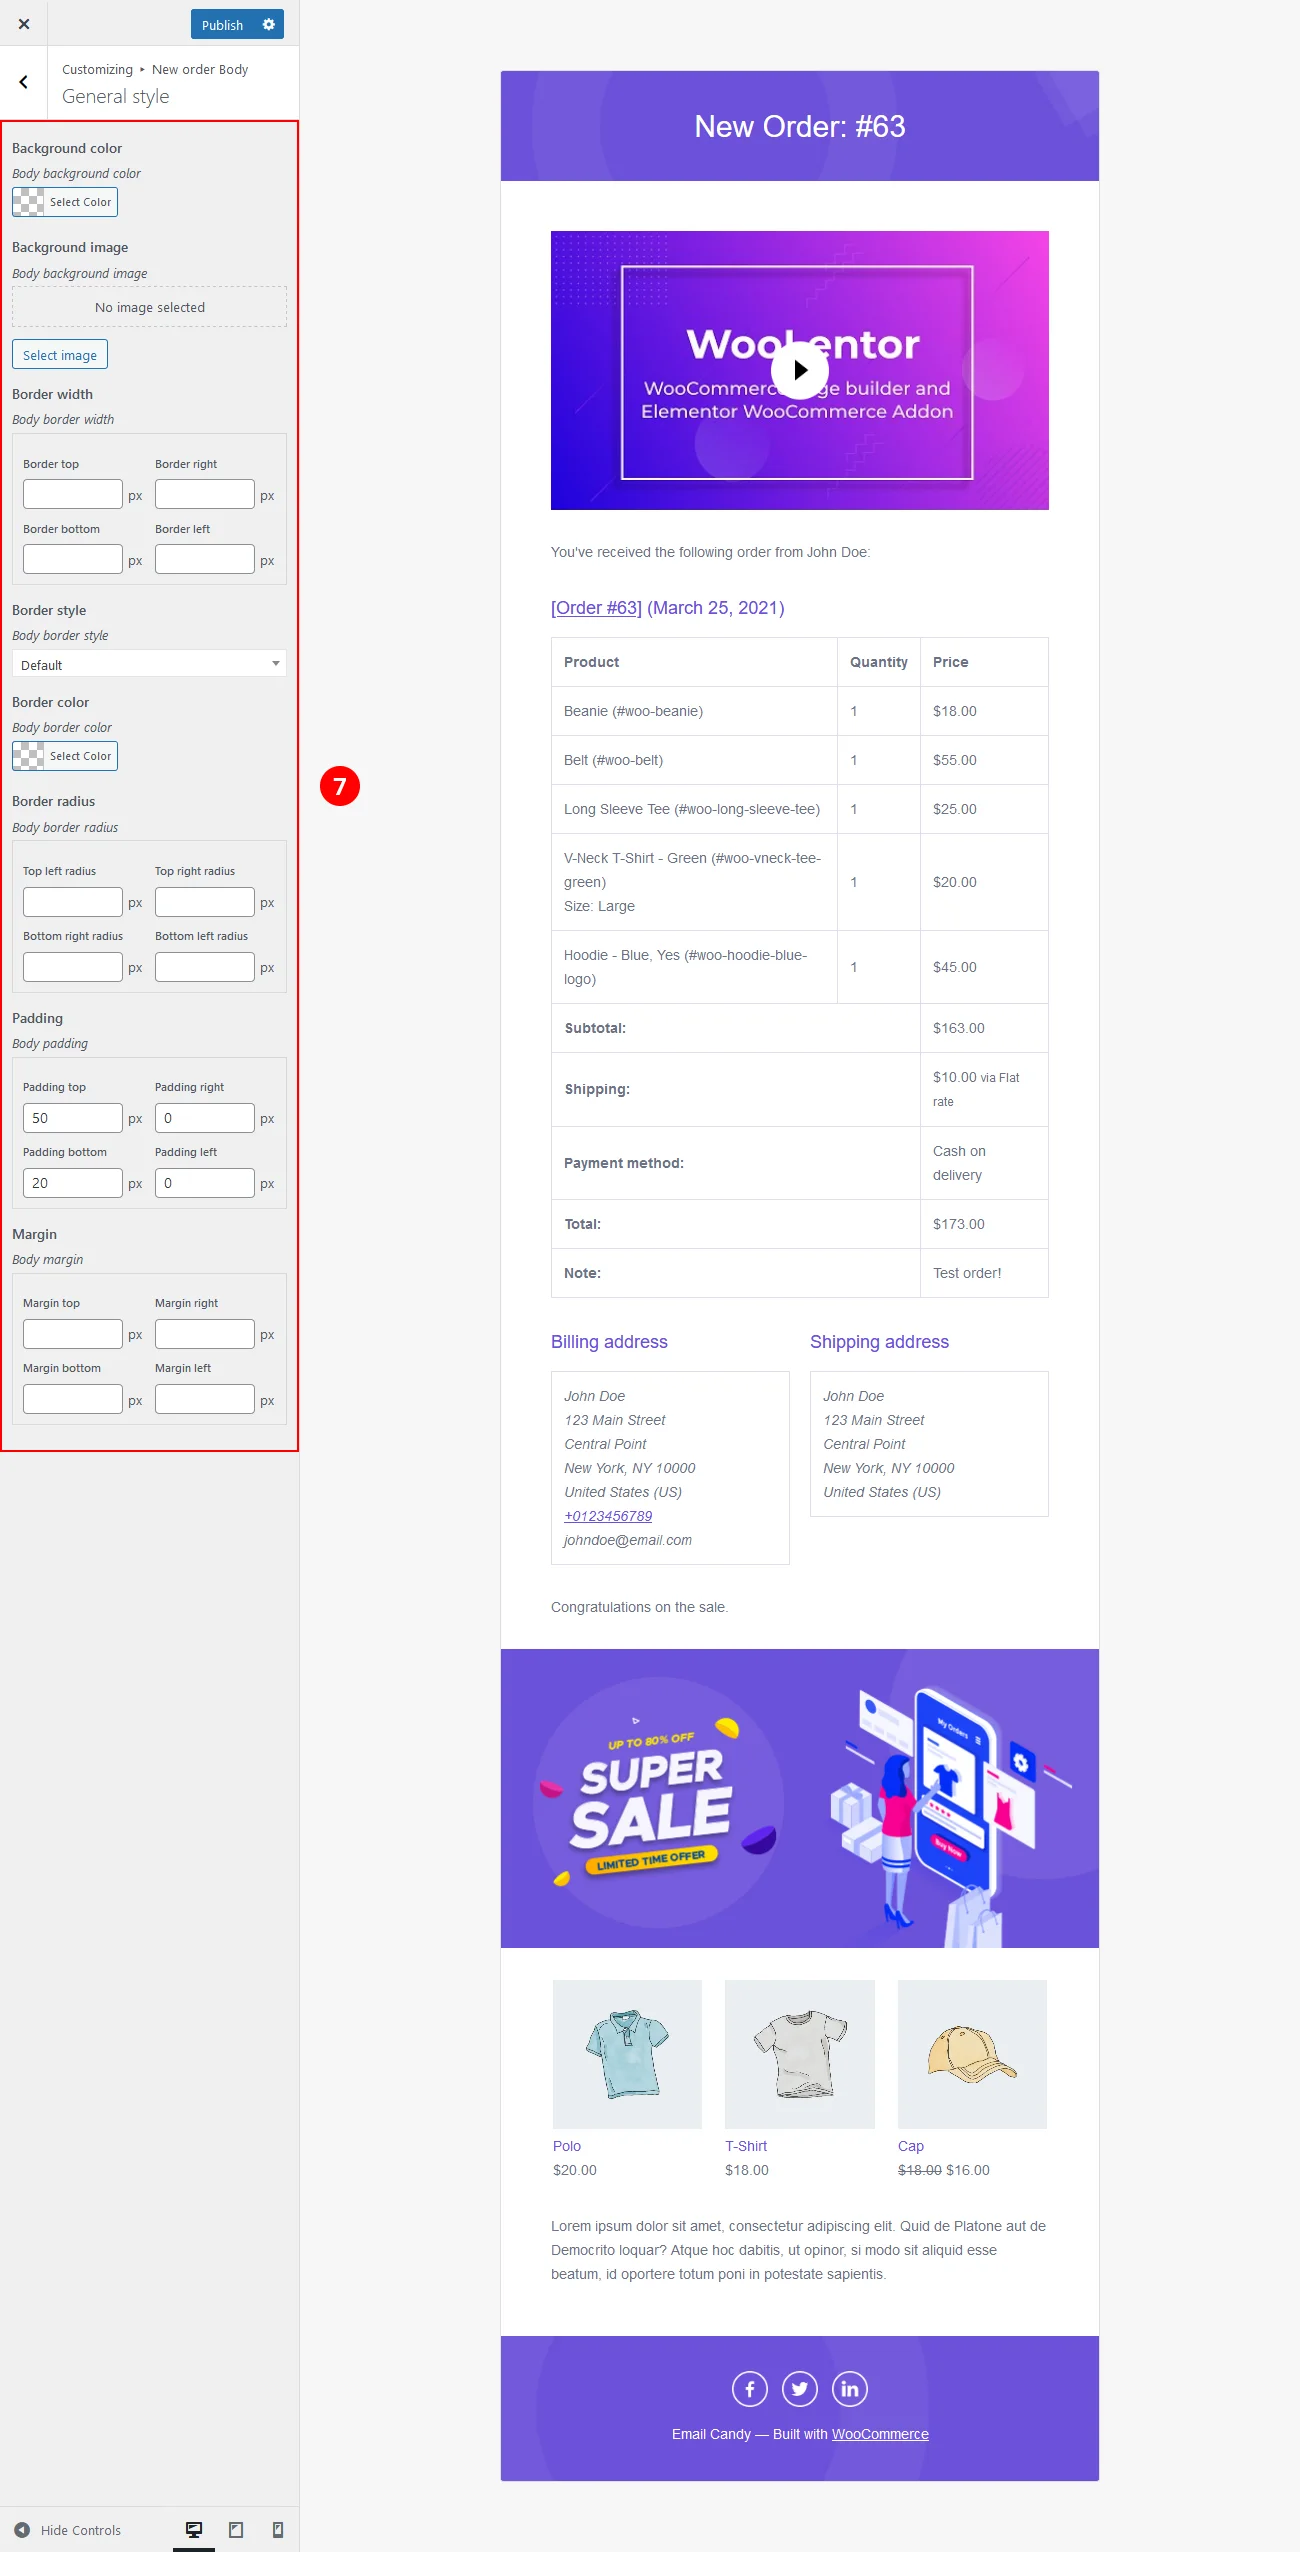
Under the "General style" section you will get the option to customize style. You can customize background, border, padding and margin.
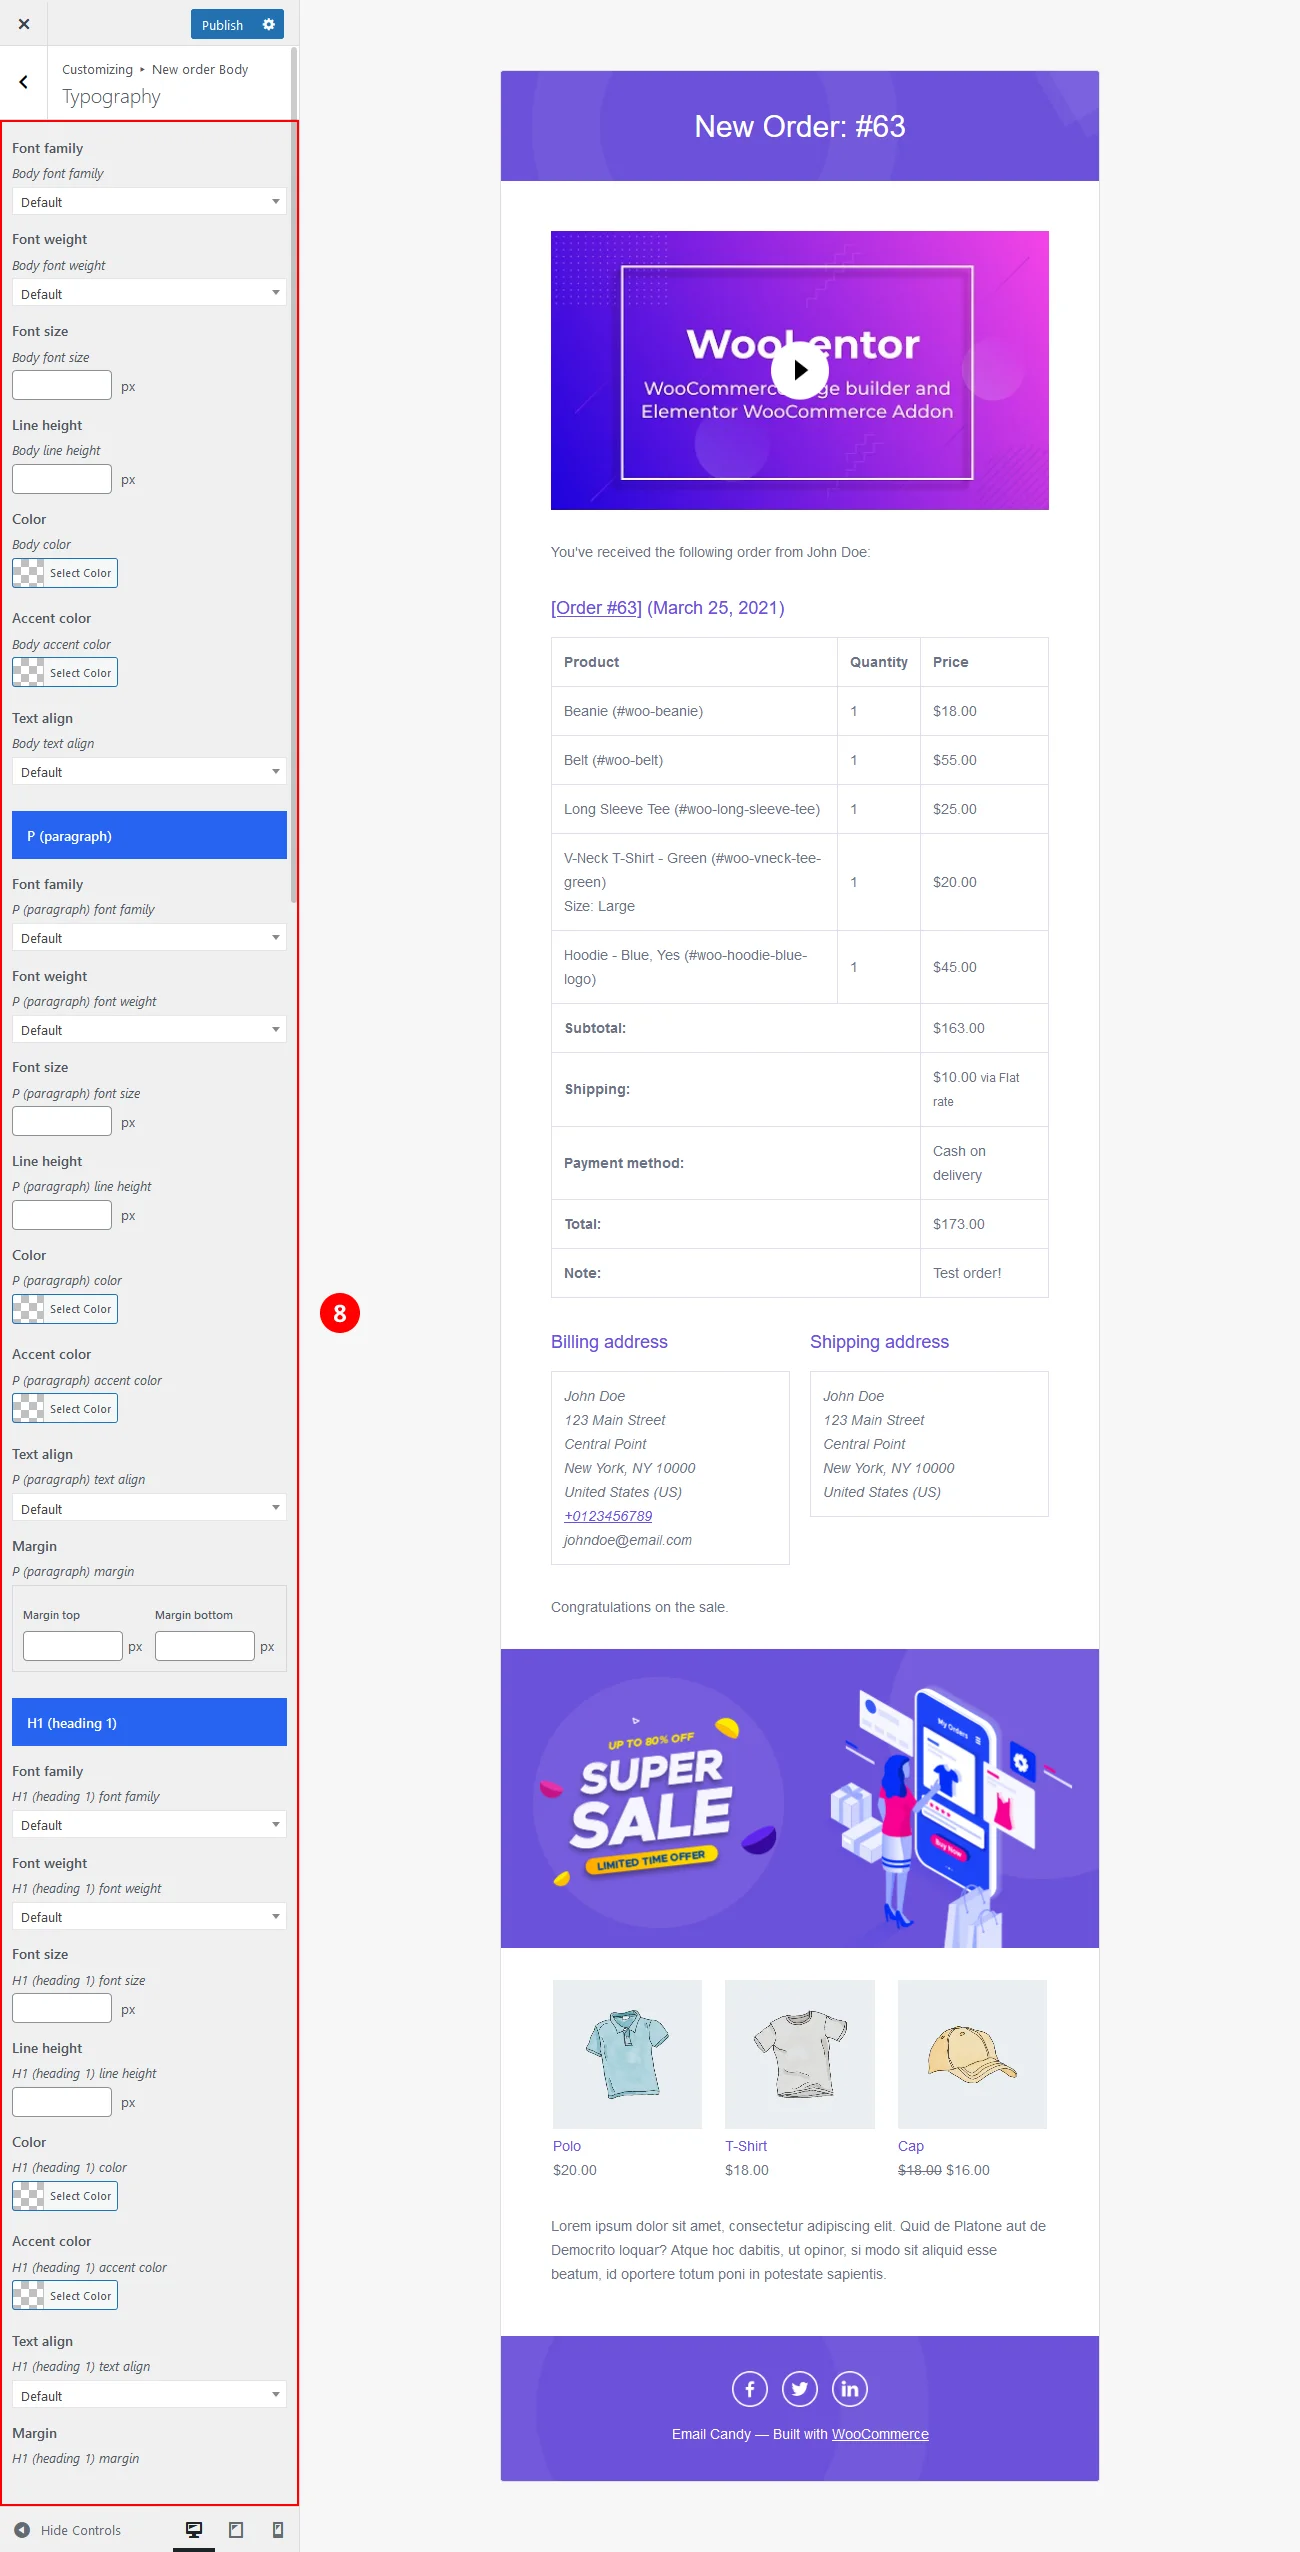
Under the "Typography" section you will get the option to configure typography. Here you can configure all necessary typography.
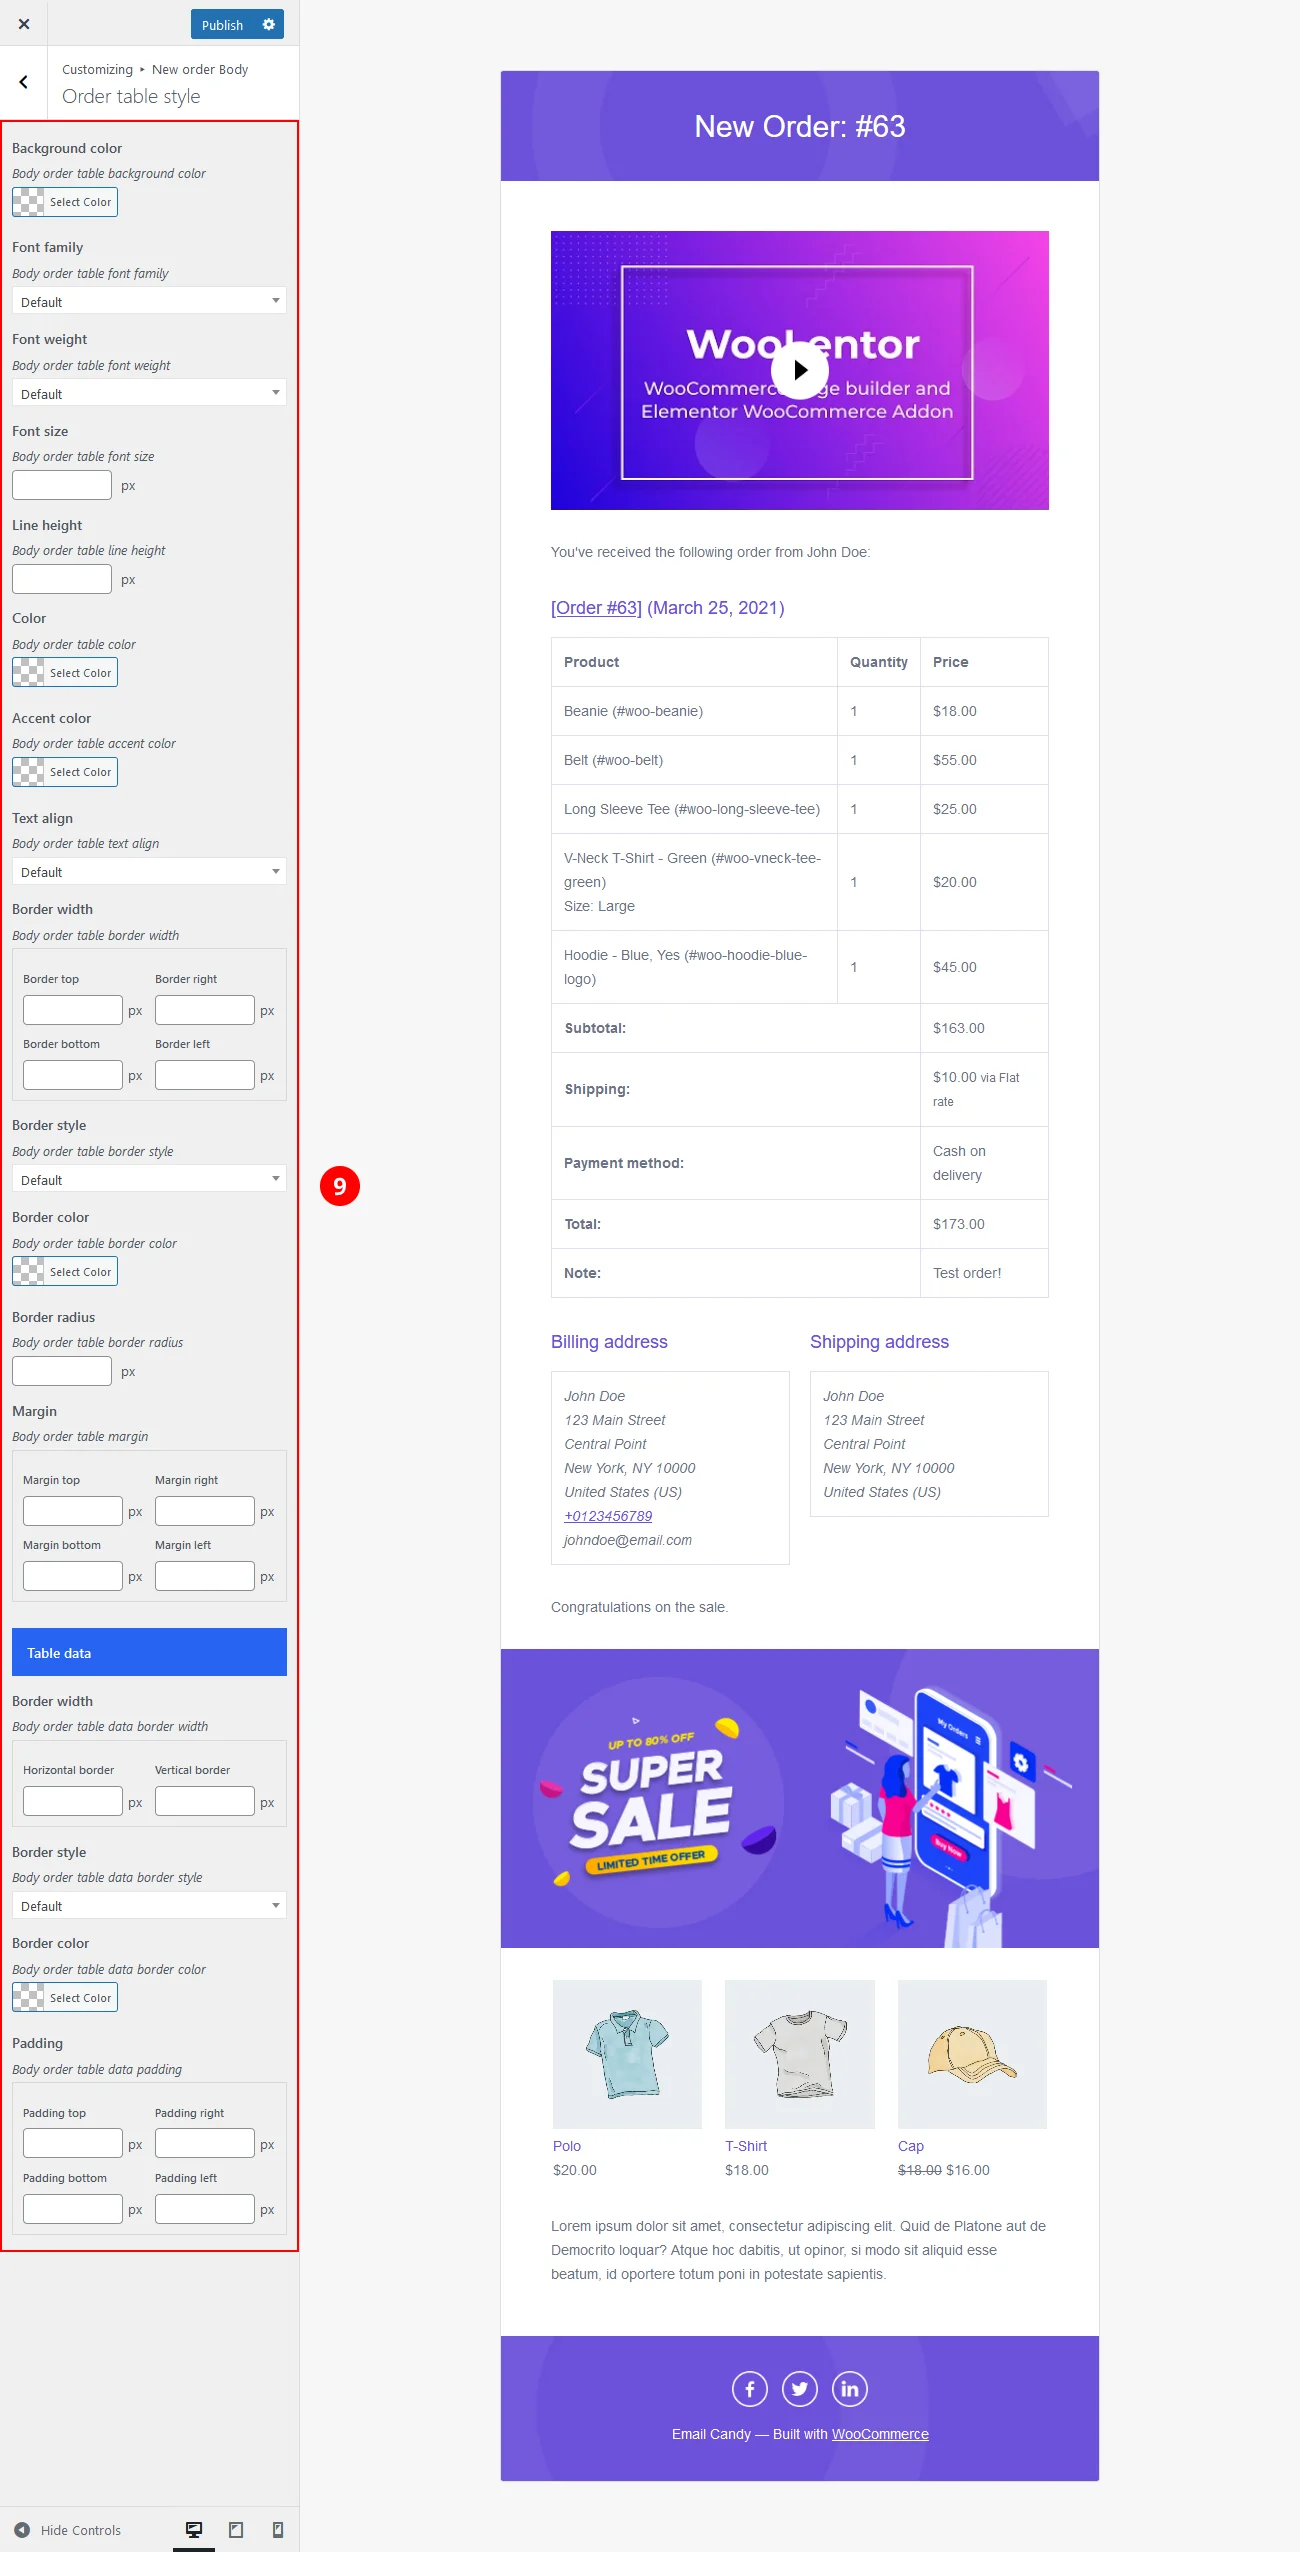
Under the "Order table style" section you will get the option to customize order table style. Here you can customize background, border, padding and margin. Also necessary typography options included here.
Under the "Address table style" section you will get the option to customize address table style. Here you can customize background, border, padding and margin. Also necessary typography options included here.

HasTech, a team of 45 experienced designers & developers. 170,000 customers from more than 100 Countries using our product & services.
Avg. Daily Sales: 55 Times
Last Year Sales: 21040 Times
Top 3 Countries: USA, India, UK