Email notifications are a must-have if you want to stay updated every time someone submits a form on your website 📩.
With HT Contact Form, setting up admin email notifications is easy and takes just a few minutes. Let’s walk you through it.
Access the Form You Want to Edit #
First, go to your WordPress Dashboard → HT Contact Form → Forms.
From the list of forms, find the form you want to configure notifications for and click the Edit icon ✏️.

Open the Notification Settings #
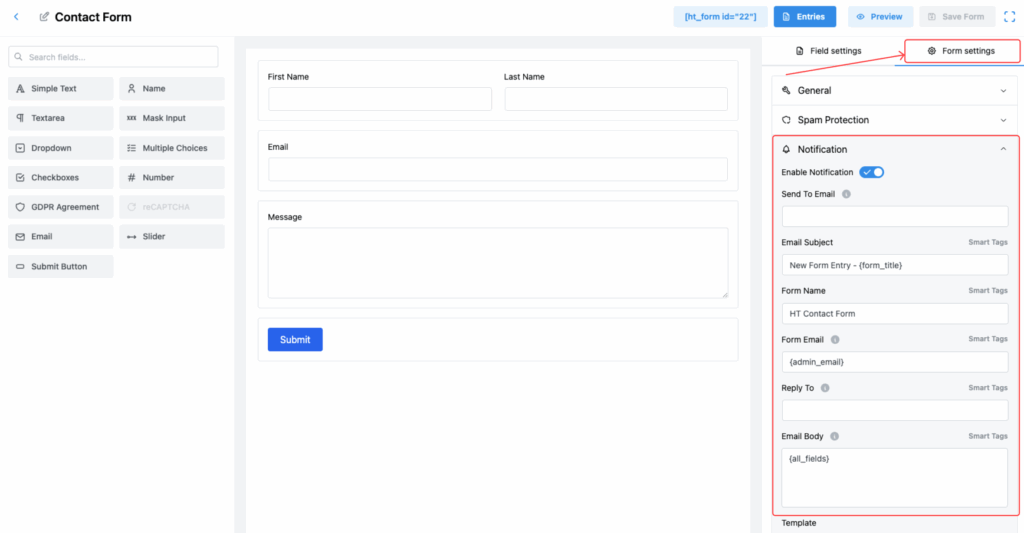
After opening the form, on the right sidebar, you will see the Form Settings area.
Expand the Notification tab to reveal all the available notification options.
Here you can fully control how you receive email alerts after a form submission 📬.
Configure Notification Options #
Inside the Notification settings, you’ll find several fields to customize:
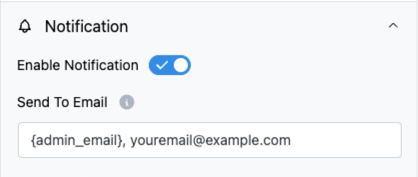
Send To Email #
Enter the email address where you want to receive the form submission notifications.
➡️ For sending to multiple emails, separate them with commas.
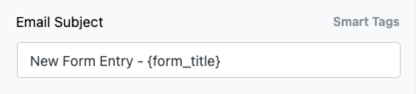
Email Subject #
Set the subject line for the notification email.
Example: “New Contact Form Submission 🚀”
(Smart Tags are available — you can dynamically insert form titles, names, or other values into the subject line.)
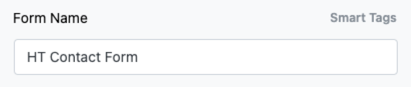
Form Name #
This is the name that will appear in the notification, indicating from which form the entry was submitted.
(Smart Tags are available — you can dynamically insert form titles, names, or other values into the subject line.)
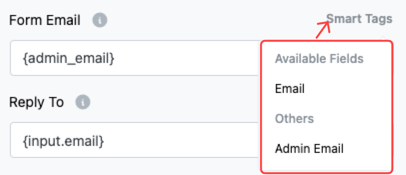
Form Email #
Enter a single “From” email address. Avoid using multiple email addresses here to prevent issues.
(Smart Tags are available — you can dynamically insert form Email & Admin Email values into the subject line.)
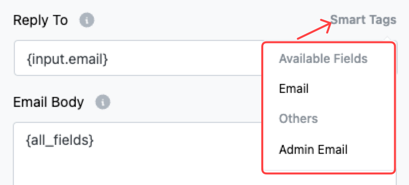
Reply To #
Specify an email address that should be used if someone replies to the notification email. (Useful for direct responses!)
(Smart Tags are available — you can dynamically insert form Email & Admin Email values into the subject line.)
Email Body #
This is the name that will appear in the notification, indicating from which form the entry was submitted.
(Smart Tags are available — you can dynamically insert form titles, names, or other values into the subject line.)

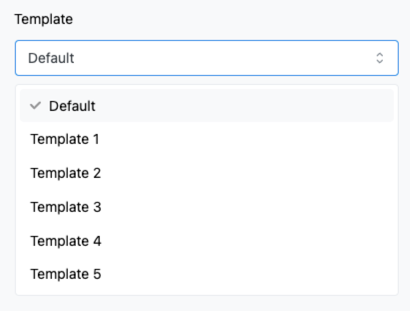
Template #
Choose the design layout of your email notification.
You can select from the available templates depending on the style you prefer.
Use Smart Tags for Dynamic Information #
HT Contact Form supports Smart Tags 🔥, making it easier to insert dynamic information into your email notifications.
Here are some useful available tags you can use:
- Name
- Message
- Admin Email
- Form ID
- Form Title
- Embedded Post/Page Title
- Embedded Post/Page URL
- Embedded Post/Page ID
- Date
- Query String Variable
- User ID
- User Display Name
- User Full Name
- User First Name
- User Last Name
- User Email
- User Meta
- Author ID
- Author Name
- Author Email
- Referrer URL
- Login URL
- Logout URL
- Register URL
- Lost Password URL
- Site Title
- Site URL
Using these Smart Tags ensures that your email notifications contain real-time, personalized form data — giving you all the information you need instantly 🎯.
Save Your Notification Settings #
Once you’ve configured all the options, click the Save Form button at the top right corner ✅.
This will activate the email notification and make sure you never miss an important form entry!
Conclusion #
Setting up admin email notifications in HT Contact Form is simple but powerful ✨.
With the flexibility to customize the email content, design, and delivery details, you can easily stay connected with your users and respond faster than ever.


