The Image Upload field in HT Contact Form lets users upload images directly through your form. Ideal for job applications, product inquiries, or any scenario where a visual file is required.
This guide walks you through how to add, configure, and customize the Image Upload field — complete with screenshots for clarity.
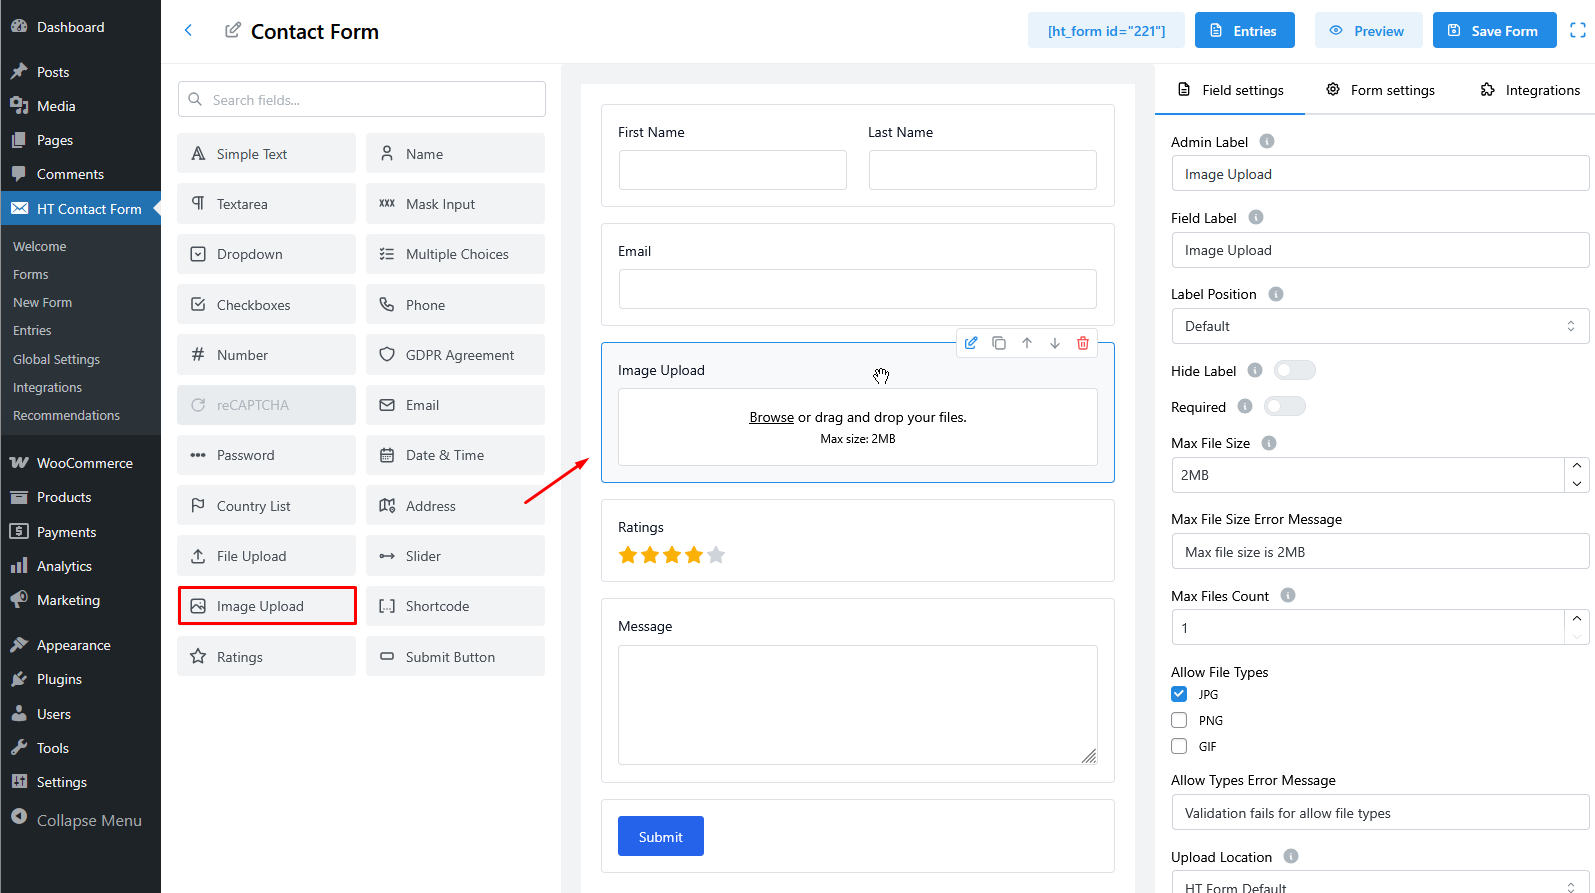
Step 1: Add the Image Upload Field
- Navigate to HT Contact Form → Forms from your WordPress dashboard.
- Open an existing form or create a new one.
- In the left field panel, scroll down and drag Image Upload into your form layout.
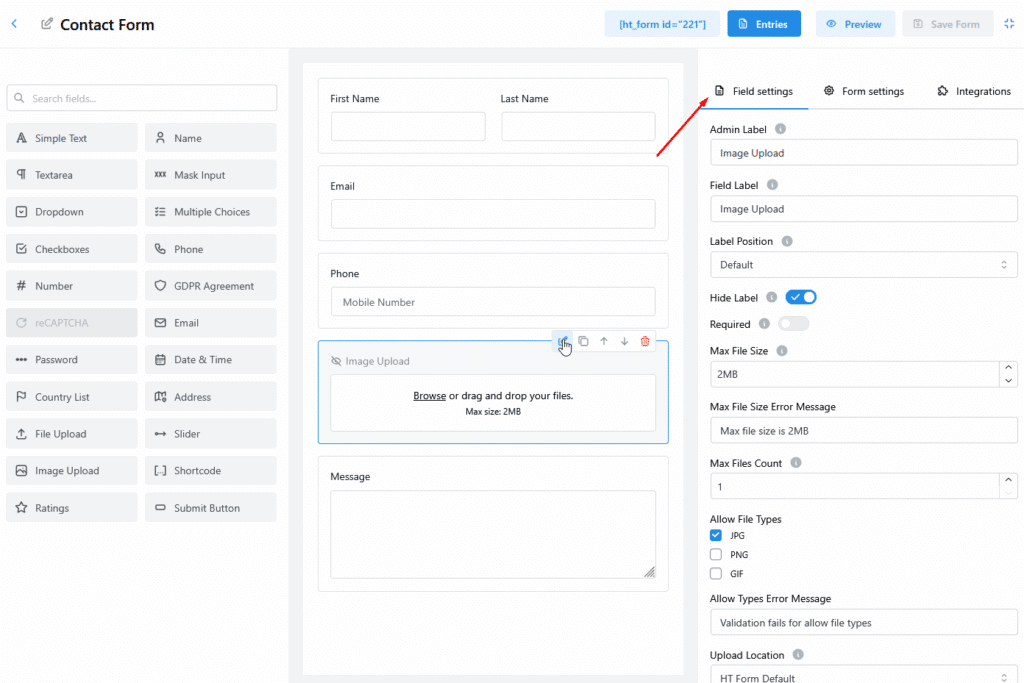
Step 2: Customize Basic Field Settings
Once the Image Upload field is added, its settings appear on the right.
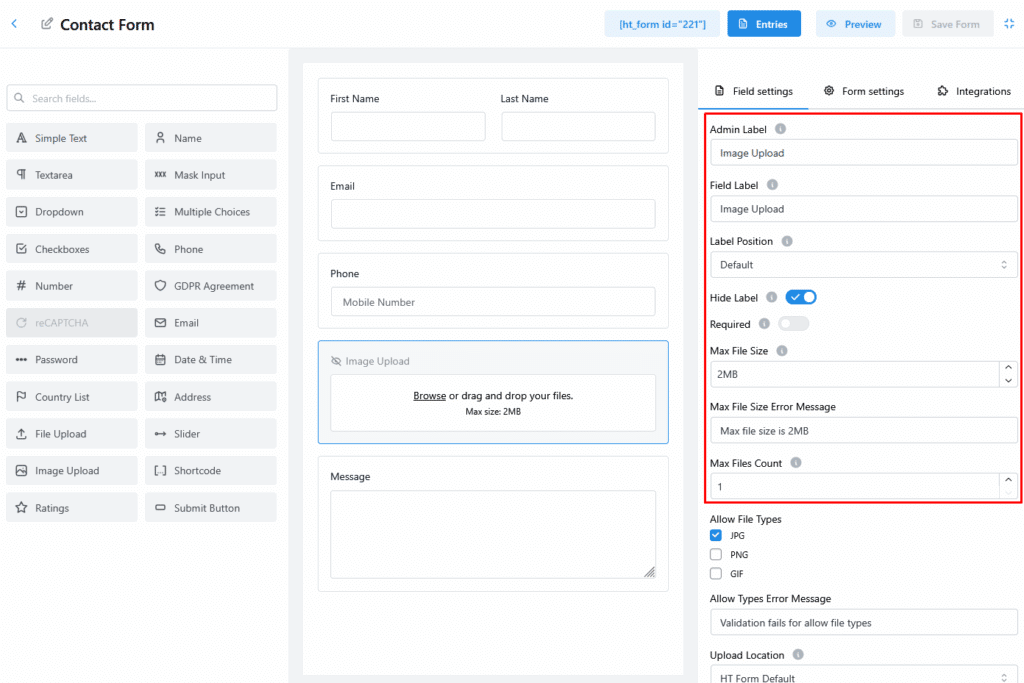
Key Options:
- Admin Label: For internal use only (not shown to users).
- Field Label: Visible to users (e.g., “Upload Your Image”).
- Required: Make the field mandatory.
- Max File Size: Restrict image size (e.g., 2MB).
- Max Files Count: Allow multiple uploads or limit to one.
- Max File Size Error Message: Show custom error text if file is too large.
- Max Files Count:
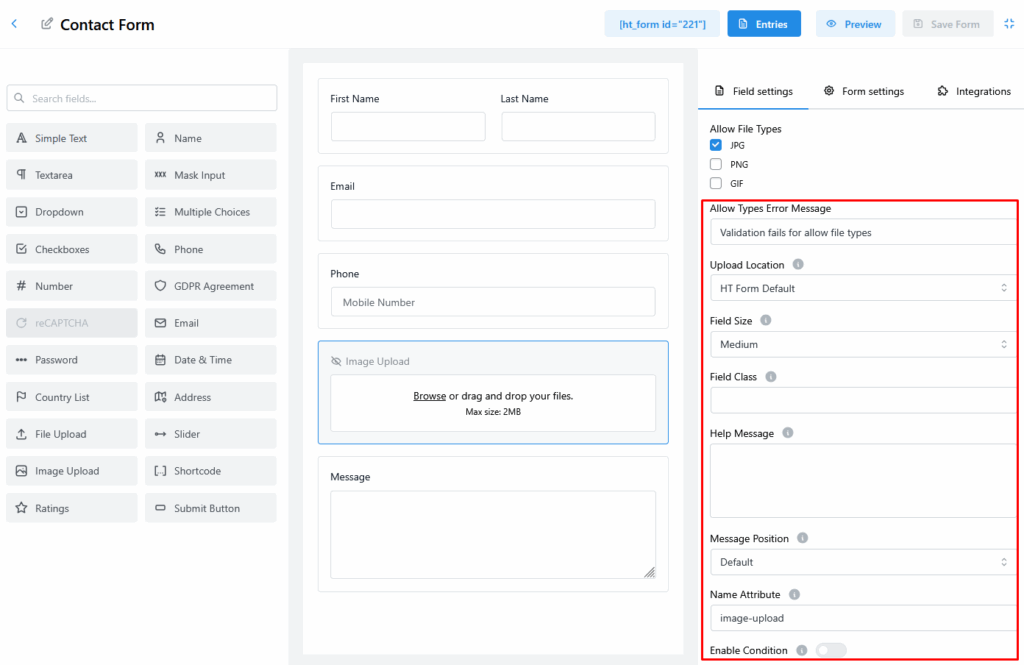
Step 3: Set Allowed File Types
Enable the image formats you need by checking JPG, PNG, or GIF.
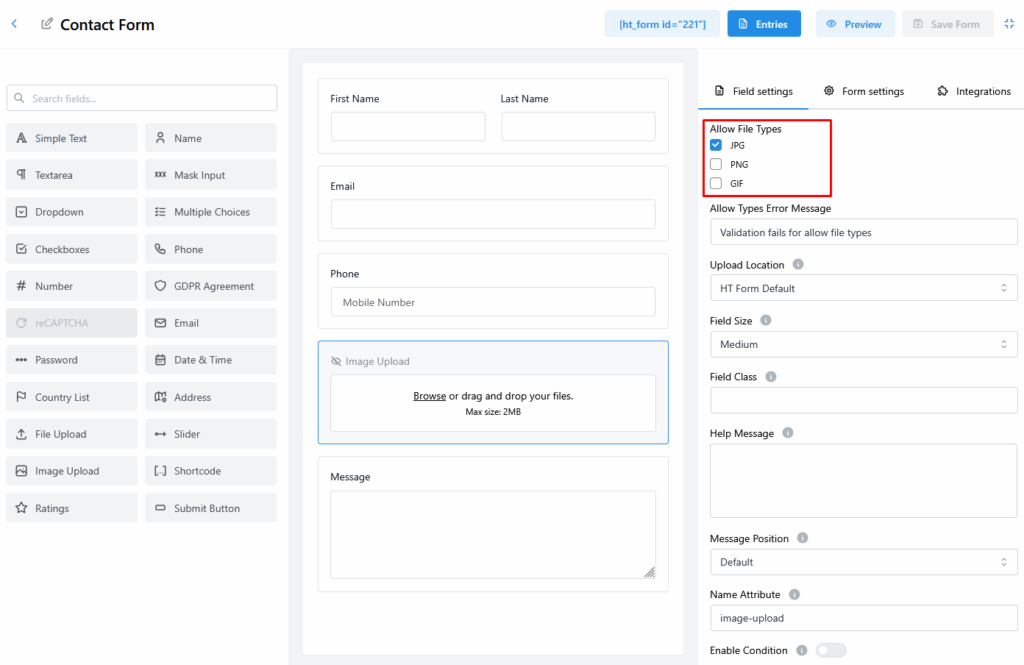
You can also set:
- Error Message for unsupported types.
- Upload Location – Choose where the images are saved.
- Field Size – Adjust field width.
- Help Message – Add helpful instructions.
- Message Position – Set where messages appear.
- Field Class – For custom CSS styling.
- Name Attribute – For developers customizing field data.
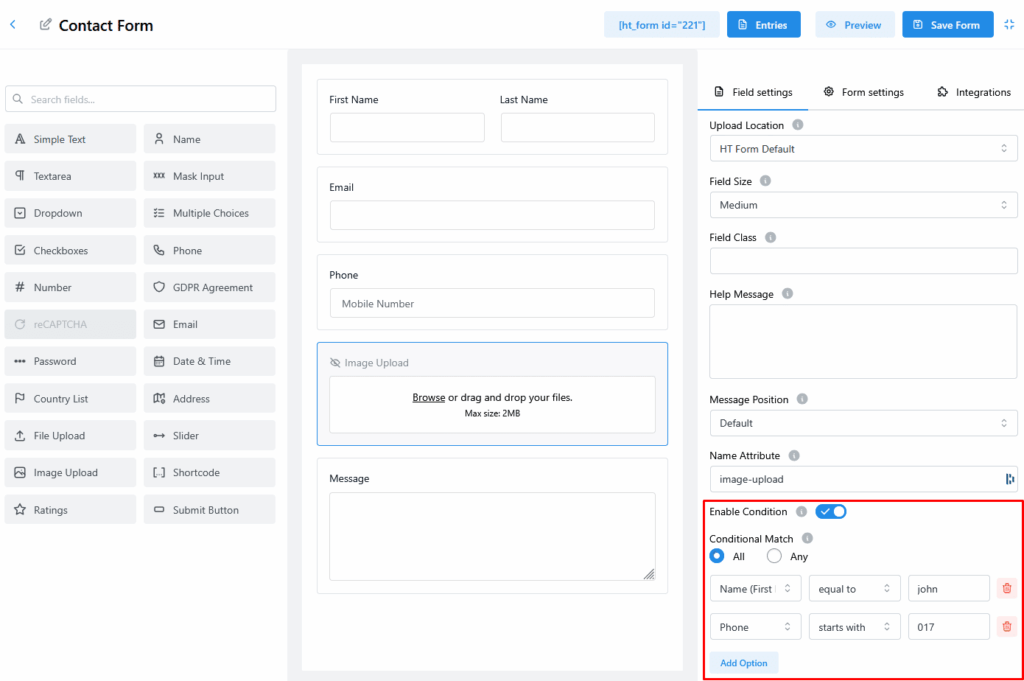
Step 4: Apply Conditional Logic (Optional)
Want to show the field only when certain conditions are met? Use conditional logic.
- Toggle the Enable Condition switch to ON.
- Set your display rules using form field values. For example: Show this field only if the user’s name is “john” and their phone number starts with “017”.
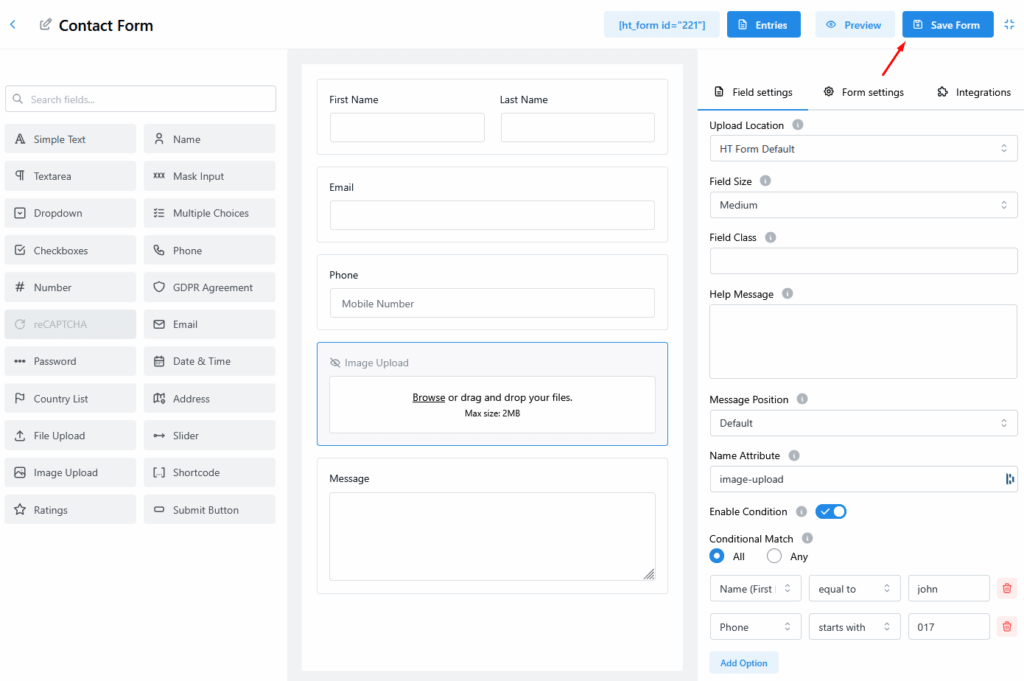
Step 5: Save the Form
After setting up your field:
- Click the blue “Save Form” button in the top-right.
- Your form is now ready to accept image uploads.
Last updated on March 10, 2026
Was this article helpful?
Powered by Support Genix