Zapier connects HT Contact Form to thousands of other apps (like Google Sheets, Slack, Notion, or Gmail) using webhooks. This allows you to automate workflows and save time by sending form submissions to external services.
Step 1: Enable the Integration
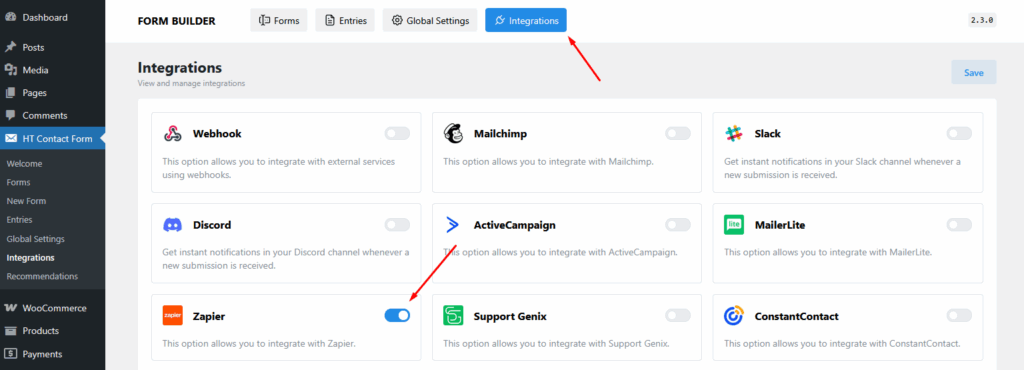
- Go to HT Contact Form → Integrations from your WordPress dashboard.
- Locate Zapier, toggle it ON, and click the save to continue.
Step 2: Create a Webhook in Zapier
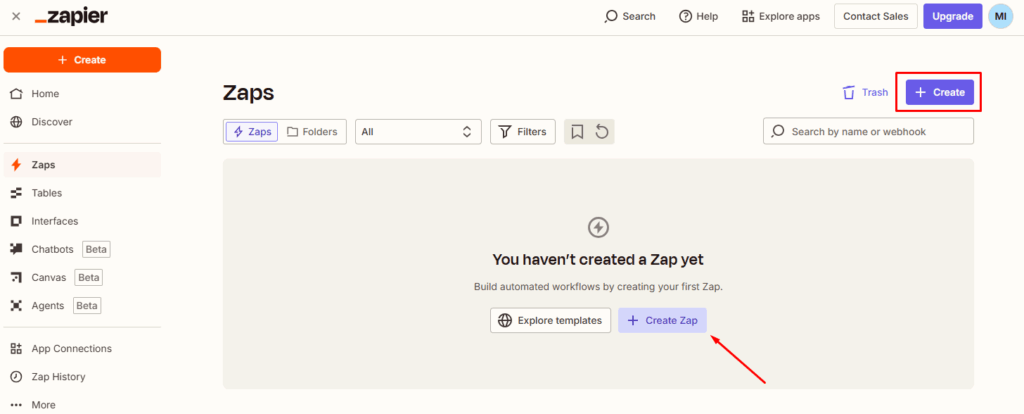
- Log in to your Zapier dashboard.
- Click the Create or Create Zap button.
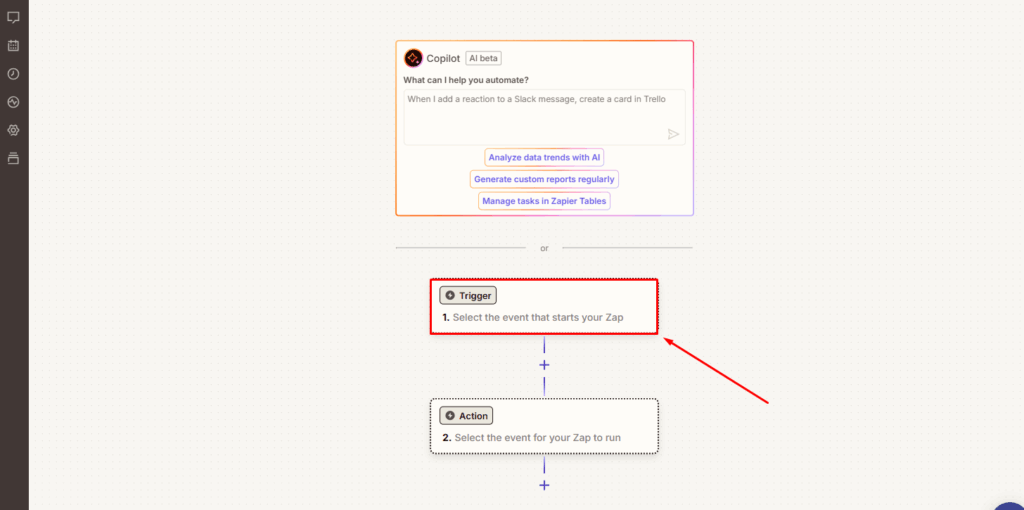
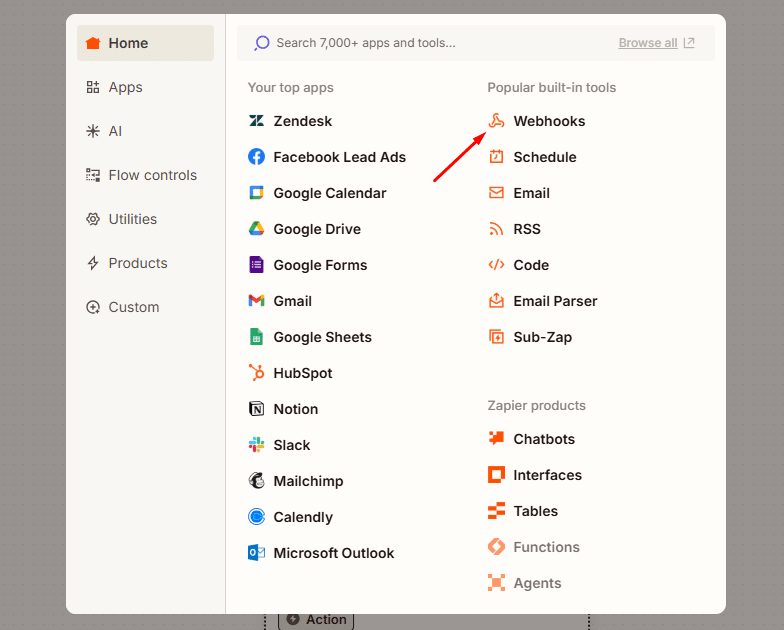
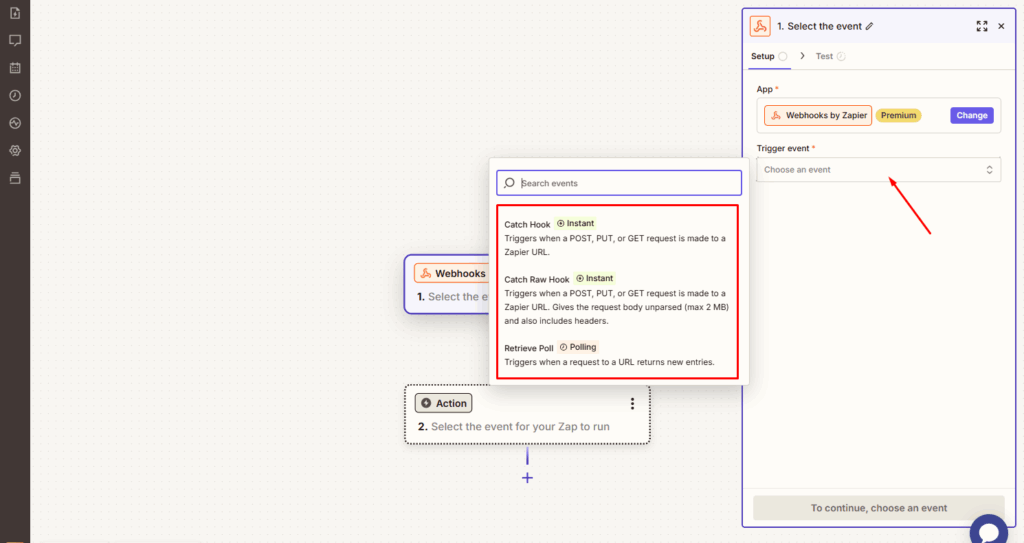
- In the Trigger section, select Webhooks by Zapier.
- Choose Catch Hook as the trigger event.
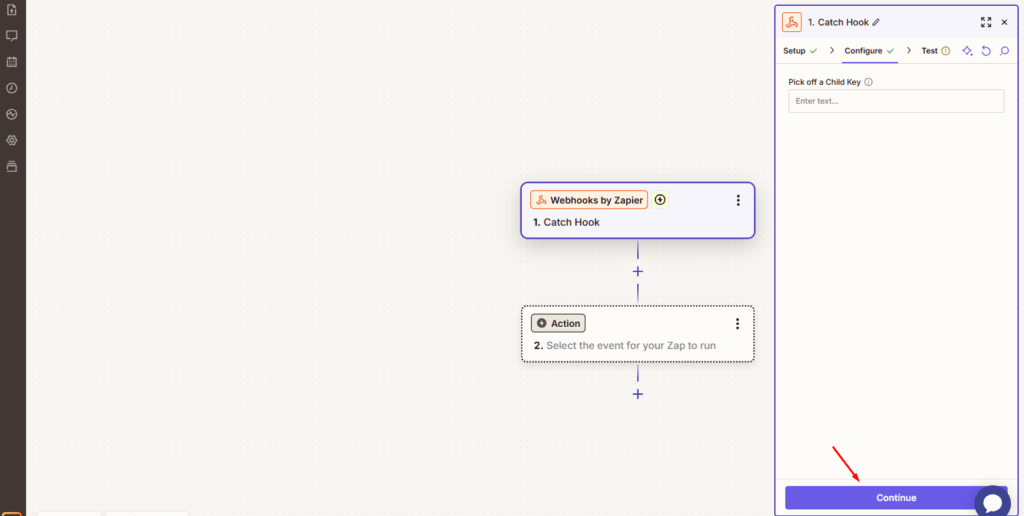
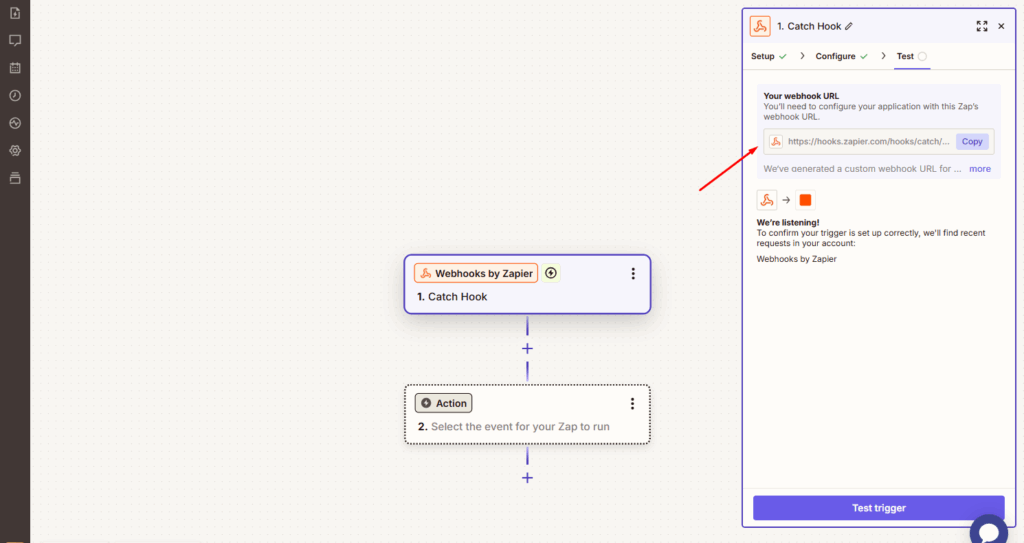
- Click Continue, and Zapier will generate a Webhook URL.
- Click Copy to save the Webhook URL for the next step.
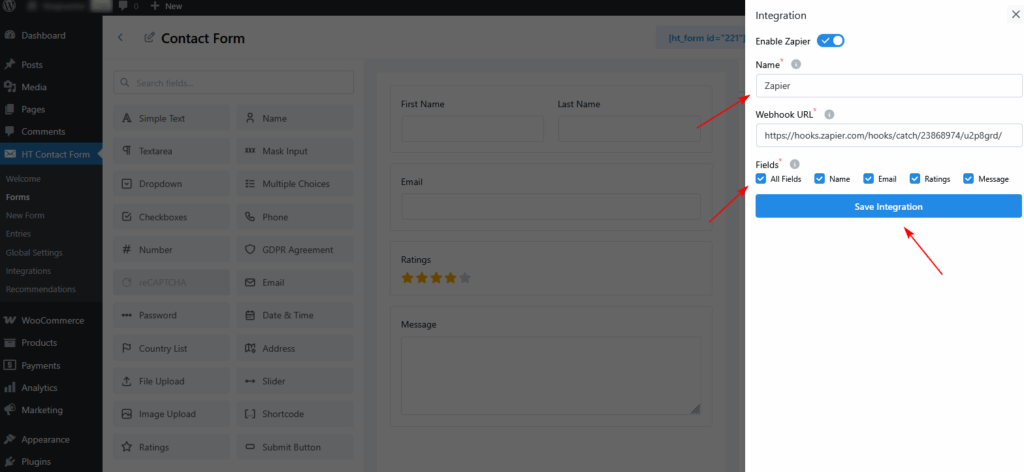
Step 3: Connect Webhook with HT Contact Form
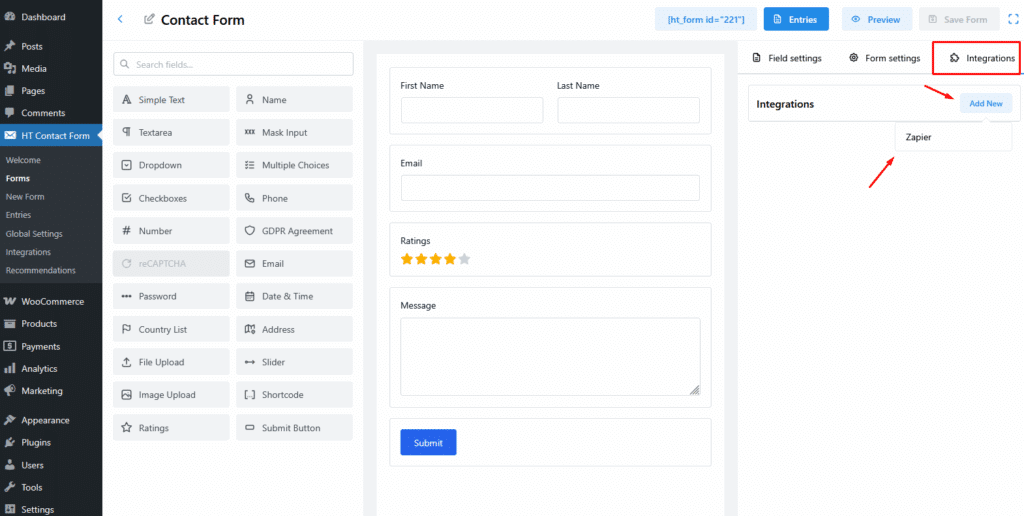
- Go to HT Contact Form → Forms and open the form you want to connect.
- Navigate to the Integrations tab and click Add New.
- Choose Zapier as the integration type.
- Paste the copied Webhook URL into the Webhook URL field.
- Give your integration a name, such as
zapier. - Select the form fields you want to send to Zapier (e.g., Name, Email, Ratings, Message).
- Click Save Integration.
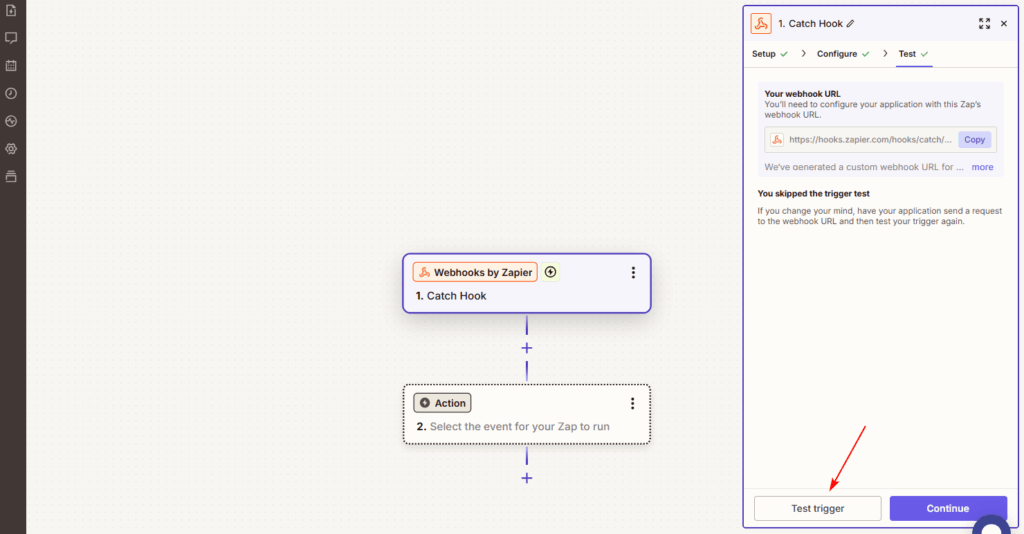
Step 4: Test the Webhook Connection
- Submit a test entry through your form on the frontend.
- Go back to your Zap in Zapier and click Test Trigger.
- If the webhook is connected properly, your test data will appear in Zapier.
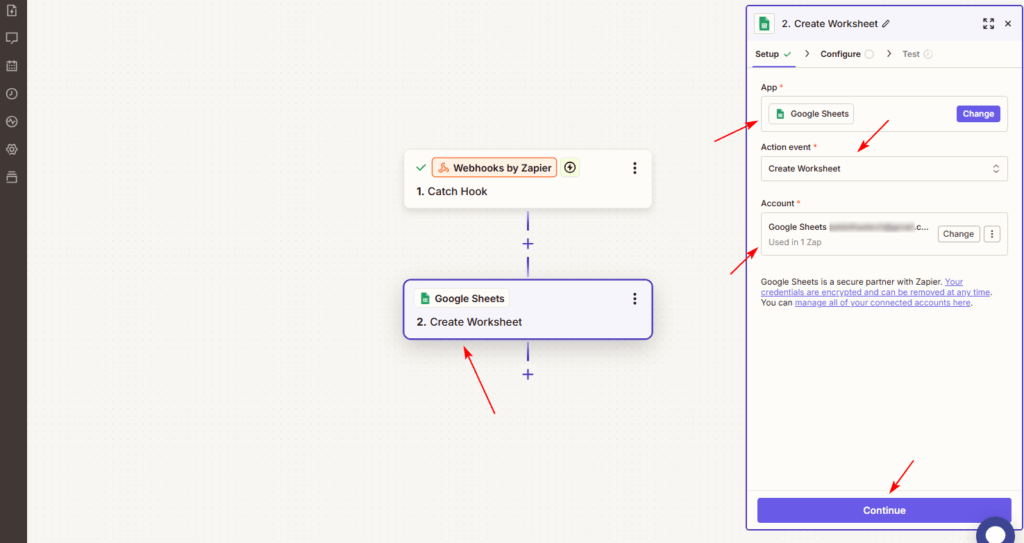
Step 5: Set Up an Action in Zapier
- After the trigger is set up, choose the app you want to send the form data to (e.g., Google Sheets, Gmail, Notion).
- Configure the action settings and map the HT Contact Form fields to your chosen app.
- Click Continue, test the action, then Publish your Zap.
💡 Pro Tips
- You can connect multiple forms to different Zaps using unique Webhook URLs.
- Use Zapier filters to add conditions before executing an action.
- Pair with other integrations for complex workflows—like sending data to CRM, email, and task tools simultaneously.
Last updated on March 10, 2026
Was this article helpful?
Powered by Support Genix