Constant Contact is a powerful email marketing service that helps you manage your contacts, send targeted campaigns, and grow your business. With HT Contact Form, you can easily connect your form entries to Constant Contact and sync subscriber information automatically.
Step 1: Enable Constant Contact Integration
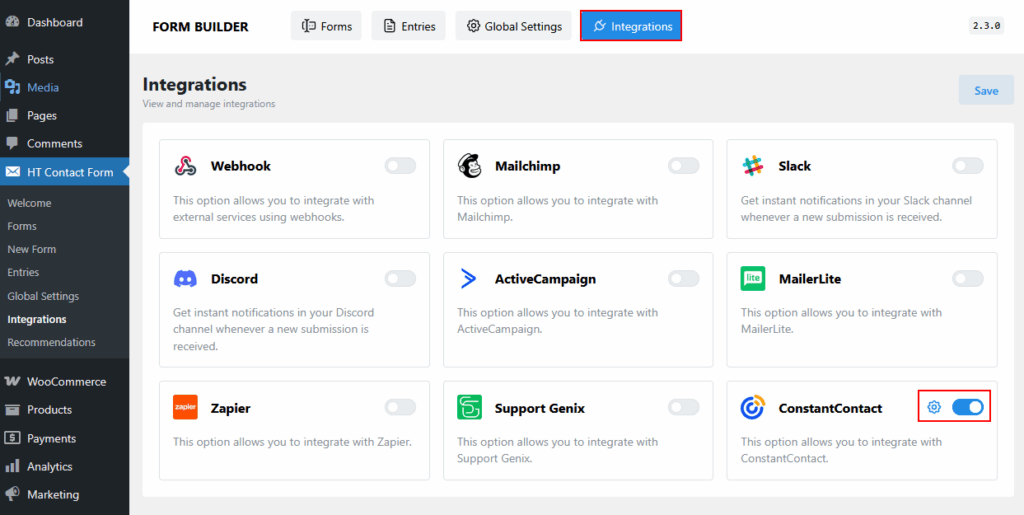
- Navigate to HT Contact Form → Integrations in your WordPress dashboard.
- Locate Constant Contact and toggle it ON.
- Click the gear icon (⚙️) to configure the settings.
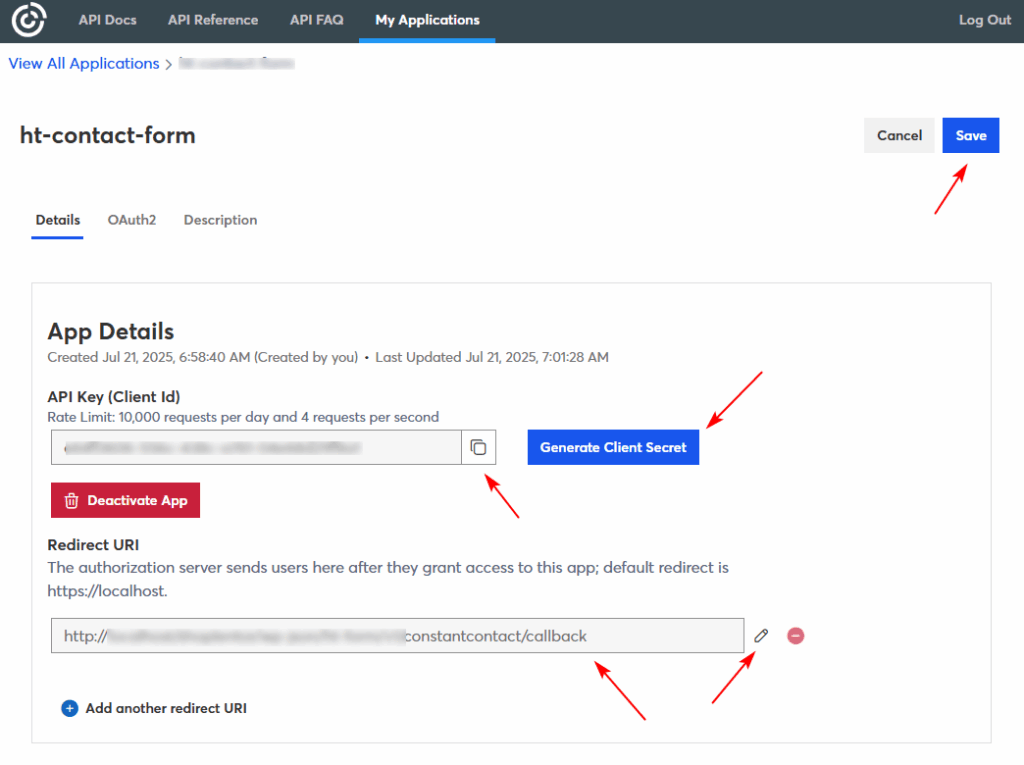
Step 2: Get Constant Contact API Credentials
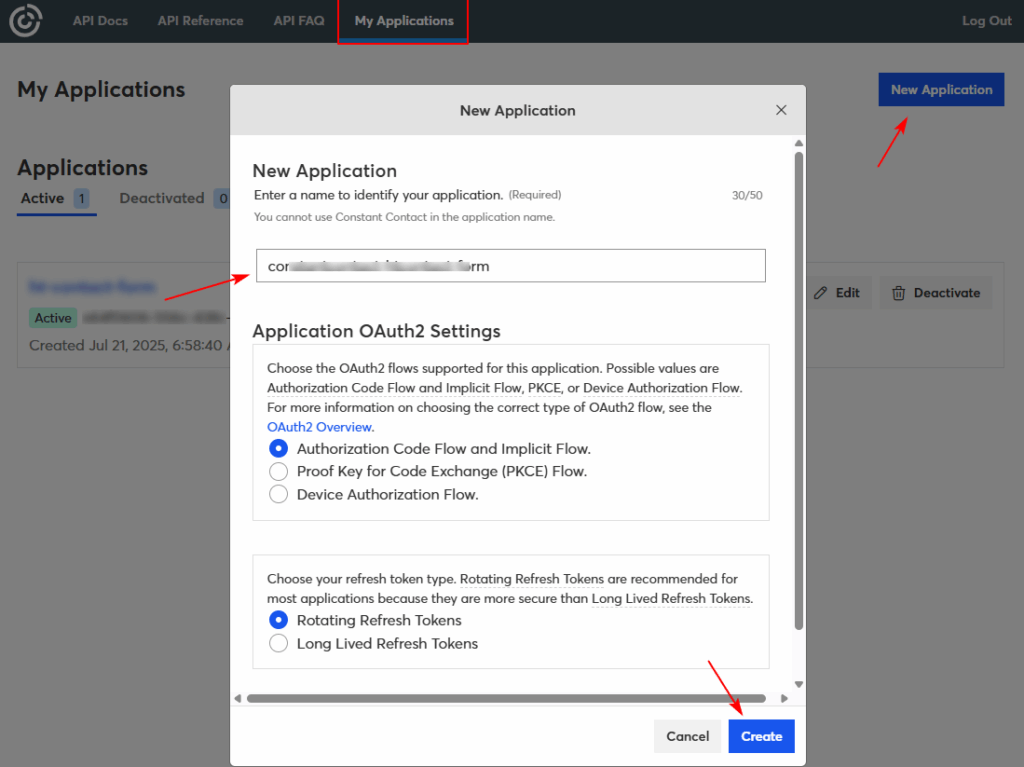
- Log in to your Constant Contact Developer Portal.
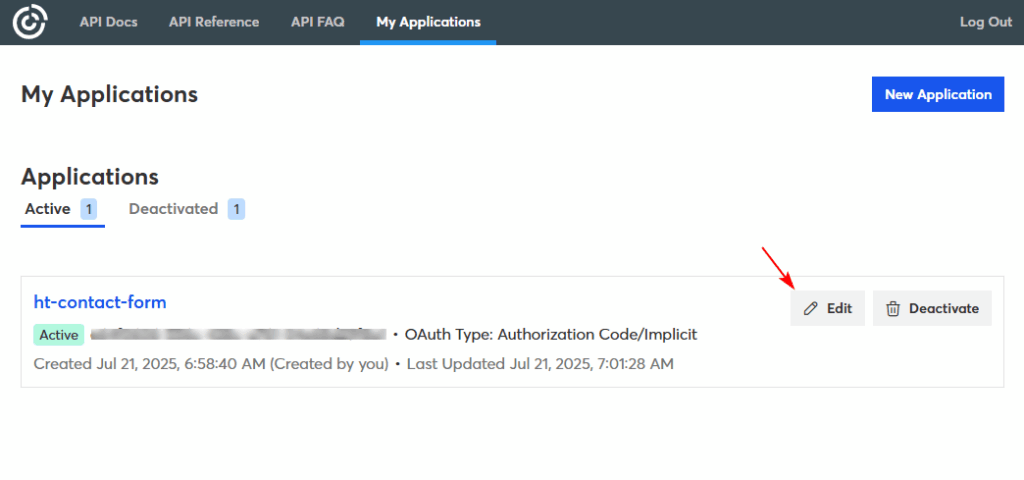
- Create a new application to get your Client ID and Client Secret.
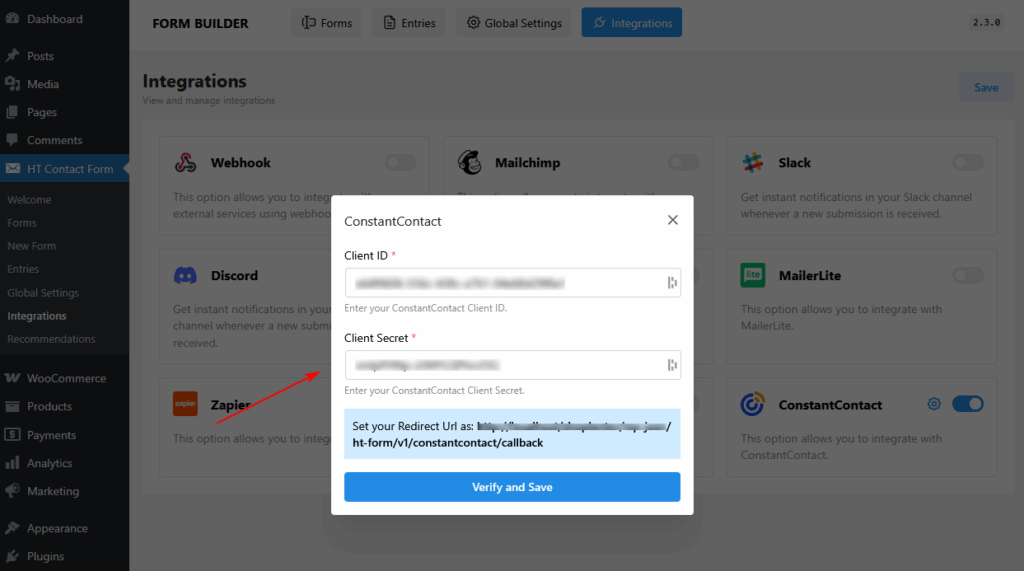
- Set the Redirect URI to: https://yourdomain.com/wp-json/ht-form/v1/constantcontact/callback
- Copy both the Client ID and Client Secret.
Step 3: Connect Constant Contact to HT Contact Form
- Paste your Client ID and Client Secret into the popup fields in HT Contact Form.
- Click Verify and Save.

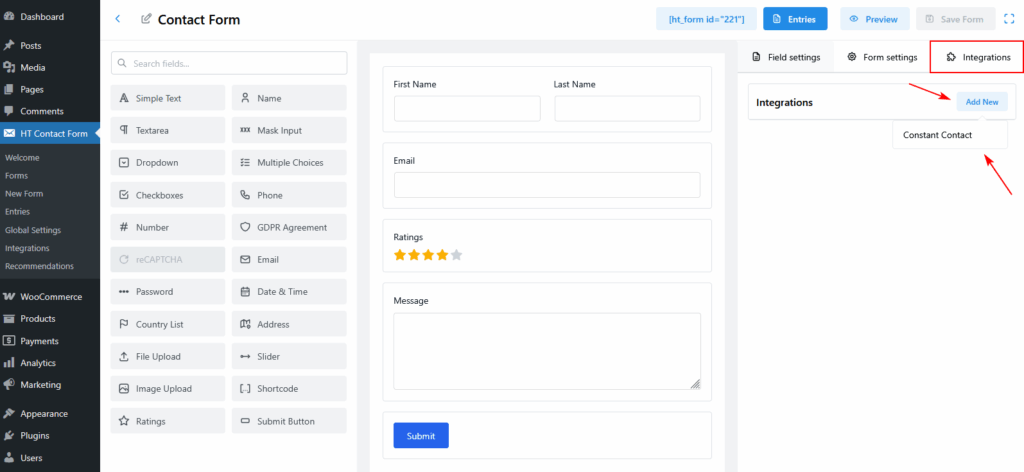
Step 4: Assign Integration to a Form
- Go to HT Contact Form → Forms and select a form.
- Click on the Integrations tab.
- Press Add New and choose Constant Contact.
Step 5: Configure Integration Settings
Inside the integration panel:
- Enable Constant Contact – Toggle it ON.
- Name – Give this integration a unique label.
- Constant Contact List – Choose the list where the data should be sent.
- Tags – Optionally assign tags for better segmentation.
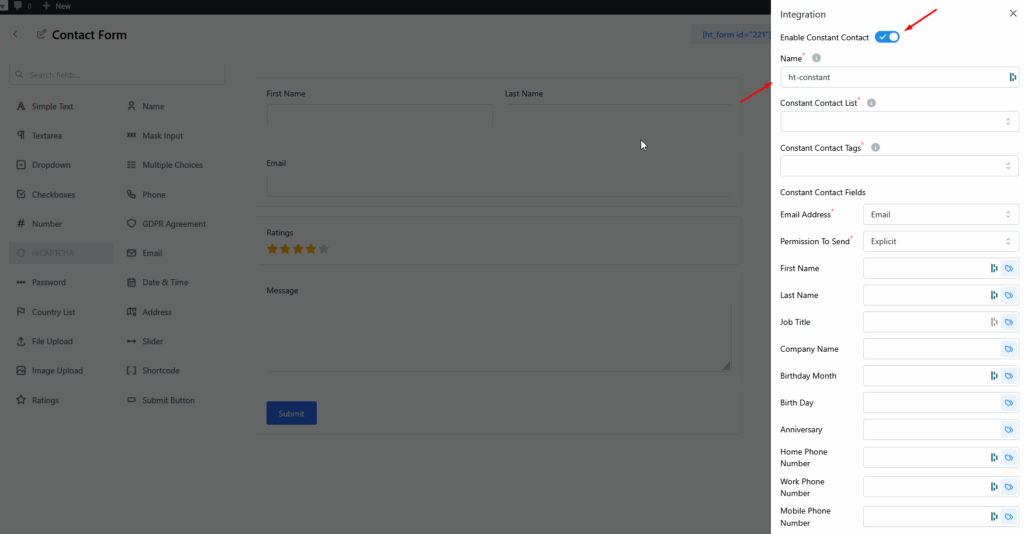
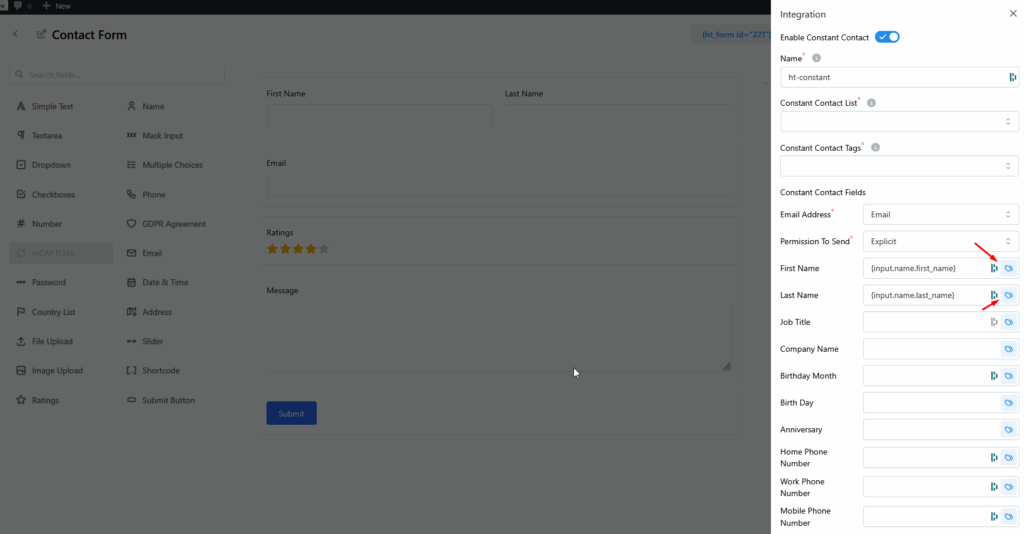
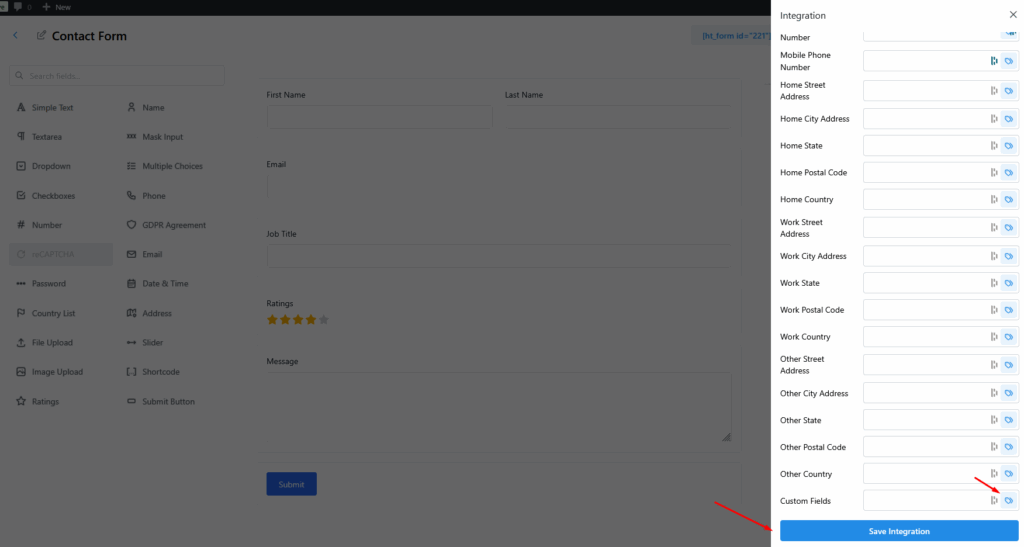
Step 6: Map Constant Contact Fields
Match your form fields to Constant Contact fields such as:
- Email Address (required)
- Permission To Send (required)
- First Name, Last Name
- Job Title, Company Name
- Birthday, Anniversary
- Phone Numbers and Addresses
Step 7: Use Custom Fields (Optional)
At the bottom of the integration settings:
- Use the Custom Fields section to map any additional fields not listed.
- Click Save Integration when done.
Last updated on March 10, 2026
Was this article helpful?
Powered by Support Genix