Easily connect your form submissions to external services using the Webhook integration in HT Contact Form.
This allows you to send collected data to any third-party web application or endpoint in real time.
Follow the steps below to set it up:
Step-by-Step: Integrating Webhooks
1. Enable Webhook Integration
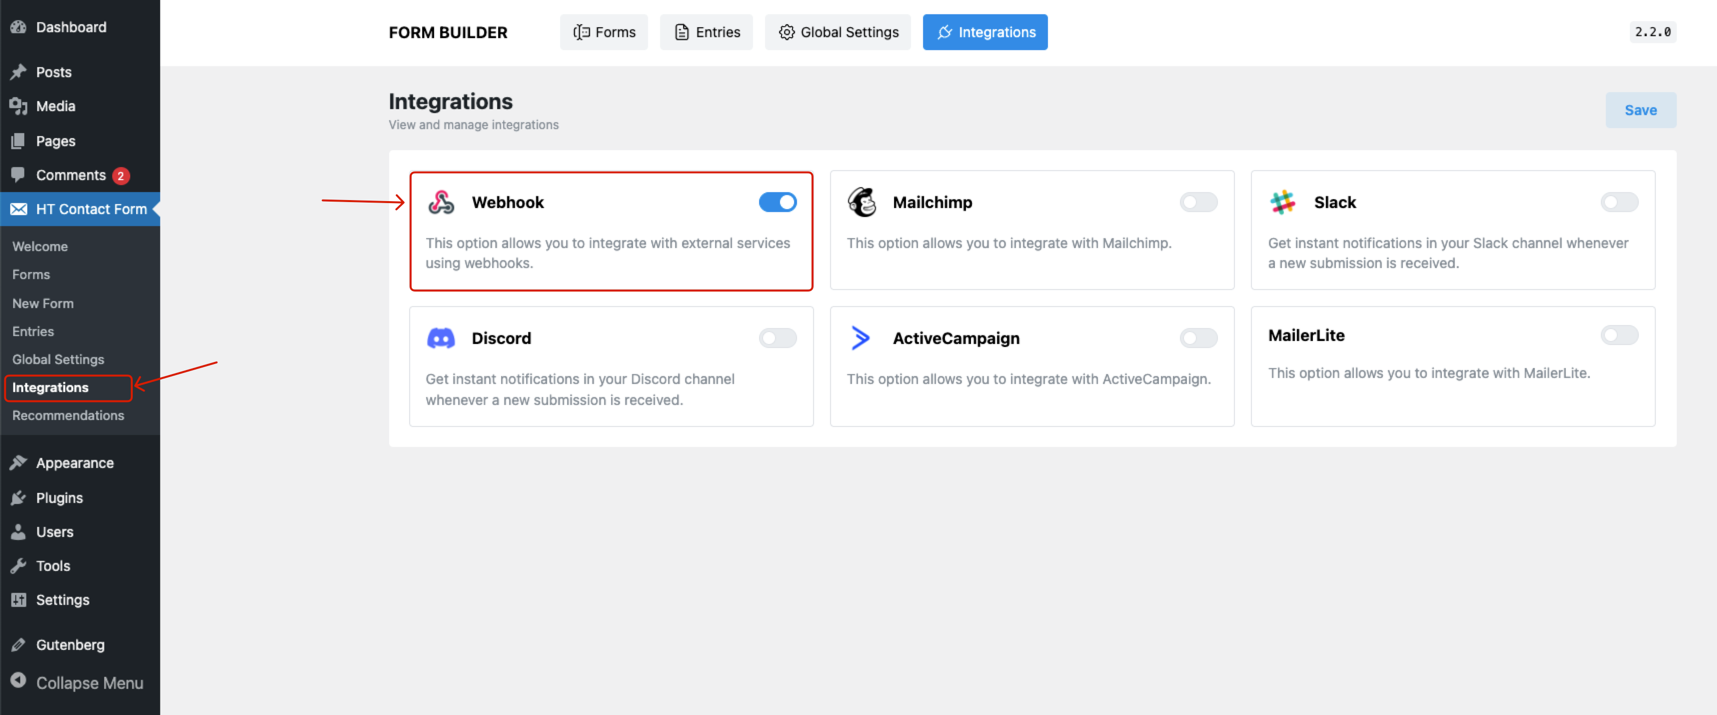
First, go to the HT Contact Form → Integrations menu from your WordPress dashboard sidebar.
From the list of available integrations, locate Webhook and enable it by toggling the switch.
2. Create or Edit a Form
Now either:
- Create a new form from the Forms menu, or
- Edit an existing form where you want to add webhook integration.
3. Configure Webhook Integration
After entering the form builder:
Fill in the required configuration options as described below:
- Click the Integrations tab.
- Select Webhook from the available options.
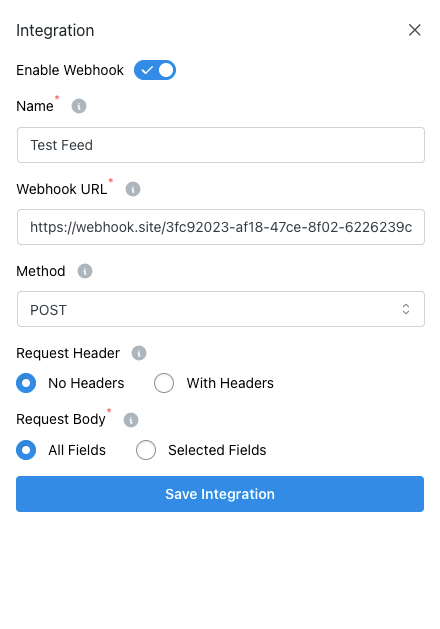
- Enable the integration by toggling the Enable Webhook switch.
🔧 Webhook Configuration Options
- Name:
Give your webhook integration a unique name (e.g., “Zapier Webhook”). - Webhook URL:
Enter the target URL where you want to send the form data. - Method:
Select the request method. Currently, POST is the default and only supported method. - Request Header:
Choose whether to include custom headers:- No Headers
- With Headers (if enabled, add necessary key-value pairs)
- Request Body:
Decide what data to send:- All Fields – Send all form submission data
- Selected Fields – Choose specific fields only
4. Save the Integration
Once all settings are configured, click the Save Integration button to activate the webhook connection.
Pro Tips:
- Use Auto Country Select for faster user interaction.
- Hide or show specific countries to tailor the form to your business region.
- Combine placeholder, help message, and required for a complete user experience.
Last updated on March 10, 2026
Was this article helpful?
Powered by Support Genix