Effective customer support is crucial for any business. A robust support ticketing system can help manage customer inquiries efficiently, improving satisfaction and streamlining operations. In this guide, we’ll show you how to set up a professional support ticketing system in WordPress using Support Genix.
What is a Support Ticketing System?
A support ticketing system organizes customer communication, making it easy to manage inquiries, complaints, and requests. It centralizes all interactions into one platform, ensuring no issue gets lost.
Benefits:
- Organized Communication: Each customer interaction is assigned a unique ticket ID.
- Efficiency: Tickets can be tracked and prioritized for timely responses.
- Collaboration: Multiple agents can work on complex issues together.
- Customer Satisfaction: Faster response times and consistent service.
- Scalability: Easily manage increasing support volume.
Why Choose WordPress for Your Ticketing System?
WordPress powers over 40% of websites. Here’s why it’s an excellent choice for a support ticketing system:
Advantages:
- Seamless Integration: Easily integrate a ticketing system into your existing WordPress website.
- Cost-Effective: No per-agent or per-ticket fees.
- Full Data Ownership: Keep your customer data secure on your server.
- Customization: Modify the system to fit your business needs.
- Familiar Interface: Your team already knows WordPress, reducing the learning curve.
Getting Started with Support Genix
Support Genix is a powerful helpdesk plugin for WordPress, offering ticketing, AI chatbots, a knowledge base, and customer portals.
Installation Steps:
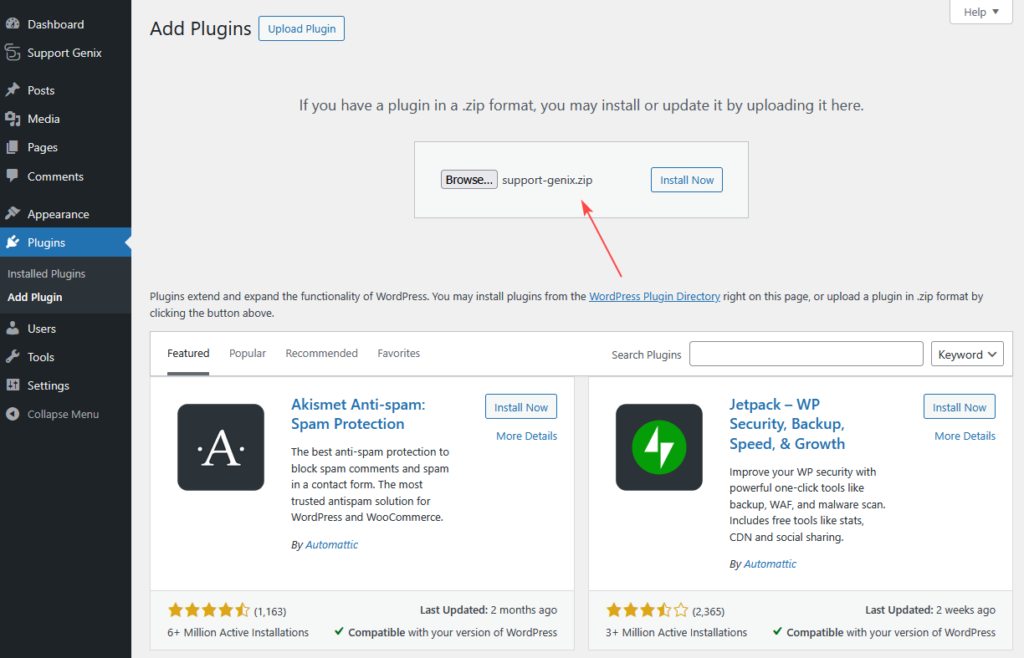
- Download and Install
- Log in to your WordPress admin dashboard
- Navigate to Plugins > Add New
- Search for “Support Genix” or upload the plugin ZIP file
- Click Install Now, then Activate
- Initial Setup Wizard
- After activation, Support Genix launches a setup wizard
- Configure basic settings like your support email and company name
- Set up your first ticket category
- Create your admin account if needed
- Access the Dashboard
- Find Support Genix in your WordPress admin menu
- The main dashboard shows ticket statistics and quick actions
Setting Up Your Ticketing System
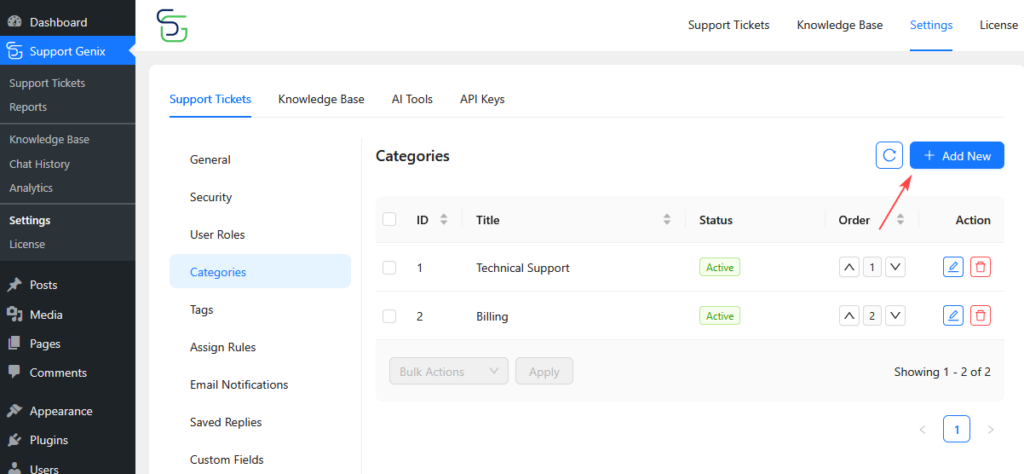
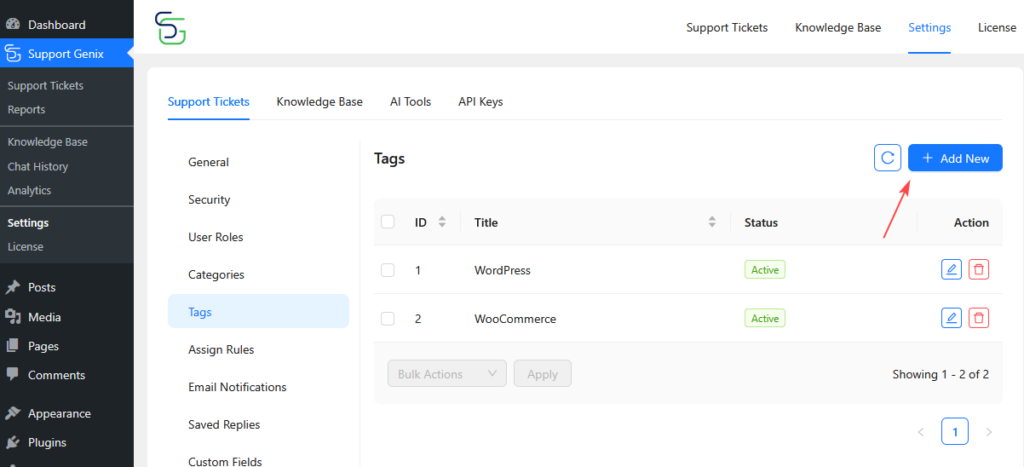
Create Categories and Tags
- Categories: Organize tickets by issue type (e.g., Billing, Technical Support).
- Tags: Add extra labels for quick filtering (e.g., Urgent, Refund Request).
Configure Ticket Statuses and Priority Levels
- Statuses: Open, In Progress, On Hold, Closed, and Reopened.
- Priority: Set priority levels for tickets (Low, Medium, High).
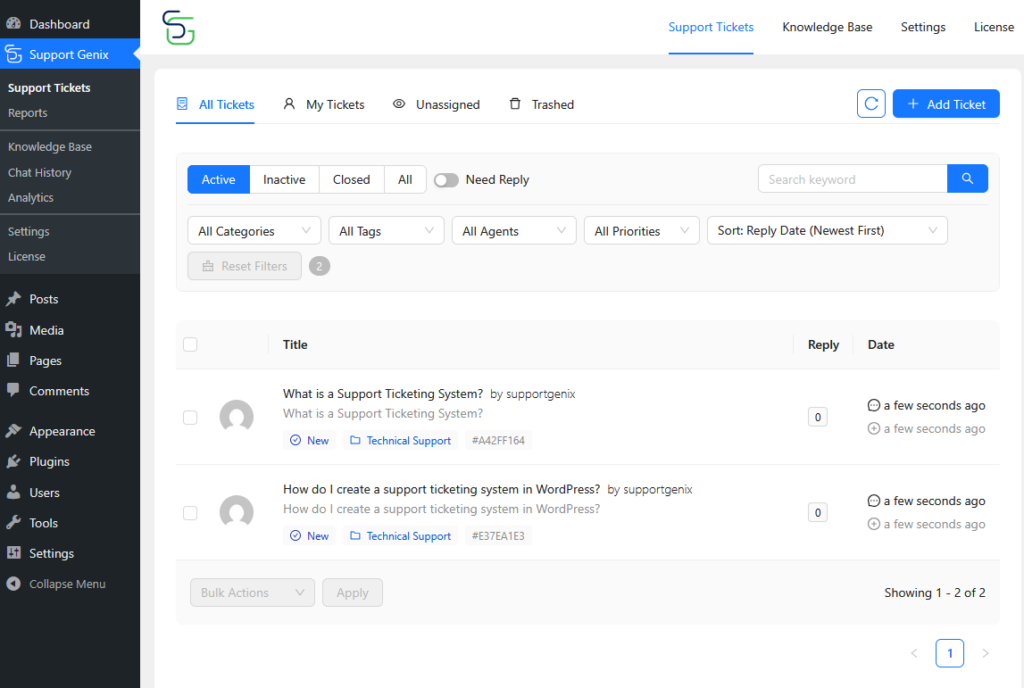
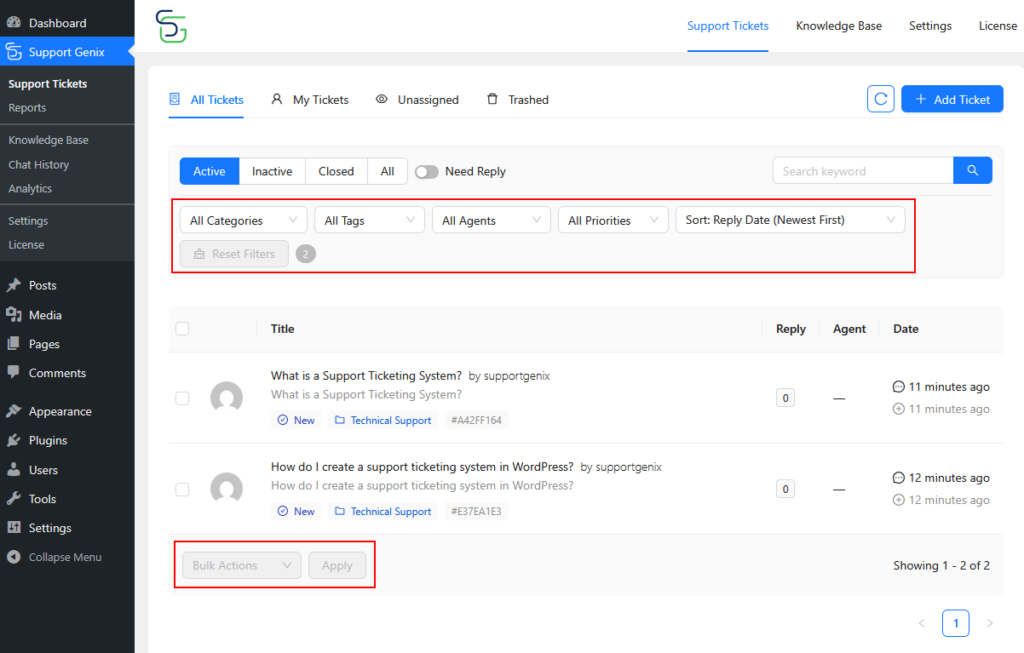
Managing Tickets Effectively
Ticket Dashboard Features:
- Filters: Sort tickets by status, priority, or assigned agent.
- Quick Search: Find tickets by customer name, ID, or content.
- Bulk Actions: Manage multiple tickets simultaneously.
Responding to Tickets:
- Compose a Reply: Use the rich text editor and attach files as needed.
- Canned Responses: Save time with pre-written replies for common issues.
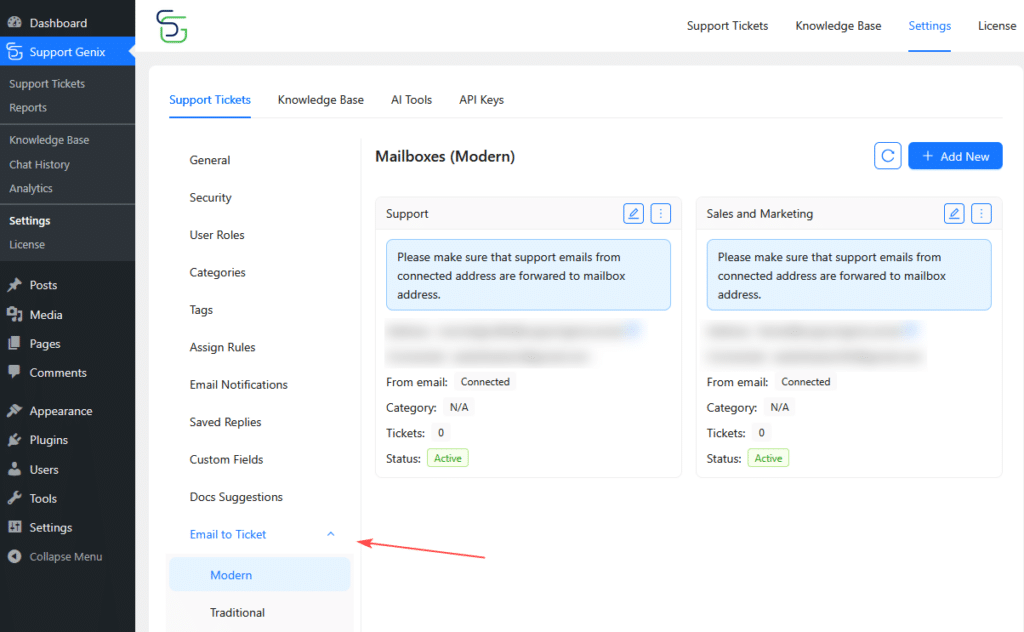
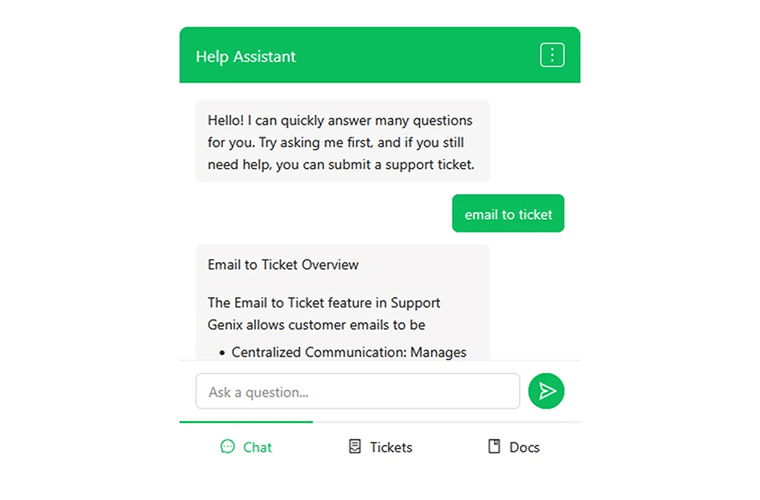
Email Integration
Support Genix can automatically turn incoming emails into tickets.
- Email-to-Ticket Setup:
- Go to Settings > Email-to-Ticket and configure your email settings (IMAP server, credentials).
- Email Templates:
- Personalize notifications using dynamic placeholders like
{ticket_id},{customer_name}, and{agent_name}.
- Personalize notifications using dynamic placeholders like
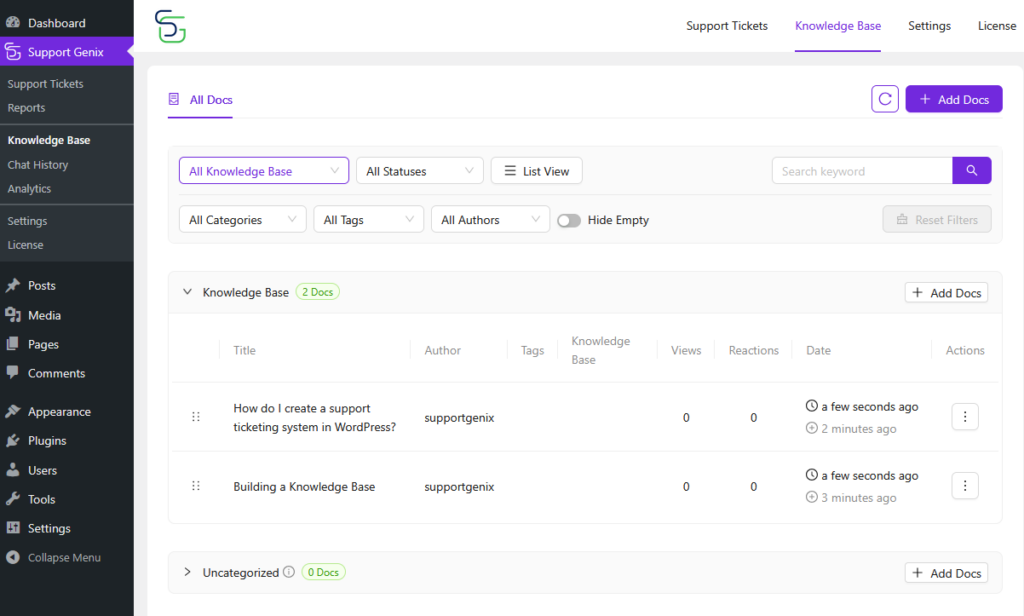
Building a Knowledge Base
A knowledge base empowers customers to find answers independently, reducing ticket volume.
- Create Articles:
- Go to Support Genix > Knowledge Base to add articles.
- Organize articles by category (e.g., Getting Started, Troubleshooting).
- Best Practices:
- Write clear, concise titles and break down instructions into numbered steps.
- Use screenshots and videos to enhance understanding.
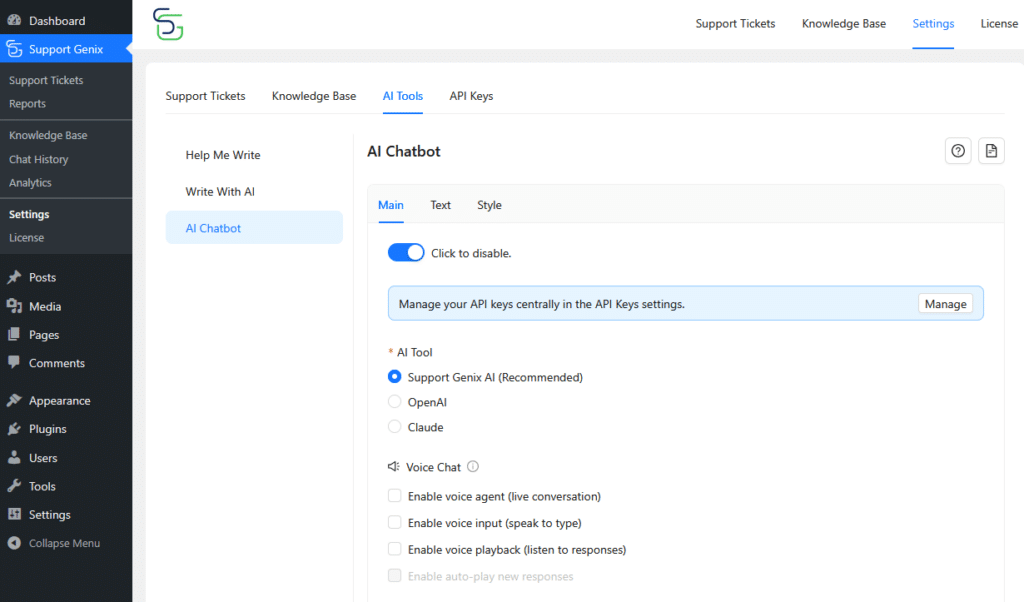
Setting Up the AI Chatbot
Support Genix features an AI-powered chatbot to provide instant customer assistance.
- Enable Chatbot:
- Go to Settings > Chatbot and enter your API keys.
- Customize its appearance and set up a welcome message.
- How It Works:
- The chatbot answers queries by searching your knowledge base and providing AI-generated responses.
Creating a Customer Portal
A customer portal allows customers to manage their tickets and track progress.
- Set Up the Portal:
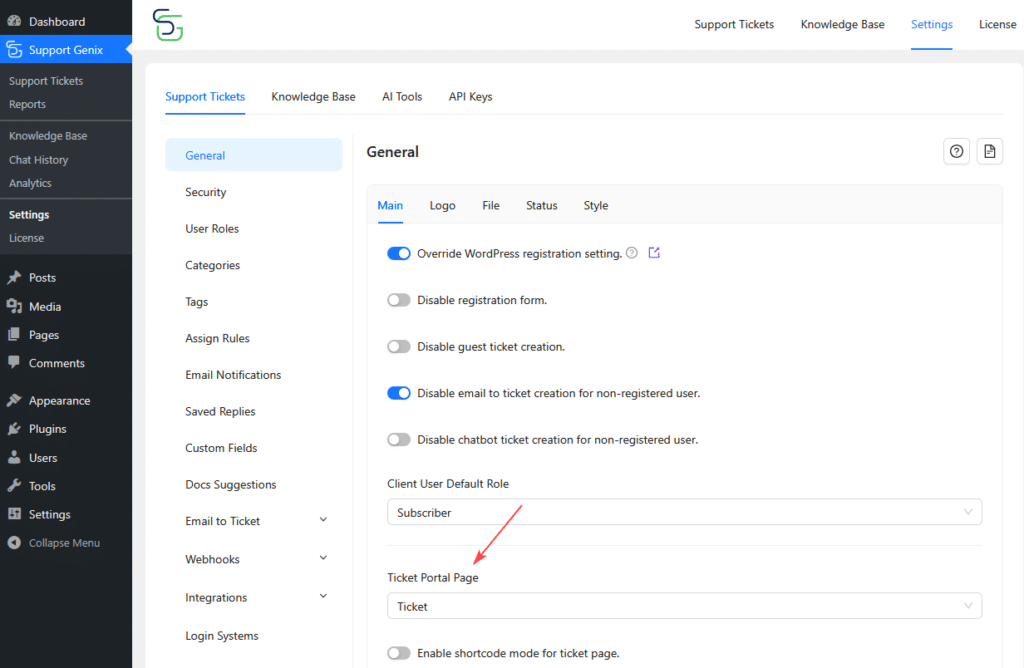
- Create a WordPress page and add the shortcode
[supportgenix_portal]. - Customize the portal’s appearance in Settings > Portal.
- Create a WordPress page and add the shortcode
- Portal Features:
- Submit and track tickets, search the knowledge base, and manage profile details.
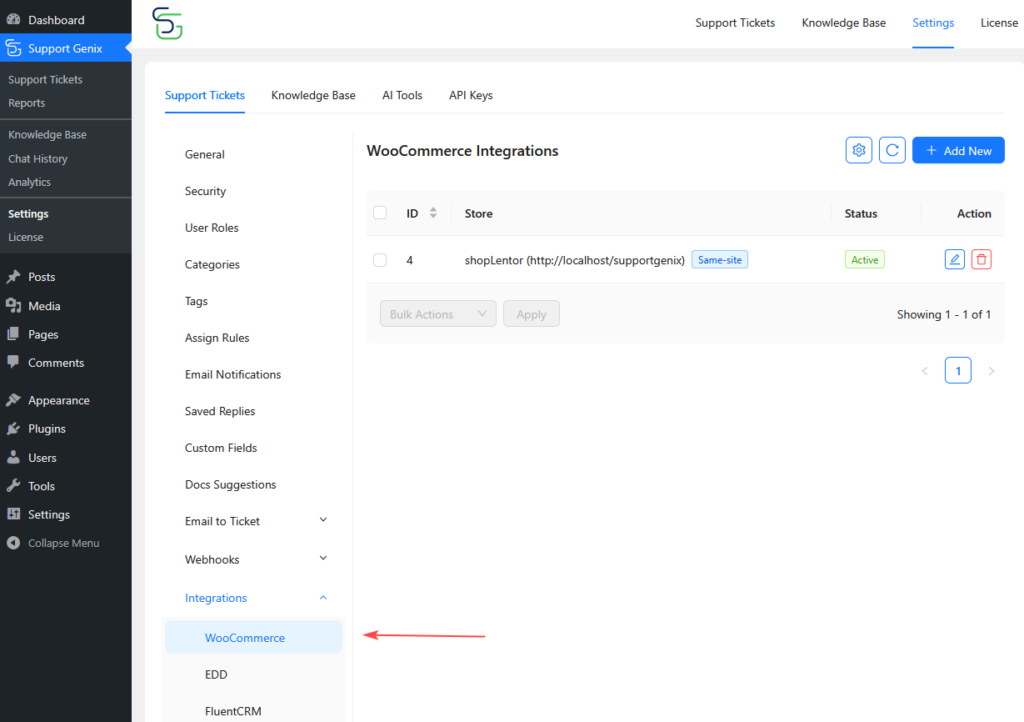
Integrating with E-commerce Platforms
Support Genix integrates with WooCommerce and EDD, making support management even more powerful.
- WooCommerce Integration:
- Link tickets to specific orders and view customer purchase history directly in the ticket.
- EDD Integration:
- Access customer downloads and licenses in ticket views.
Team Collaboration and Automation
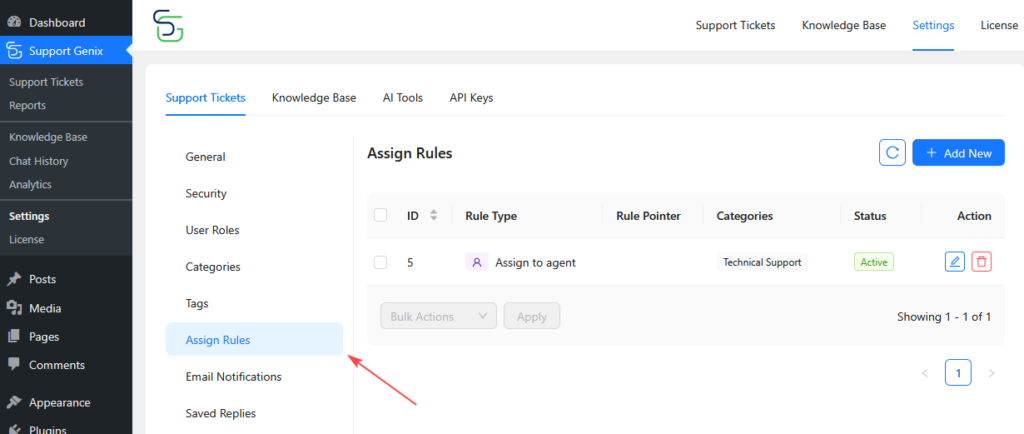
Team Roles and Assignment Rules
Create custom roles (e.g., Agent, Admin) and set permissions for each.
- Assign Tickets Automatically:
- Use rules based on category, priority, or agent load to distribute tickets evenly.
Automating Support:
Set up automation for ticket assignments, responses, and status updates to reduce manual work.
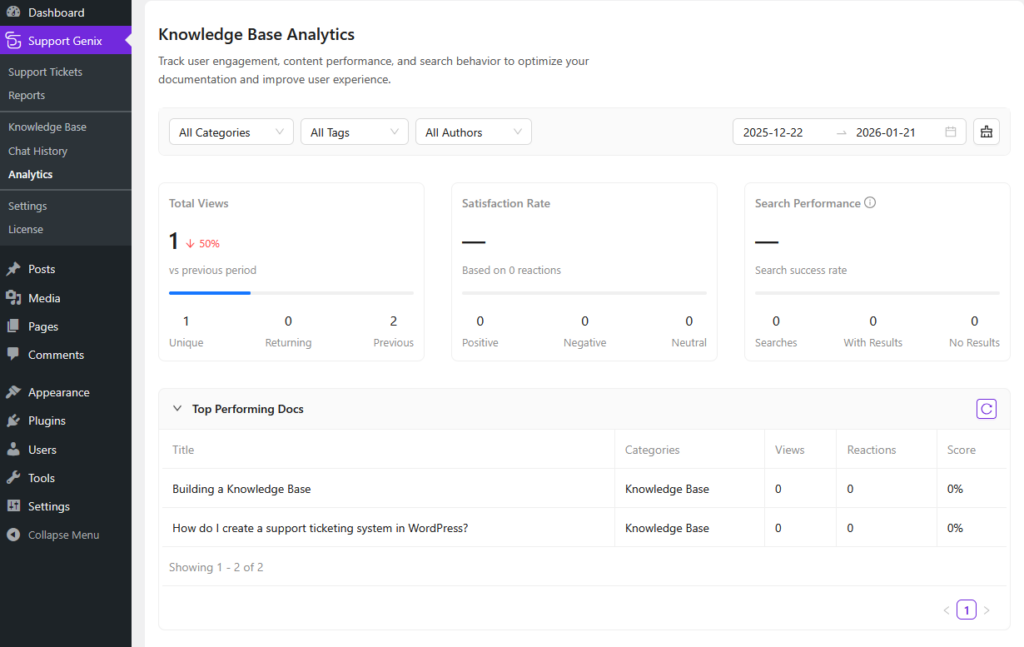
Monitoring and Analytics
Track ticket volume, agent performance, response times, and customer satisfaction through built-in analytics.
Reports:
- Ticket Volume: See trends over time.
- Agent Performance: Track resolution times and workloads.
- Knowledge Base Analytics: Monitor which articles are most helpful.
Best Practices for Support Excellence
- Response Time: Aim for under 1 hour for first responses and within 24 hours for follow-ups.
- Clear Communication: Use simple language and avoid technical jargon.
- Empathy: Acknowledge customer frustration and resolve issues thoroughly.
Advanced Features
AI-Powered Assistance:
- Smart Suggestions: The chatbot can suggest relevant knowledge base articles.
- Voice Support: Use text-to-speech and speech-to-text features for seamless customer communication.
Custom Fields and Multi-Language Support:
Add custom fields to tickets (e.g., order numbers) and provide multilingual support with WPML or Polylang.
Troubleshooting
If you encounter issues like emails not converting into tickets or notifications not sending, check the plugin settings and IMAP connections. Use the Support Genix support team for further assistance.
Conclusion
With Support Genix, creating a seamless, efficient ticketing system in WordPress is straightforward. The plugin offers everything you need to streamline customer support and improve satisfaction, from ticket management and AI chatbots to knowledge base integration and e-commerce platform connectivity.
Next Steps:
- Install Support Genix on your WordPress site.
- Configure basic settings using the setup wizard.
- Create your ticket categories and tags.
- Set up email-to-ticket integration for automated ticket creation.
- Launch your knowledge base and AI chatbot for self-service support.
Get Started with Support Genix and take your customer support to the next level!
Resources: