How to Add Image Comparison to WordPress Site: An Easy Way
Adding an image comparison to your WordPress site can be a great way to showcase the difference between two images.
Whether you’re comparing before and after images of a remodel, an image comparison can be powerful. You can also use it to highlight product features and engage your visitors more effectively.
Posts with visuals get 650% more engagement than text-only posts. Even more impressive, users spend 88% more time on websites that feature interactive content. That’s why learning how to add image comparison to a WordPress site is essential.
It helps boost engagement, increases time-on-site, and can significantly drive more conversions.
- Key Takeaways
- What is an Image Comparison widget and How Does It Work
- Benefits of Using Image Comparison on WordPress
- How to Add Image Comparison to WordPress Site
- Step 1: Install and Activate HT Mega Plugin
- Step 2: Enable the Image Comparison Widget
- Step 3: Add the Widget to Your Page
- Step 4: Customize Your Image Comparison
- Styling Your Image Comparison Widget
- Best Practices for Image Comparison
- Frequently Asked Question
- Final Thoughts
Key Takeaways
- Add image comparison to WordPress without any coding.
- Create before and after sliders that boost engagement 88%.
- Set up interactive comparison widgets in under 10 minutes.
- Optimize images for fast loading and mobile devices.
- Increase conversions up to 40% with visual comparisons.
What is an Image Comparison widget and How Does It Work
An Image Comparison widget is an incredibly useful tool that allows users to compare two images side by side. It is a great way of examining fine details in photos, as well as enabling differences between similar images to be quickly identified.
For example, when designing or troubleshooting a product, an image comparison widget can be used to see the subtle variations between components and spot errors.
These widgets provide an interactive and visually stimulating experience for users. They allow users to not only see the comparison between various image options but also explore those options further with enhanced interactivity.
Benefits of Using Image Comparison on WordPress
Before diving into the technical steps, let’s explore why adding a WordPress image slider before after feature is crucial for your website:
Increased User Engagement
Interactive image comparison WordPress widgets keep visitors on your site 88% longer than static images. Users love to interact with split image sliders, moving the handle back and forth to explore differences. This hands-on experience creates memorable interactions that keep visitors coming back.
Better Conversion Rates
For eCommerce sites, a WordPress split image slider can boost conversions by up to 40%. Customers can clearly see product improvements or treatment results, making purchasing decisions easier. Visual proof builds trust and credibility that drives sales.
Enhanced Storytelling Capabilities
Image comparison widgets transform your content into compelling visual stories. Instead of lengthy descriptions, you can showcase transformations that instantly communicate value. This powerful storytelling method helps visitors quickly understand your services or products.
Improved Content Credibility
Interactive comparisons let visitors control their viewing experience, building trust in your results. When users can examine details themselves, they feel more confident about authenticity. This transparency is especially valuable for businesses where trust drives conversions.
Versatile Use Cases
The Elementor image comparison widget works perfectly for real estate, beauty services, web design, and e-commerce. From home renovations to product features, the applications are endless. Any business showcasing transformations or improvements can benefit from this tool.
Mobile-Friendly Experience
Modern image comparison plugins are fully responsive on all devices. Touch-friendly controls ensure mobile users enjoy the same engaging experience as desktop visitors. With 60% of web traffic from mobile, this compatibility is essential for reaching your audience.
How to Add Image Comparison to WordPress Site
With HT Mega Plugin, adding an Image Comparison widget to your WordPress site is so easy. With this widget, you can conduct precise comparisons between before and after images for grading, CGI effects, and any other retouching needs.
Let’s discover how comparison can be used effectively and accurately in any project and make the most of this incredible power with just a few steps!
Follow these simple steps to easily integrate the Image Comparison Widget into your site and maximize its benefits!
Step 1: Install and Activate HT Mega Plugin
First, you’ll need to install the HT Mega plugin from your WordPress dashboard:
1. Navigate to Plugins → Add New
2. Search for “HT Mega”
3. Click “Install Now” and then “Activate”
4. You’ll see a new “HT Mega Addons” option in your WordPress menu
Step 2: Enable the Image Comparison Widget
To enable the Image Comparison widget, simply open your WordPress dashboard and navigate to HTMega Addons. From there, go to the Settings tab, then click on Elements and activate the Image Comparison feature.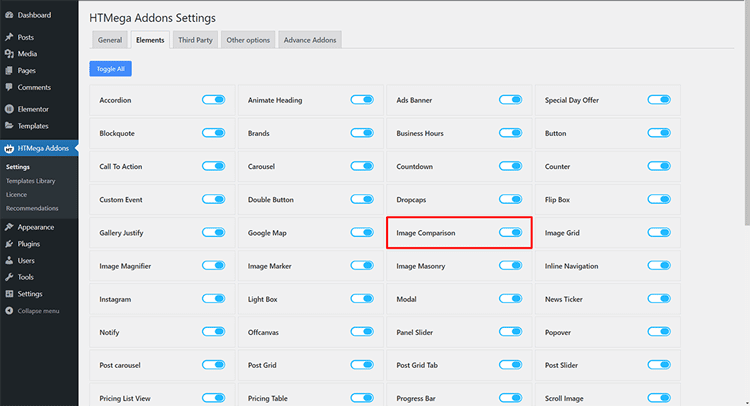
Step 3: Add the Widget to Your Page
If you want to add image comparison to your WordPress site, just simply write the widget name “Image Comparison” into your search bar and select a widget that has the HT badge.
Instantly enhance your page using the intuitive HT Mega Image Comparison widget. Just drag and drop to showcase stunning before and after visuals in seconds.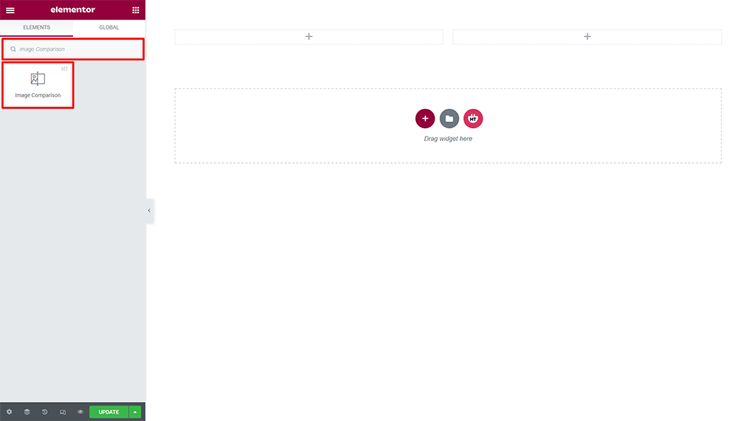
When using Elementor:
- Edit your page with Elementor
- Search for “Image Comparison” in the widget panel
- Look for the one with the HT Mega badge
- Drag it to your desired location on the page
Step 4: Customize Your Image Comparison
Content Setting:
Image Comparison: Customize ‘before and after’ images, as well as their size, to meet the specific needs of your business.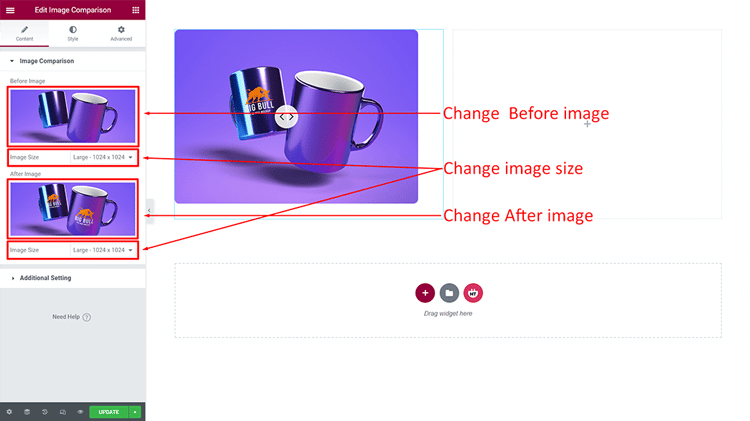
Additional Setting:
Before and After Title: With the flexibility to adjust your title before and after, you can easily customize it according to what best suits your needs.
Before Start Amount: Customize the before-start amount to meet your individual needs. This controls how much of the “before” image is visible initially (e.g., 50% shows half of each image)
Level Position: According to your individual needs, you can customize the alignment of your level to be on top, center, or bottom for enhanced convenience.
Positioning Lebel: Transform the positioning label you require to fit your needs.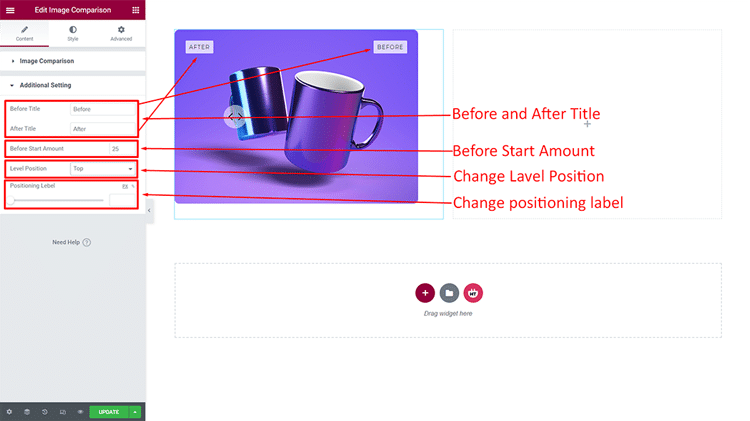
Styling Your Image Comparison Widget
The image comparison styles can be edited from the following options:
Box Style: With the Box Style, you can create a custom look that reflects your unique vision. You can adjust padding, margins, borders, and background colors to match your WordPress theme perfectly.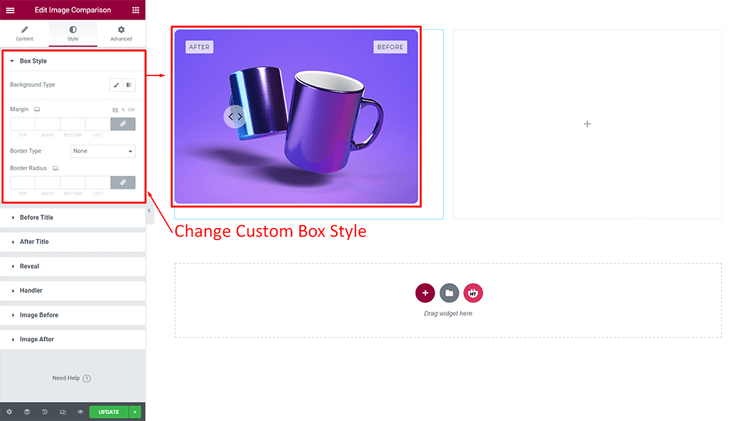
Before Title: Personalize the Before Title to perfectly fit your desires and preferences!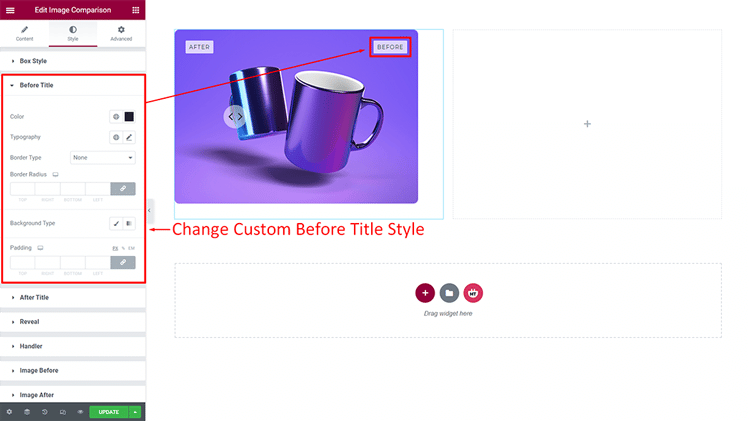
After Title: You are able to tailor the style of After Title according to your preference.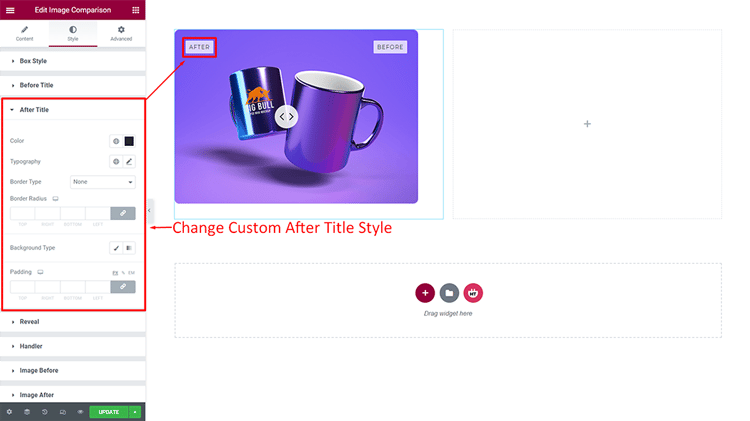
Reveal: Choose a unique border style to add your own personal touch and customize the look of your page! Options include solid, dotted, dashed, or custom border styles.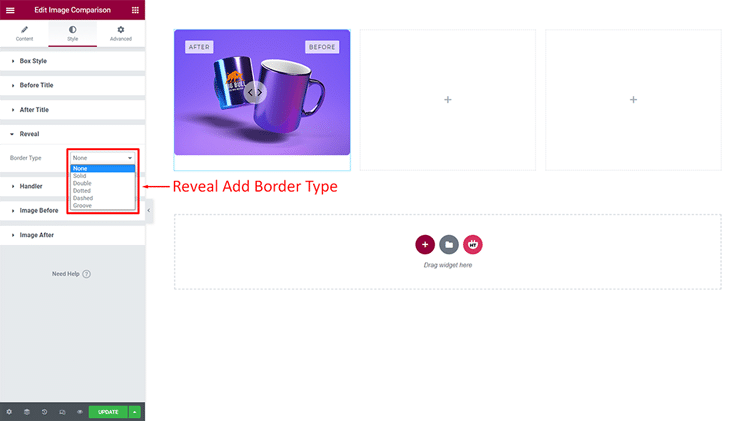
Handler: Give your Handler a unique look by customizing its style to suit your preference. You can change the handle icon, color, size, and hover effects to create an engaging user experience.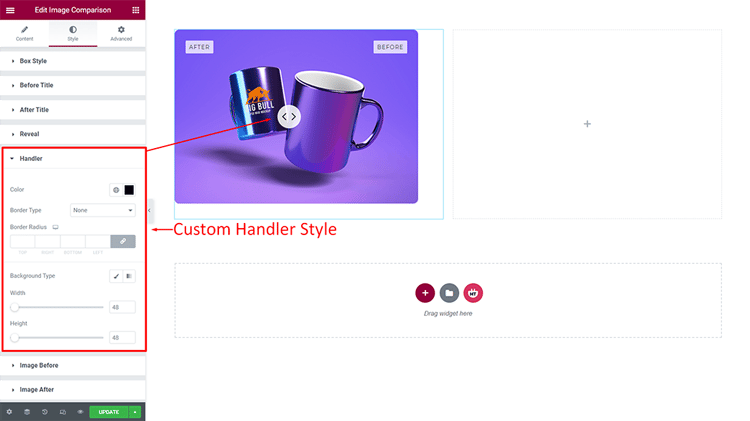
Image Before: The style of the Image Before is completely customizable to your liking!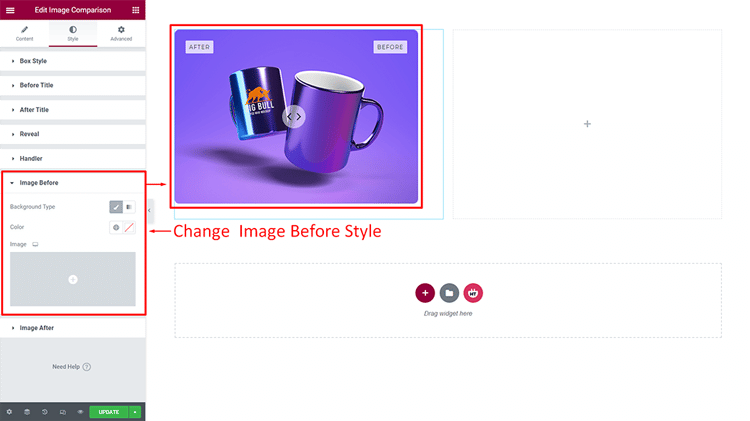
Image After: Enjoy the flexibility to personalize and tailor your Image After exactly how you want it!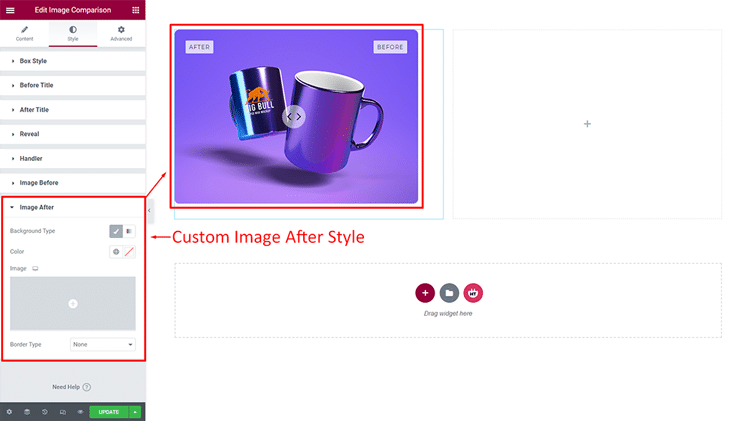
Best Practices for Image Comparison
To maximize the impact of your WordPress image comparison widget, following proven best practices is essential. Let’s learn:
- SEO Optimization: Use descriptive file names like “kitchen-renovation-before.jpg” instead of “IMG_1234.jpg”. Add relevant captions below your comparison widget explaining the transformation. Include your target keywords naturally in the surrounding content for better rankings.
- Image Optimization Tips: Keep your before and after images under 200KB each using JPEG format at 60-80% quality. Ensure both images have identical dimensions for smooth slider operation. Consider using the WebP format for 30% better compression without quality loss.
- Mobile Responsiveness: Your comparison widget should automatically adjust to all screen sizes with touch-friendly controls. Test the slider handle size on mobile devices to ensure easy interaction. Always preview your comparisons on smartphones before publishing.
Frequently Asked Question
What is HT Mega Plugin?
HT Mega is a WordPress plugin that brings you lots of elementor addons, widgets, and templates. The Image Comparison widget is part of HT Mega, which helps to create an interactive image comparison slider.
How do I use the Image Comparison Plugin widget?
To use the Image Comparison widget, start by installing the HT Mega plugin. Then, navigate to the WordPress dashboard,
WordPress Dashboard > HTMega Addons> Settings > Elements
and turn ON the “Image Comparison” widget.
Now, you can drag & drop the Image with this Image Comparison widget from the HT Mega elements list into the Elementor page builder page or post editor.
Q: What are the features of the Image Comparison Widget?
The image comparison widget comes with lots of features, such as a drag & drop option, two image comparisons, and more. This HT Mega plugin also offers many customization options like color customization option, which helps you to customize your Image Comparison widget as you need.
Is the widget compatible with all WordPress themes?
Yes, the HT Mega image comparison widget works with any WordPress theme that supports Elementor. It automatically inherits your theme’s styling while allowing custom overrides.
Is HT Mega Plugin free?
HT Mega is a premium WordPress plugin, and it has both free and paid versions available. The free version comes with limited features, while the paid version offers more features and customization options.
Can I use multiple image comparisons on one page?
Yes! You can add unlimited image comparison widgets to a single page. This is perfect for showcasing multiple before/after examples or creating a gallery of transformations.
Final Thoughts
Image Comparison widgets have become the latest trend in modern web development, allowing website visitors to easily compare two images side by side.
These widgets provide an interactive and visually stimulating experience for users. They also encourage deeper engagement by letting users explore the differences more closely.
eCommerce stores and product review websites often utilize this tool to help customers make more informed buying decisions. It’s no surprise that these widgets are becoming ever more popular among developers.
Upgrade your WordPress site and level up professionalism with HT Mega Plugin’s unique Image Comparison widget. See just how efficient you can be, as this feature gives a simple way to compare images quickly and accurately – yielding remarkable results for every project!
Ready to transform your WordPress site with engaging before and after comparisons?
Install HT Mega today and start creating interactive image comparisons that convert visitors into customers. Your audience will love the ability to explore your visual content in a whole new way!