How to Create an eCommerce Website Using WooCommerce: The Ultimate Guide
If you’re looking to create an eCommerce website, then you’re in luck. In this guide, we will show you how to create an eCommerce website using WooCommerce.
WooCommerce has become the go-to solution for entrepreneurs and businesses. It’s perfect for anyone who wants to build an eCommerce website. Its flexible features make it a popular choice.
The seamless WordPress integration adds even more value. This powerful plugin holds over 28% market share of all online stores. It transforms any WordPress site into a fully functional eCommerce website.
WooCommerce users can customize it easily. You can match it to your brand and business needs. We’ll walk you through each step of the process. This includes installing WooCommerce. We’ll also cover adding products. Setting up payment methods is included too.
You might be a complete beginner. Or you just need a refresher course. Either way, read on for everything you need to know. Learn about creating an eCommerce website with WooCommerce!
Key Takeaways
- Get insights into choosing the right hosting solution like WPMU DEV.
- Learn the step-by-step process to create an eCommerce website using WooCommerce.
- Explore proven strategies for running a successful online store
- Discover how to enhance your WooCommerce eCommerce website with must-have plugins.
- Master how to make eCommerce website with WooCommerce look professional by customizing different shop pages.
- Understand how to set up multiple payment methods.
3 Tips for a Successful Online Store with WooCommerce
We need to jump into the technical aspects first. But it’s crucial to focus on business strategies. These strategies will ensure your business thrives. The online marketplace is very competitive. Let’s look at some tips. These will help you run a successful eCommerce business.
Quality Products for Your WooCommerce eCommerce Website
Make sure your products are high quality. Price them competitively too. This is important for any business. But it’s especially crucial for eCommerce stores. Online shoppers are often looking for the best deals. Product quality becomes even more critical with WooCommerce. Customers can’t physically examine items before purchase.
Prioritize User Experience and Navigation
Make sure your website is easy to navigate and use. Customers might have trouble finding products. They might struggle with completing transactions. If this happens, they’re likely to shop elsewhere.
Deliver Exceptional Customer Service
Always offer excellent customer service. This includes responding to questions quickly. Handle complaints professionally too. Your eCommerce website should include helpful features. Add live chat and a comprehensive FAQ section. Provide easy-to-find contact information. This supports exceptional customer service.
What is WooCommerce?
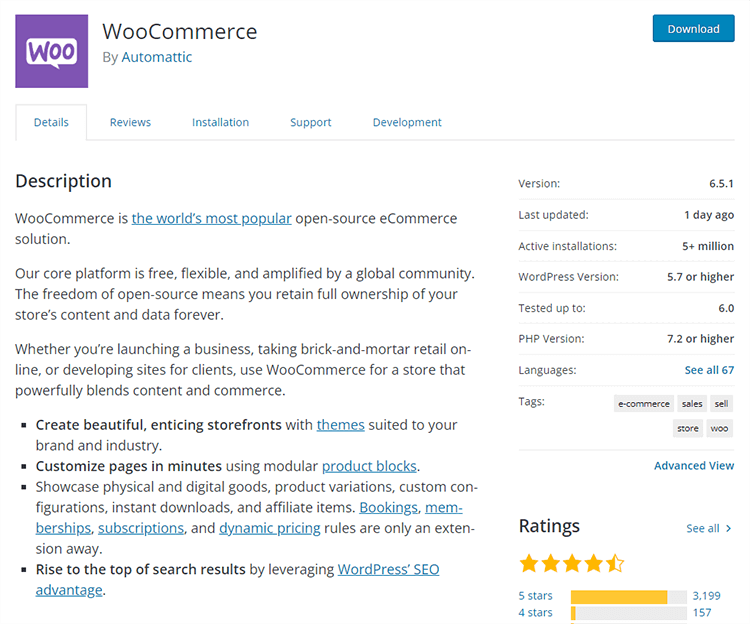
WooCommerce is a free, open-source eCommerce plugin for WordPress. It powers over 28% of all online stores worldwide. You need to install the plugin first. Then add products to your store. Finally, set up payment methods.
WooCommerce lets you sell physical products. You can also sell digital products. Set up an online store easily. Accept payments via credit card. PayPal works too. Many other payment processors are available.
Install additional plugins to extend functionality. Your WooCommerce store becomes more powerful.
Add a plugin to create a custom shopping cart. Add another plugin to display products in a grid layout. These are just simple examples of what’s possible.
WooCommerce Setup Process: Step by Step
Creating a successful online store requires a systematic approach. All components must work together seamlessly. Understanding WooCommerce setup involves several key steps. We’ll cover each step in detail.
How to Install WooCommerce
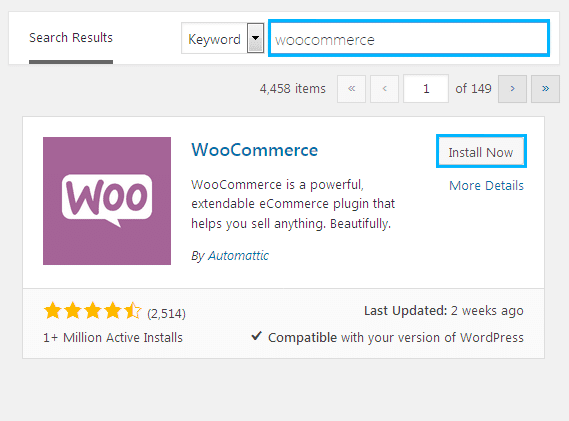
Installing WooCommerce is the first step. This creates an eCommerce website with WooCommerce. Follow these simple steps:
- Access your WordPress dashboard.
- Go to Plugins > Add New.
- Type “WooCommerce” into the search bar.
- Click “Install Now” next to the WooCommerce plugin.
- Once installation is complete, click “Activate Plugin”.
That’s it! WooCommerce is now ready to use.
Install Necessary WooComerce plugin
There are several well-known WooCommerce plugins from various businesses throughout the world. Among them, we’ll mention a few popular and essential plugins to make your WooCommerce website one-of-a-kind and feature-rich.
ShopLentor (WooLentor)

ShopLentor is one of the most popular WooCommerce plugins based on the Elementor page builder. You can create unique product pages. Shop pages are customizable too. Design custom carts and my account pages. Create other customized content as well. This plugin is used by more than 80,000 online retailers. It makes setting up WooCommerce stores simple.
This plugin includes many custom WooCommerce page builder features. Product filtering is included. Live sales notification works great. Call for price feature is available. Suggest a price option helps customers. Product QR code generation is built-in. Sticky cart button improves user experience.
Support Genix
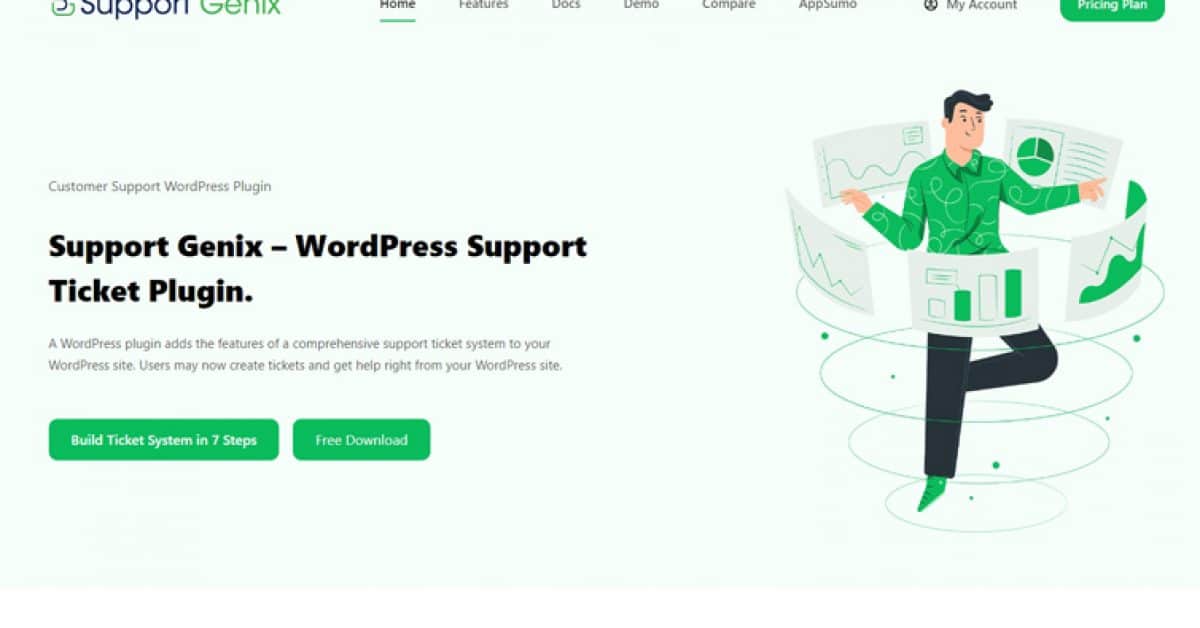
Keeping track of customer inquiries can be daunting. Managing issues is challenging too. This is especially true without a proper system. Support Genix solves this problem. This robust solution is easy to use. It works excellently for businesses of all sizes.
With features like unlimited tickets, agent control, transfer ticket, team control and collaboration, email popping, and IMAP settings, Support Genix has everything you need to streamline your support process and resolve issues quickly. And with Envato integration, you can easily keep track of all your customer inquiries in one place. So if you’re looking for a hassle-free way to handle customer support, look no further than Support Genix.
Features
- Unlimited Tickets
- Unlimited Agents
- Transfer Ticket
- Elite Licenser
- Email Notification
Pricing
Free: Free to use
Premium Plans: Support Genix have 3 pricing plans for the premium version–
- Free: Free to use
- Personal: $59/Half Year (5 Websites)
- Developer: $99/Year (5 Websites)
- Agency: $149/Year (100 Websites)
UpFilter
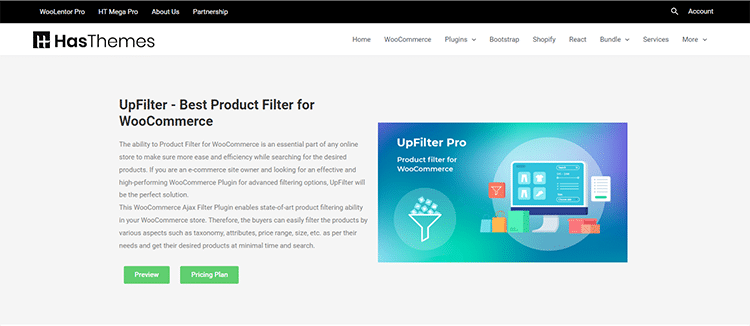
WooCommerce Product Filter: This plugin is used to filter products by categories, attributes, tags, prices, and more. It’s perfect for creating an interactive product catalog on your website.
Swatchly
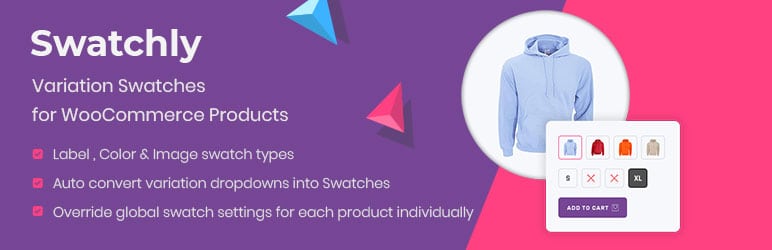
Color swatches for WooCommerce: This plugin adds color swatches to your WooCommerce product pages. This is a great way to add visual appeal to your products while boosting user-friendliness.
JustTables
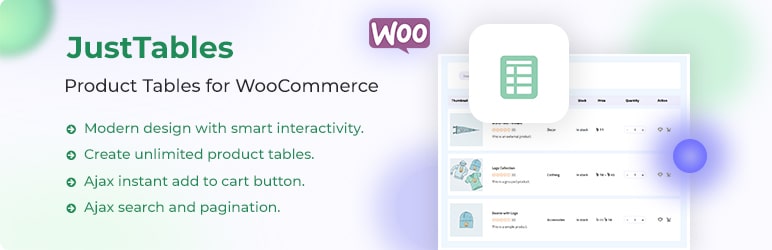
WooCommerce Product table: This plugin adds a table layout to your WooCommerce product pages. This is a great way to display a lot of products on one page without the need for pagination.
Multicurrency for WooCommerce: This plugin allows you to display prices in multiple currencies on your WooCommerce store. This is a great way to add more convenience to international customers to buy products from your store.
WishSuite

Wishlist for Woocommerce: This plugin allows you to add a wishlist feature to your WooCommerce store. This is a great way to allow customers to save products they’re interested in and come back to purchase them later.
Ever Compare
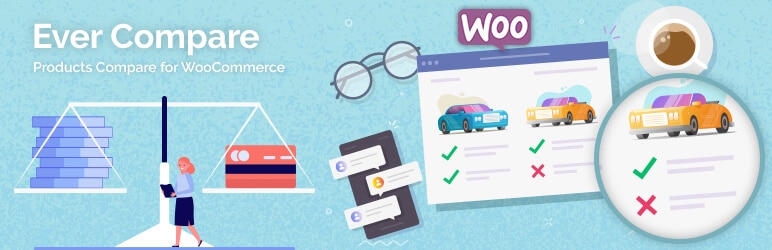
Compare plugin for WooCommerce: Ever Compare allows customers to compare products side-by-side on your WooCommerce store. It helps customers make informed purchasing decisions by comparing features and prices. The plugin displays product specifications in an easy-to-read format. This feature is particularly valuable for electronics, furniture, and specification-heavy products. Ever Compare reduces purchase hesitation and increases conversion rates.
QuickSwish
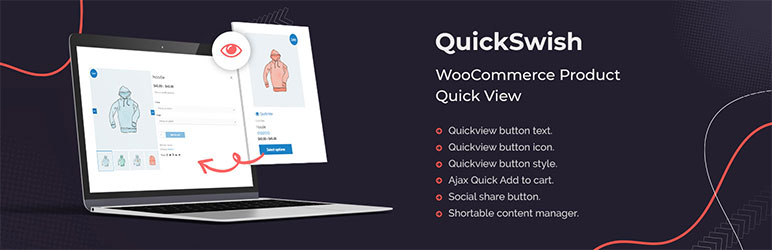
WooCommerce Product QuickView Plugin: QuickSwish adds a quick view feature to your WooCommerce product pages. It allows customers to view product details without leaving the current page. This improves the browsing experience and keeps customers engaged. QuickSwish reduces page load times and increases user satisfaction. The plugin works seamlessly with most WooCommerce themes.
Hashbar
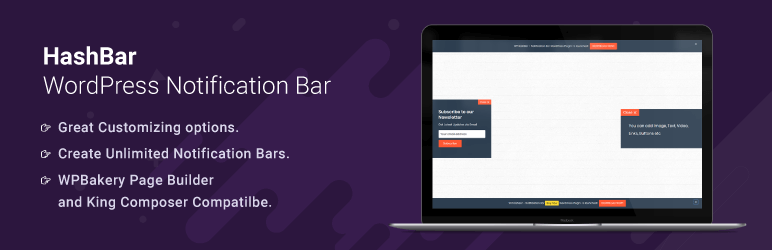
WordPress Notification Bar: Hashbar adds a notification bar to the top of your WooCommerce store. It’s an excellent way to promote sales, discounts, and important announcements. You can schedule messages for specific times and dates. The plugin allows you to target specific pages precisely. Hashbar includes click-through rate tracking to measure campaign effectiveness. It helps increase conversions and customer awareness.
Wordfence

Security Plugin: Wordfence is a comprehensive security plugin for your WooCommerce store. It provides real-time monitoring and firewall protection. The plugin performs regular security scans to protect customer data. Wordfence keeps your store safe from malware and hacking attempts. It includes login security features and brute force protection..
BackupBuddy
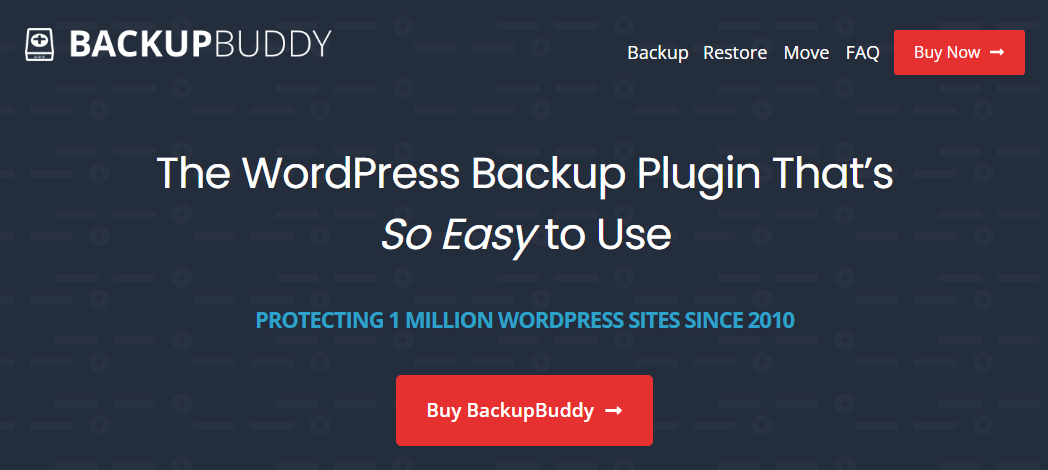
Backup and Restore Plugin: Wordfence is a comprehensive security plugin for your WooCommerce store. It provides real-time monitoring and firewall protection. The plugin performs regular security scans to protect customer data. Wordfence keeps your store safe from malware and hacking attempts. It includes login security features and brute force protection.
WP Rocket
WP Rocket is a speed optimization plugin for your WooCommerce store. Loading times get optimized. User experience improves significantly. Customers enjoy faster browsing.
Install plugins for security first. Backup plugins are essential. SEO plugins are must-have features. These are required for any WooCommerce store. Test your store’s page load times regularly. Ensure everything works properly before launch.
Do you have any questions about how to create an eCommerce website using WooCommerce? Let us know in the form below!
How to Add Products in WooCommerce
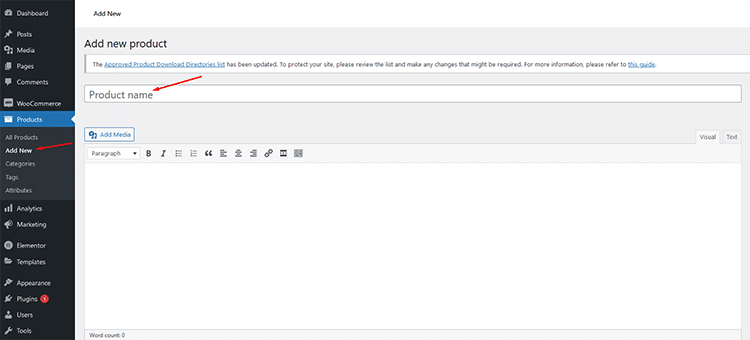
Adding products to your WooCommerce store is straightforward. Here’s how:
- Go to “Products” in your WordPress dashboard
- Click “Add Product”
- Enter the product name and description
- Set the product price
- Upload a high-quality product image
- Configure product categories and tags
- Click “Publish” to make your product live.
Your product is now available on your website.
Create a Single Product Page with WooCommerce Using WooLentor Plugin
If you want to design the single product pages in your WooCommerce store in an easier and more convenient way, WooLentor comes in handy.
This plugin comes with sortable elements like brand, product name, SKU, price, and rating. You can also sort sharing buttons, size charts, add-to-cart buttons, WooCommerce product recommendations, and more. This gives you full control to display every product page element exactly where you want it.
The free version of ShopLentor allows you to create a custom WooCommerce single product page. However, if you want a unique layout for your products to take your WooCommerce store to the next level, the Pro plan is the best option.
The widgets available for the product page include:
- Product description
- Product title
- Product short description
- Product data tabs
- Product ratings,
- Product reviews
- Advanced product thumbnail
- Upsell products
- Call-for-price
- Suggest price
- Stock progress bar
- Product sale schedule.
ShopLentor also provides pre-built templates for single product pages. . You can easily import those templates and customize them according to your needs.
Create a Custom Shop Page in WooCommerce using WooLentor Plugin
The Shop page is one of the most essential pages in a WooCommerce store. It is automatically created immediately after installing WooCommerce. It displays all the products in your store.
The ShopLentor plugin enables you to design your Shop Pages professionally. So, if you don’t like the default WooCommerce Product page layout and want to use the Elementor page builder to create stunning Shop pages, the WooLentor plugin could be really useful. WooLentor provides a plethora of widgets. So, you can easily add those widgets into the Elementor editor and create a beautiful shop page.
ShopLentor provides many widgets for the Shop Page:
- Product Archive Layout
- Product Archive Layout (Custom)
- Horizontal Filter
- Vertical Filter
It also provides pre-built templates for shop pages. You can easily import those templates and customize them according to your need.
Create a Custom cart page in WooCommerce using WooLentor Plugin
A WooCommerce cart page plays a vital role in any online store. It is an indispensable part of modern e-commerce stores where customers may assemble the products they wish to purchase from the website and then go to the checkout. If your store has an excellent cart page, your store’s conversion rate will be higher.
The ShopLentor WooCommerce Addons provides tons of widgets for the cart page. These widgets empower you to build good-looking and professional cart pages right away.
The Cart Page widgets are available only in WooLentor Pro version. The cart page widgets include:
- Cart Total
- Cart Table
- Empty Cart Message
- Cross-Sell Product
- Empty Cart Redirect Button
WooLentor also provides pre-built templates for cart pages. You can easily import those templates and customize them according to your need.
If you are looking for a plugin to help you create custom cart pages in WooCommerce, then WooLentor is the best option.
Create a Custom Checkout Page in WooCommerce using WooLentor
The checkout page is also a vital part of any WooCommerce site. When a consumer buys the products in their cart, they must proceed to the checkout page.
If you use WooCommerce and Elementor, you can set up and customize your store’s checkout page conveniently by using ShopLentor. By using this plugin, you can build different designs for your checkout pages.
WooLentor comes with lots of WooCommerce Elementor widgets. These widgets are available in WooLentor pro version only. So, you can easily add those widgets into the Elementor editor and create a beautiful checkout page without any coding knowledge. Some notable checkout widgets are:
- Checkout Billing Form
- Checkout Additional Info Form
- Checkout Shipping Form
- Checkout Payment Method
- Checkout Coupon Form
- Checkout Login Form
- Checkout Order Review
WooLentor also provides pre-built templates for checkout pages. You can easily import those templates and customize them according to your need.
If you are looking for a plugin to help you create custom checkout pages in WooCommerce, then WooLentor is the best option available currently.
Create a Custom My Account page for WooCommerce using WooLentor
My Account page is one of the most crucial pages in a WooCommerce store. It is the hub for customers to manage their account details, view order history, track orders, and more.
An optimized My Account page can help improve customer satisfaction and loyalty. It also reduces support inquiries. Give customers easy access to all the information and features they need in one place. This added convenience improves their experience and helps grow your business at the same time.
ShopLentor integrates well with WooCommerce to create a unique My Account landing page using the Elementor page builder. Using this tool, you can build distinct layouts for your My Account pages.
It comes with lots of WooCommerce Elementor widgets. So, you can easily add those widgets into the Elementor editor and create a beautiful My Account page without any coding knowledge.
Some of the widgets for My Account Page include: 
- My Account Dashboard
- My Account Download
- My Account Edit
- My Account Address
- My Account Login Form
- My Account Registeer Form
- My Account Logout
- My Account Order
Besides, this exclusive WooCommerce Elementor Add-ons plugin provides pre-built templates for My Account pages. You can easily import those templates and customize them according to your need.
If you are looking for a plugin to help you create custom My Account pages in WooCommerce, then WooLentor is the best option available currently.
Create a Custom Login Page in WooCommerce using WooLentor Plugin
WooLentor helps to build a custom login page in WooCommerce using Elementor page builder. Using this plugin, you can build different designs for your login pages.
Display Products in a Grid Layout for WooCommerce using WooLentor Plugin
WooLentor helps to build a product grid layout for WooCommerce using Elementor page builder. Using this plugin, you can build different designs for your product grid layout pages.
WooLentor comes with particular WooCommerce Elementor widgets including product grid widget and category grid widget. You can easily add those widgets into the Elementor editor and create a beautiful product grid layout page without touching any code.
In addition, WooLentor provides pre-built templates for product grid layout pages. You can easily import those templates and customize them according to your need.
If you are looking for a plugin to help you create custom product grid layout pages in WooCommerce, then WooLentor is the best option.
How to Set Up Payment Methods in WooCommerce
The next step in setting up your eCommerce website is to choose a payment method. WooCommerce offers several different payment options, including PayPal, Stripe, and Authorize.net.
To choose your payment method:
- Go to “WooCommerce” in your dashboard
- Click “Settings”
- Select “Payments”
- Choose your preferred payment gateway from the available options
- Configure the payment gateway settings
- Click “Save Changes” to finish
That’s it! You’ve now successfully created an eCommerce website using WooCommerce.
Comparison Table: Create an eCommerce Website
| Template Name | Mobile-Friendly? | Price |
| WooLentor | Yes | $59.00/Half Year |
| Support Genix | Yes | $59.00/Half Year |
| UpFilter | Yes | $29.00 |
| Swatchly | Yes | Free |
| JustTables | Yes | Free |
| WishSuite | Yes | Free |
| Ever Compare | Yes | Free |
| QuickSwish | Yes | Free |
| Hashbar | Yes | Free |
| Wordfence | Yes | Free |
| BackupBuddy | Yes | $80.00 |
Recommended Hosting – WPMU DEV
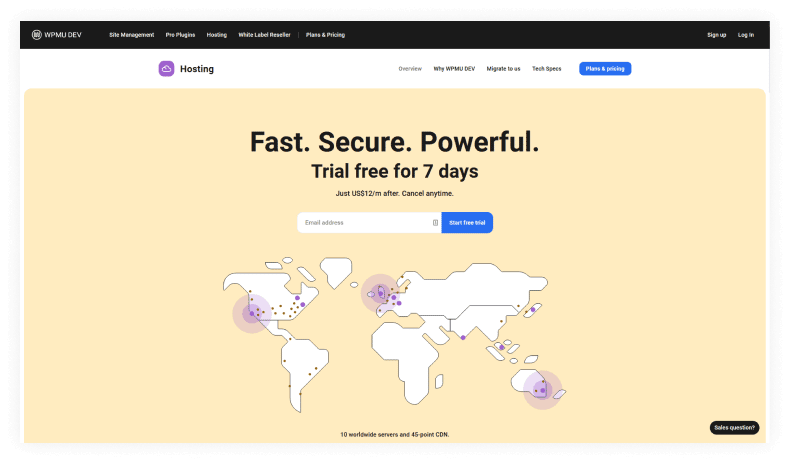
WPMU DEV offers a premium, fully managed, virtually dedicated, and WooCommerce-ready hosting service. It’s backed by a team of hosting and WordPress or WooCommerce experts. Their focus is on speed, security, and delivering great value for money.
What Are Their Key WooCommerce Features?
WPMU DEV’s hosting service includes time-saving features like templates and configs. These let you quickly set up sites pre-installed with WooCommerce and Astra.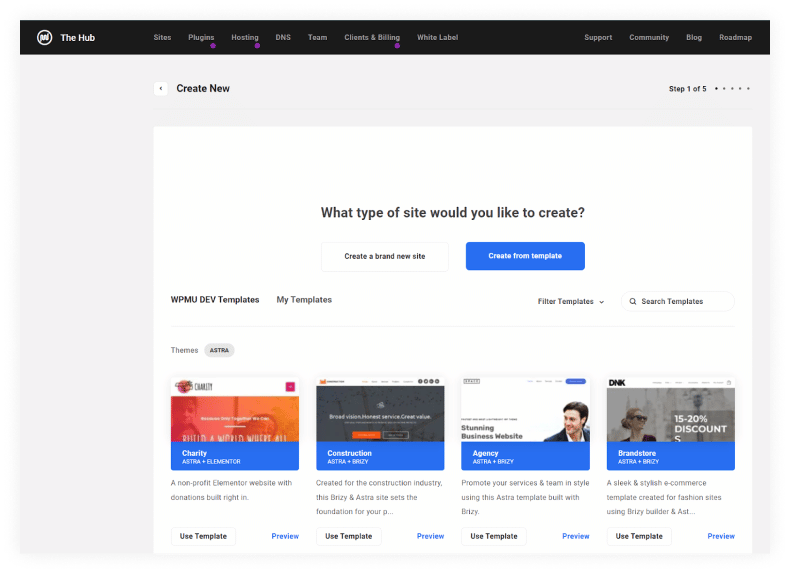
Expert 24/7 live chat and forums guarantee fast support on anything hosting, WordPress, or Woo-Commerce-related.
Here are a few more key features:
- Every site gets its own VPS, unique IP address, and virtually dedicated resources. Plus Static Site cache, Object Cache, Web Application Firewall, and CDN. So the hosting resources are all yours and not shared with anyone else.
- Free Let’s Encrypt SSL.
- 10 data center locations and 45 point CDN guarantees to serve content worldwide to users fast.
- Automated daily backups and one-click staging for every website with live syncing lets you perform tests, fixes, and updates to WooCommerce sites and move the site quickly from staging to production in seconds.
- Support up to PHP 8.1 and HTTP/2.
- Loads of extras in addition to standard hosting features, including DNS management, domain reselling, 10 free email accounts, and 7 premium plugins covering security, performance, SEO, and more, fully developed and maintained by WPMU DEV.
Is It User-Friendly?
WPMU DEV is not just a hosting company. Since 2004, they have been developing an all-in-one WordPress white label solution. It’s designed to help WordPress developers worldwide get their WordPress business off the ground quickly and easily. Everything is built to be user-friendly.
This includes The HUB, a WordPress management control center. It lets you manage unlimited WordPress sites from one place. It covers hosting and server tools like File Manager, uptime monitoring, and one-click staging and WordPress resets.
You can also handle backups, security, SEO, and perform manual or automated updates for plugins, themes, or core WordPress files on individual sites or in bulk.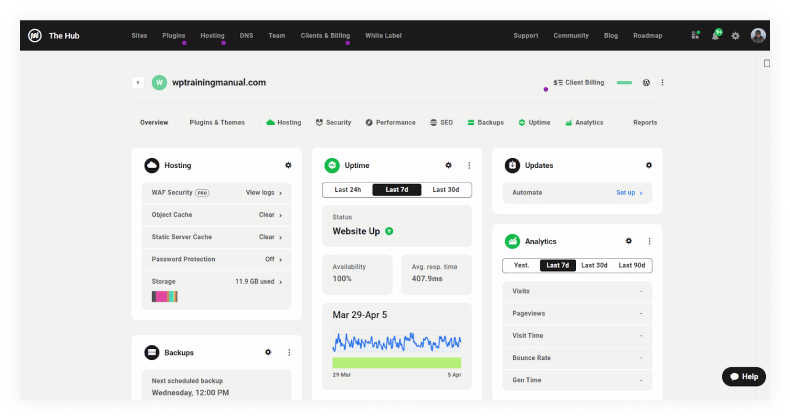
Additional user-friendly features include 24/7 expert customer support, comprehensive documentation, forums, WordPress tutorials, and fully integrated premium plugins that make securing and optimizing sites a breeze.
If moving sites to their hosting, WPMU DEV also provides automated site migration tools or a valet migration service where everything is handled for you at no additional cost.
How Much Does It Cost?
Although hosting plans start from just US$1.50 per month (Basic), WPMU DEV offers a range of plans to suit different needs and budgets for WooCommerce sites.
The Standard plan now includes a 3-site license, 10 GB CDN, 10 GB backup storage, 24/7 WordPress support, and white-label client billing.
The Premium plan costs $10 per month (billed yearly at $100, saving $20) and includes all WPMU DEV Pro plugins, an unlimited-site license, 50 GB CDN, 50 GB backup storage, 24/7 WordPress support, white-label client billing, reseller tickets, and $144 hosting credit.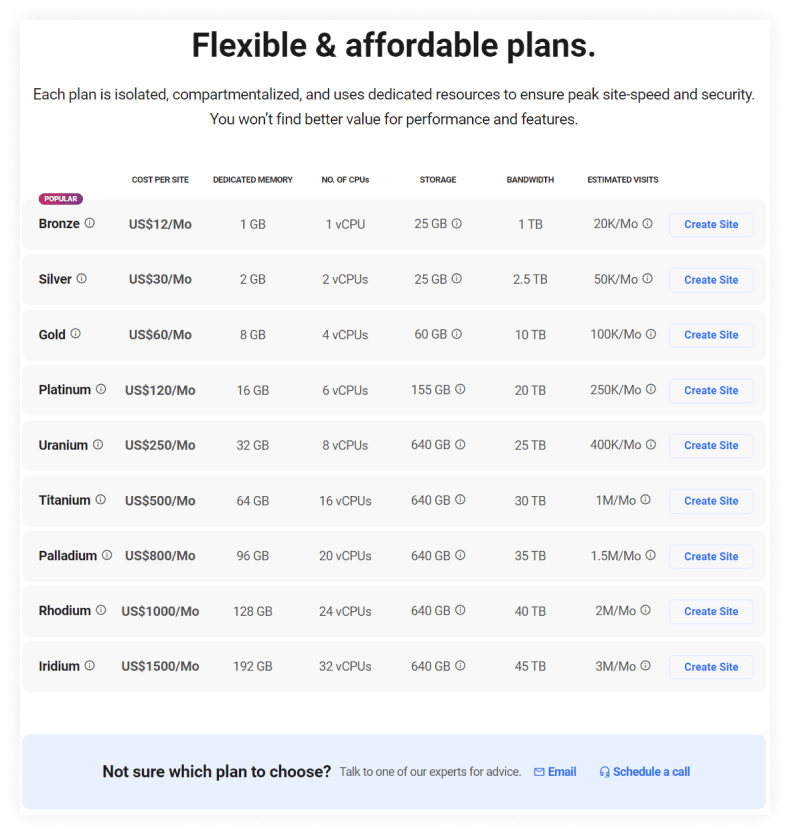
Note: The minimum recommended plan for WooCommerce sites is the Silver plan (US$30 per month per site), which includes 2 GB dedicated memory, 2 vCPUs, 25 GB storage, 2.5 TB of bandwidth and will comfortably handle up to 50K visitors per month.
Frequently Asked Questions
How much does it cost to create an eCommerce website with WooCommerce?
WooCommerce is free, but you’ll need hosting ($1.50-$30/month), a domain ($10-15/year), and optional premium plugins. Total initial cost: $100-500, with ongoing monthly costs of $20-100.
Do I need coding knowledge to make an eCommerce website with WooCommerce?
No, you don’t need coding skills to create an eCommerce website using WooCommerce. Plugins like ShopLentor provide drag-and-drop builders for easy customization without code.
How long does it take to set up a WooCommerce eCommerce website?
A basic WooCommerce store can be set up in 1-3 days. A fully customized, professional store typically takes 1-4 weeks depending on complexity and number of products.
What payment methods can I use on my WooCommerce store?
WooCommerce supports PayPal, Stripe, Square, Authorize.net, and many other payment gateways. You can accept credit cards, debit cards, and digital wallets. Most gateways charge 2.9-3.5% transaction fees.
Can I sell both physical and digital products on my WooCommerce eCommerce website?
Yes, WooCommerce supports both physical and digital products. You can sell downloadable items like ebooks, software, and courses alongside physical products with automatic delivery and inventory management.
Is WooCommerce suitable for large-scale eCommerce businesses?
Yes, WooCommerce powers over 28% of all online stores, including large-scale businesses. With proper hosting and optimization, it can handle thousands of products and high traffic volumes effectively.
To Wrap Up
Creating an online store is not difficult when you know the procedures properly and make use of the right tools.
Using a plugin like ShopLentor could be massively helpful for the purpose of setting up your WooCommerce store in a hassle-free way, as this ideal WooCommerce Elementor page builder plugin is enriched with all the essential elements to get started with WooCommerce.
Hopefully, you have got some idea about creating an eCommerce store using WooCommerce. Follow the steps, use the widgets or ready templates, and create a stunning WooCommerce store today.